Leveling the main bed (the slotted aluminum in a frame) can be
properly/permanently done as Hovo suggested… by adjusting the corners
with the chain removed… but the much easier way is to simply “shim” the
aluminum rails as needed with paper or other thin flat non - compressible.
Start by shimming the far right one up till it is at the same level as the
left one… and then progressively shim the intermediate ones by smaller
amounts. You might even find you want something thinner than normal 80gsm
paper … so thermal paper could be used … etc.
It could also be misalignment of the laser
@lhovo: I’ll have a good look next time, but from memory it wasn’t just the honeycomb.
@buzz: that’s an easy hack and I may yet do it instead
@denominator: how often should we be checking the alignment of the laser? I assume that it having a few moving parts means it won’t stay put forever…
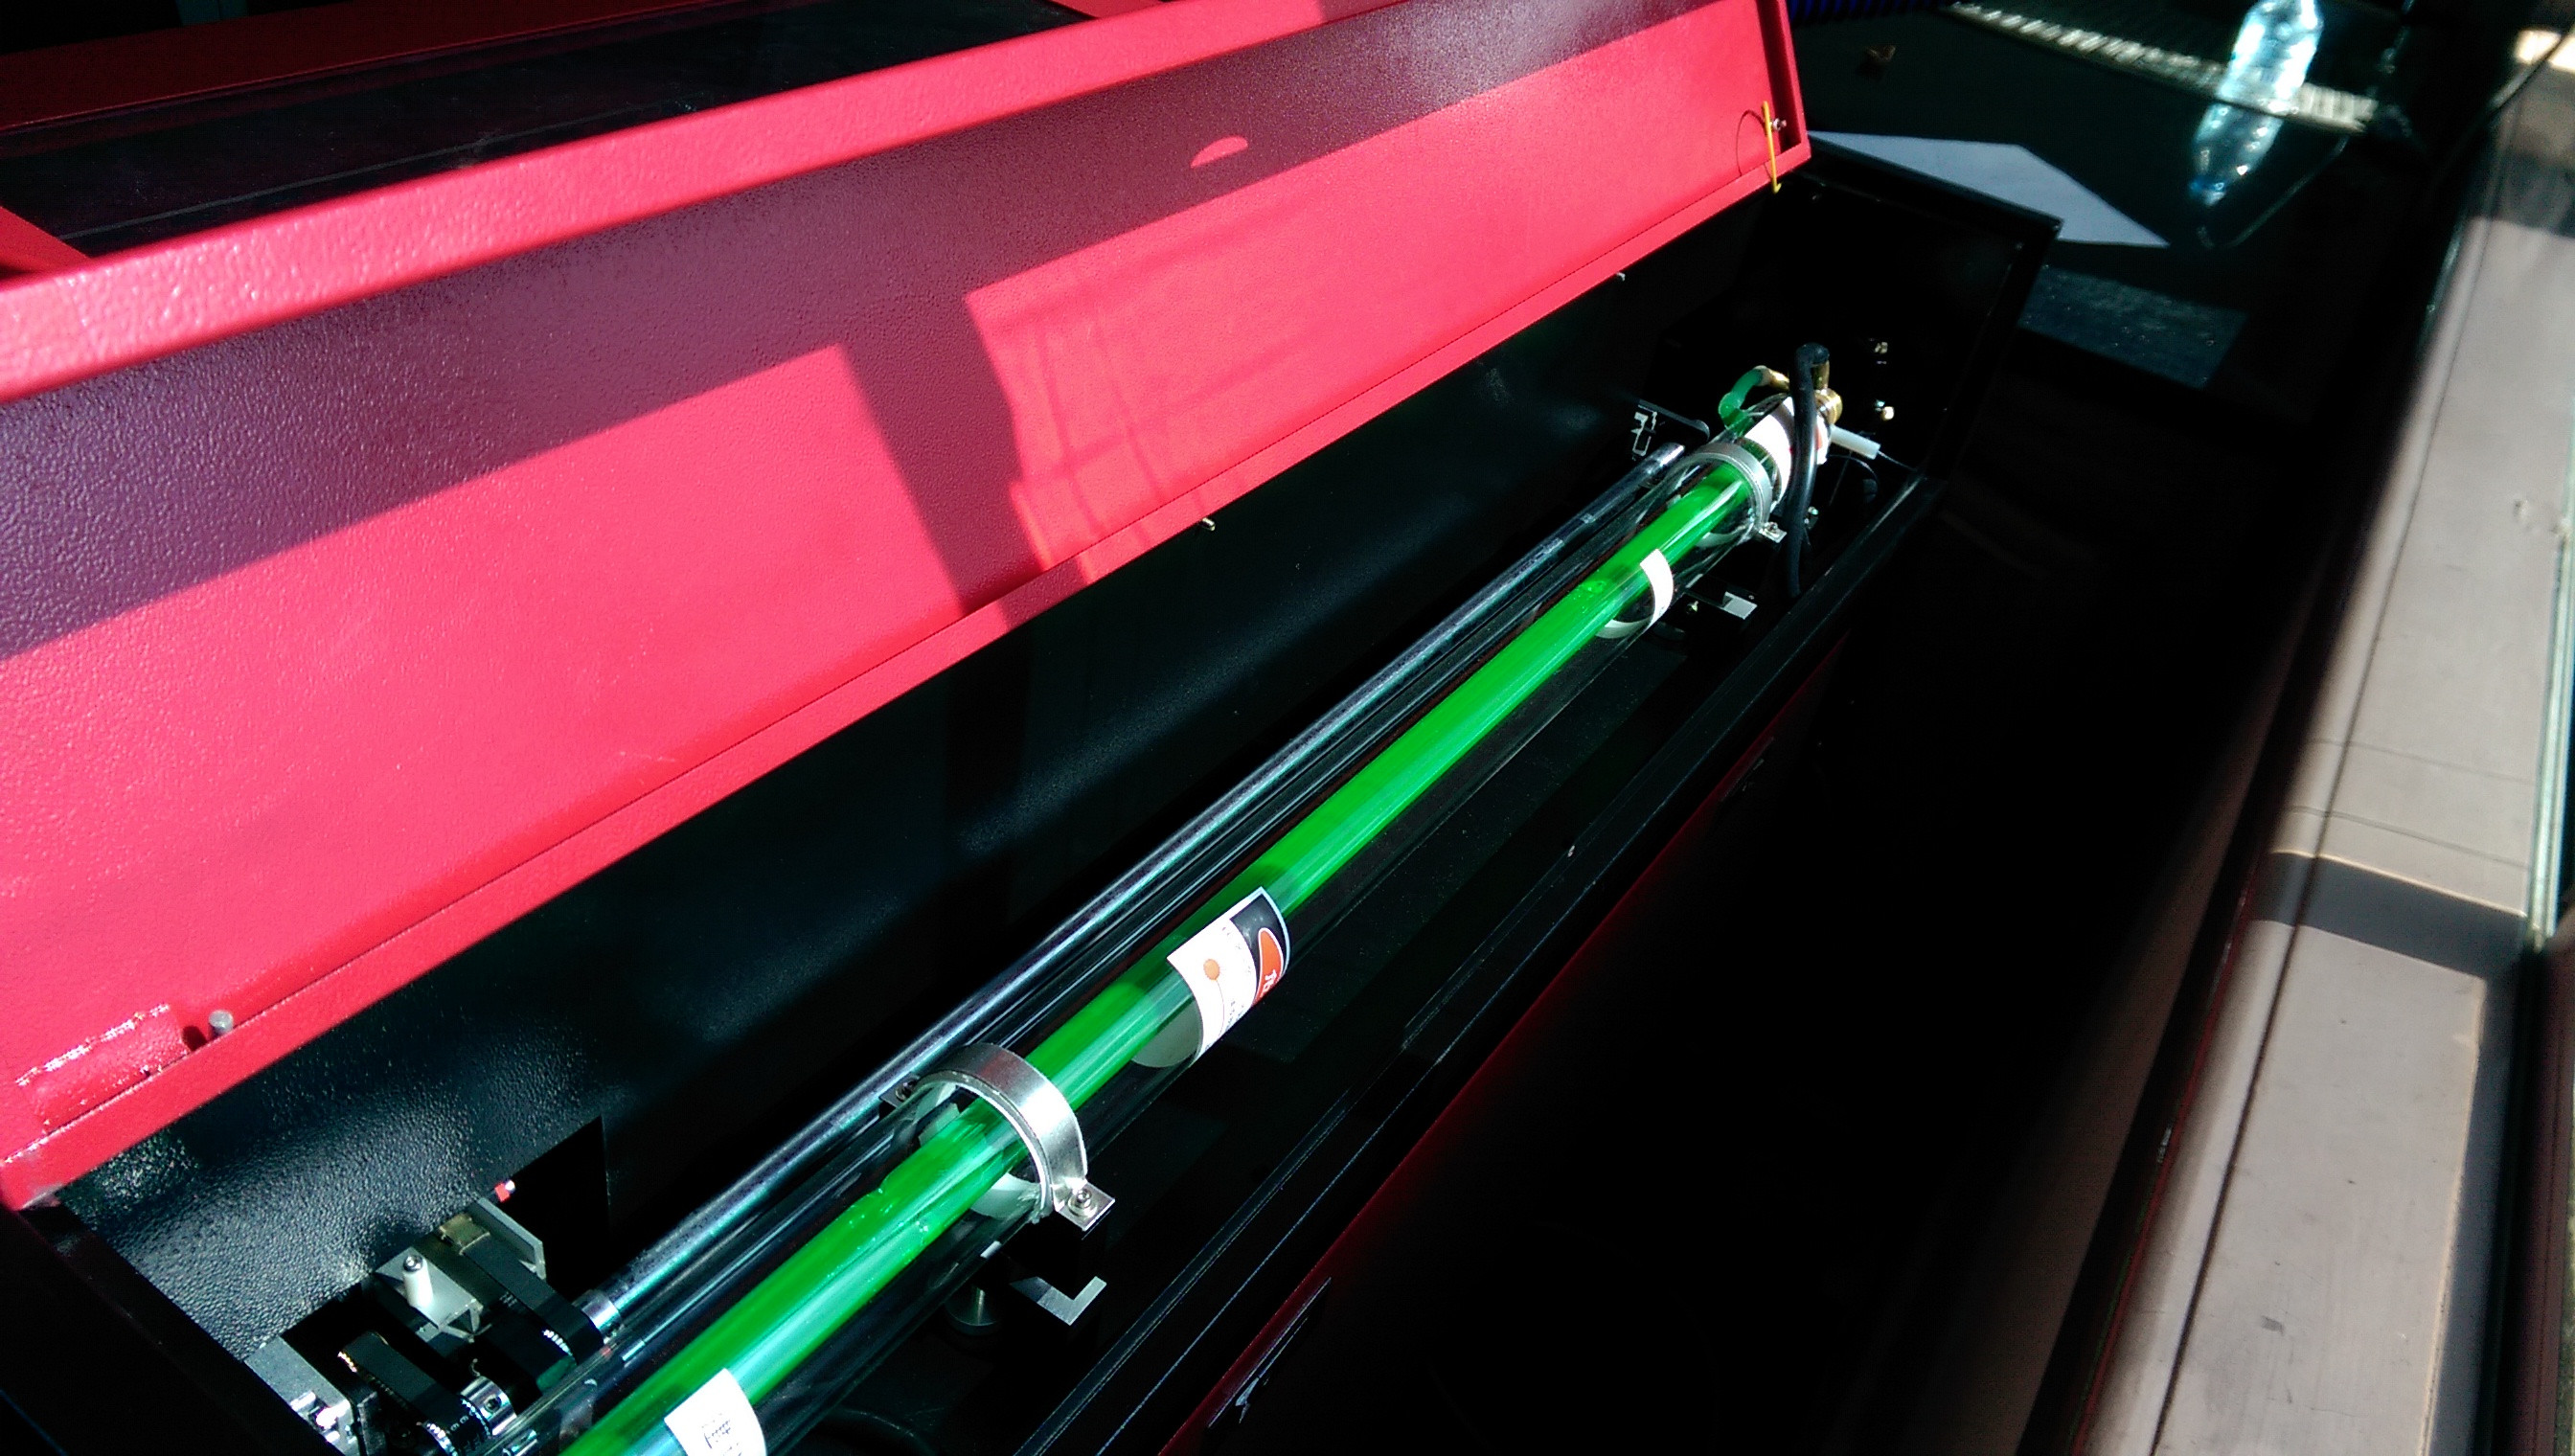
News: the laser cutter’s coolant circuit is now filled with actual radiator coolant instead of nasty tap water!
You may also notice that it now has a healthy green glow!
Now THATS what a real laser looks like!
Okay, so today I felt like testing out the lid interlock on the cutter. Since I’m posting here, you’ve probably guessed that it doesn’t work properly, and if so, you’re right: it does nothing at all.
So uh, yeah. Might want to keep the mouse cursor away from that “start” button until you’ve closed the lid, in case someone bumps the kiosk.
Um, it used to work. What changed?
It doesn’t stop the machine, it just turns the laser off.
@devians is correct…
The laser will turn off if you lift the lid.
If you want the entire machine to stop, that would require pushing the big
red button on the top.
If you are unaware of its operation you shouldn’t be using it, and ask for
someone to teach you. I’m not trying to prevent people using it, but keep
the machine in working order for everyone. It has the potential to burn
down the building, and we haven’t finished installing all the extra safety
features yet (around the machine and in the room) so extra precautions must
be taken.
PS this is not directed at any one person, more as a general precaution to everyone.
On a side note, I must say a big thanks to @LuminousElement and Karl for getting the laser cutter cutting awesomely and looking so nice with its green glow…
I’ve done a bit of work editing the LaserWorks language file to improve some of the incomprehensible text. Also configured the laser to lock out any power level above 90%.
I fixed the laser interlock switch, apparently there is a key override
disabling this.
I’d like to know the rationale for removing the IR shield from the laser cutter. Was it preventing something in the machine from functioning properly? And do we have a plan to manage IR leakage, given that reflected laser light is visible at seated eye level from the green room?
Was it removed? I thought someone had made it internal to the grill?
Yes and now it has been removed.
Third hand information suggests it was due to restricting the airflow.
Mostly a consern when cutting wood.
we just need to add another spacer to allow more air to get in
Can i please ask that if someone modifies or removes a function like that
they notify the group. Third party notifications on a dangerous tool like
this are simply not good enough.
Yeah, that was me and Bec who moved it inside the shell. Came in this morning to the shield sitting on top of the machine and all the nuts and bolts on the table in the back corner (except for one nut which had been dropped into the machine and was sitting on the material supports’ bracket). Sloppy job all around.
I’ve re-mounted the shield with an extra 10mm or so of spacing, so it shouldn’t restrict the airflow as it was previously.
We really need to take good care of this machine. If we don’t, it’s not going to last long enough to get through our second laser tube.
Shield was in and fine when I was cutting 6mm ply.
No need to exaggerate things. Very little of the light escaping perpendicular to the beam is actually scattered IR - otherwise you’d be cutting your pants when standing next to the laser instead of the item actually under the beam. Attenuation at 90 degrees is 20dB or more. And sitting 1m away additionally attenuates roughly 1/12000 for a 0.5cm pupil, dropping to 1/60000+ at the green room. Most of what is coming out the sides is visible light from the burning, and that’s not stopped by the shield at all. (Edit: this is only valid in the horizontal scattering case. Vertically is a different story, and I wouldn’t go anywhere near the thing if the lid was removed.)
The shield isn’t necessary, but hey, whatever floats your boat. I’m far more concerned that the interlocks were broken…
Oh, and from what I’ve been reading, it’d be a good idea to look into getting a better compressor for the air assist - the higher the pressure you can achieve in the nozzle the better, and the current model is barely adequate. Keeping the pressure high will keep soot away from the lens, allowing it to go longer between cleanings.
Alternatively/additionally, it’s possible to cut an acrylic insert for the nozzle with a hole just barely large enough for the laser to pass through; the extra restriction can make a significant difference to the nozzle pressure. Description here (ignore the bit about drilling out the cone): http://oplaser.co.uk/opsupport/viewtopic.php?f=20&t=211
