Using cheap side tables from IKEA to build an enclosure for my 3d Printer.
I’ve thought about that before! The IKEA “Lack” table can be had for $10-20 and has good solid base, with the 4 legs being ideal for screwing some clear acrylic onto with hinges. For extra fun, put one on top of it for a raised platform that fits perfectly. 
I literally have two Lack tables in the back of my car right now for exactly this purpose. 
So a comment in the discord recently about using the IKEA LACK tables to build an enclosure struck a cord with me as it is a project I have wanted to do for a while.
A quick google search turned up this: https://www.prusaprinters.org/cheap-simple-3d-printer-enclosure/
A fairly straightforward guide, links to relevant STLs provided and a guide on the hardware I will need.
The first step was to get started with printing the components, I opted to start with the spool holder as it was a shorter print time, so I could start and finish it today.
Here it is in progress:

A couple of finished shots:

And the parts assembled:
Hmm, they’re currently $9, I think I’m going to ikea tomorrow lol!
Ha, yeah that was also why I started this, already bought a couple of the tables:

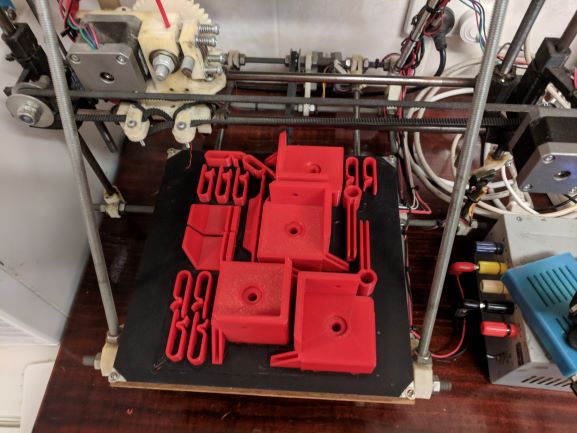
and i have started the top parts:

Only 11 hours to go! 
So the top corners have finished printing as well as the cable guides.
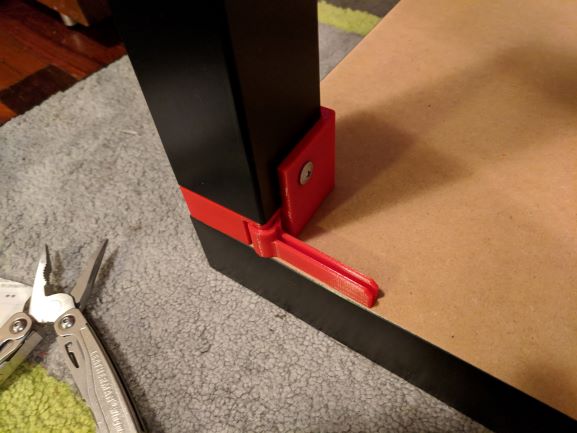
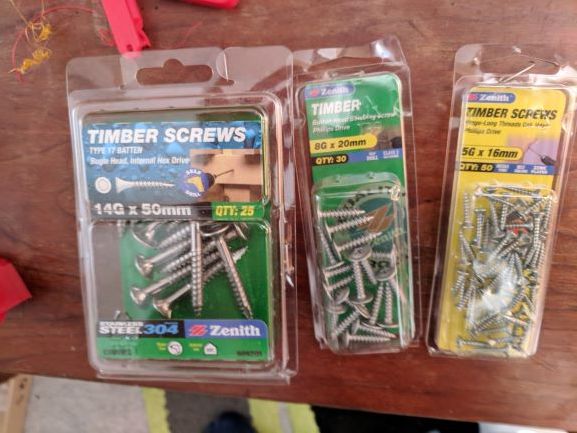
the fit is good and the parts look nice and strong, next step is to buy some screws to suit the parts:

It is worth mentioning that the screws mentioned in the guide are vague, but the printed parts give me a better Idea of the type and size that i need.
I will update with my specific sizes that I purchased if that helps anyone.
So I kicked off the prints for the lower parts of the table connectors, which as of writing have finished printing at home.
Later this evening I will go and pick up some appropriate screws and start assembling the tables into an enclosure.

so the bottom parts finished, hooray!
So it was time to start assembling it all.
The screw dimensions on the prusa guide were a little confusing to me, I will photograph what i used and upload them separately.
At any rate I picked up screws of 3 different sizes and started assembling the top of the enclosure:


And because I am a cheap bastard, I used mdf instead of acrylic for the side panels.
At some point i think I will change the doors to something see through but until then, this is fine.
I have put the printer on the lower table and started the process of rerouting the cables for the controller board and the power supply to outside of the enclosure:
having seen the 2 tables together, I definitely think the ideal setup is with 3 tables, so I have purchased another which will become the bottom table.I plan to finish extending the wires for the various bits of the printer over the next few days, get it all back together, and then run a trial print in ABS to see how everything goes 
Here are the screws I used to put the tables together:

the 14g x 50mm I used for attaching the top and bottom corners
the 8g x 20mm screws I used to attach the legs to the top corners
the 5g x 16mm screws i used to attach the small parts like the cable guides.
I went with a third table, I think this is the best option, it gives the height you want:
and the middle and bottom are great spots for storage.
I have also mounted the power supply and control board outside under the middle table:

the control board is essentially just got glued in place, the power supply was mounted with double sided foam tape, and then I screwed some straps over it that i cut from an old lanyard.
Next steps from here is to lengthen some of the wires so they all reach the control board, do some cable management and install some lighting inside the enclosure.
I also need to mount the raspberry pi somewhere and then does some tests to ensure it is working as expected.
Just another small update, I have routed all the cabling around through the side, and mounted the Raspberry Pi underneath near the RAMPS board.
I have also installed some lighting and a mount for my webcam
Yet to run a proper job through it again, will get to that once I am back from my trip.


