I spent a few hours on Tuesday testing and trying different options to see if I could do something a little different with our laser cutter. Thankfully I succeeded in getting enough data points to be useful, so that means I’ve got something to show off and a new reference guide piece for us to use!
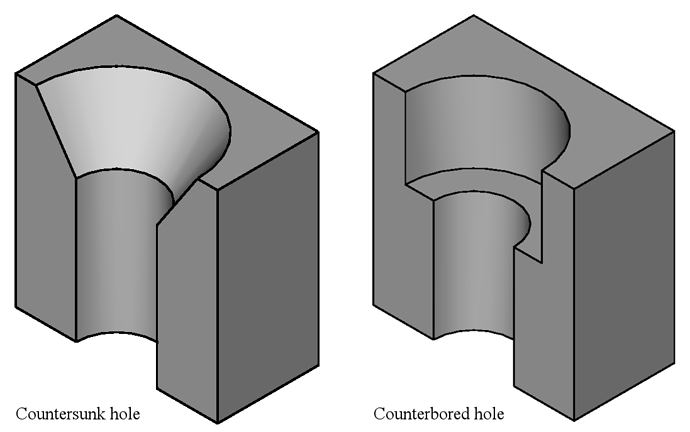
The short version is that I was trying to see if I could etch through a specific exact distance of Acrylic. This kind of thing has many applications, but my primary goal was to be able to make some screws completely flush with the surface of the Acrylic. The screws I planned to use have flat necks so technically this makes them counterbored rather than countersunk, but you could adapt this to make an angled etch by using a gradient and 3D etching.
(Wikipedia’s image on countersunk and counterbored holes for screws - I was trying to make the style on the right)
To do this, I etched away 1cm² squares at different power & speed settings into 2mm opaque white acrylic with the paper still on. Common settings were using Engrage 3d (solid) as the profile, 400dpi as the resolution, black fill colour shapes with no stroke. Paper was left on for numbers 1-5, then removed for number 6 as a comparison. The coolant temperature was 21’C and the air assist was set to 20psi.
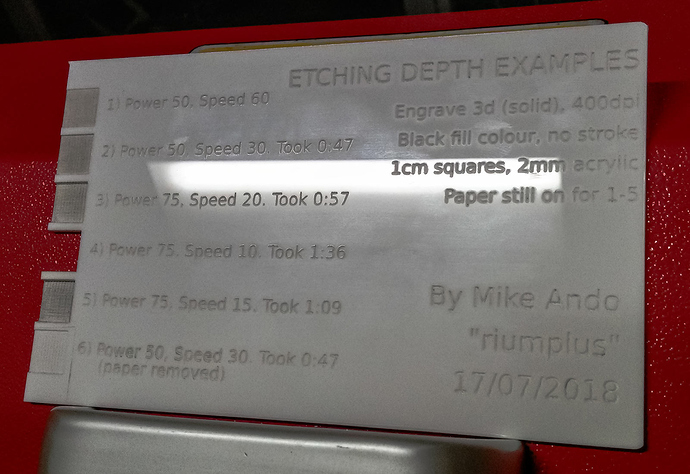
(The completed Etching Depth Guide Example)
It’s a bit hard to read, so here’s the main text:
- Power 50, Speed 60. This removed 0.21mm of material including the paper. I forgot to time this one.
- Power 50, Speed 30. This removed 0.37mm of material including the paper and took 0:47.
- Power 75, Speed 20. This removed 1.01mm of material including the paper and took 0:57.
- Power 75, Speed 10. This removed all 2.18mm of the material including both papers and took 1:36.
- Power 75, Speed 15. This removed 1.31mm of material including the paper and took 1:09.
- Power 50, Speed 30. This removed 0.37mm of material excluding the paper and took 0:47.
A couple of notes:
- This kind of etching is dependant on SO many variables that my numbers above should be taken as only a rough guide. If you’re trying to etch something like this you’ll need to do a few test etches at different settings on your specific material on your specific day first.
- The etching area has a lot of powder left on it and needs to be either brushed or cleaned after being cut. Increasing the air assist won’t remove most of this because of the rough surface and Acrylic residue is sticky; washing the job and giving it a gentle brush clean with a toothbrush after finishing is best.
- The etched area isn’t flat; it has a ridged pattern to it. This is because the resolution used (400dpi) doesn’t alias perfectly to the machine’s stepper motors. This could be fixed if someone wanted to work out the right DPI to not cause aliasing, but that’s a job for another person at another time. Practically speaking the rough surface is great for increasing grip to a screw though so it’s not necessarily a bad thing.
- The rough surface gets dirty easily, even from finger dirt. I’ve left some of them dirty to better show the ridged pattern.
- At these settings, comparing runs 2 & 6 shows the paper made zero difference to etching depth. Paper will still matter if you’re etching something super shallow though, but not for thicker cuts or etches.
- Halving the speed doesn’t necessarily double the time taken. It varies on a job-by-job basis but this is generally true for most jobs to at least some degree. The laser head still moves at the same quick speed when not cutting no matter how slow it moves when actually cutting.
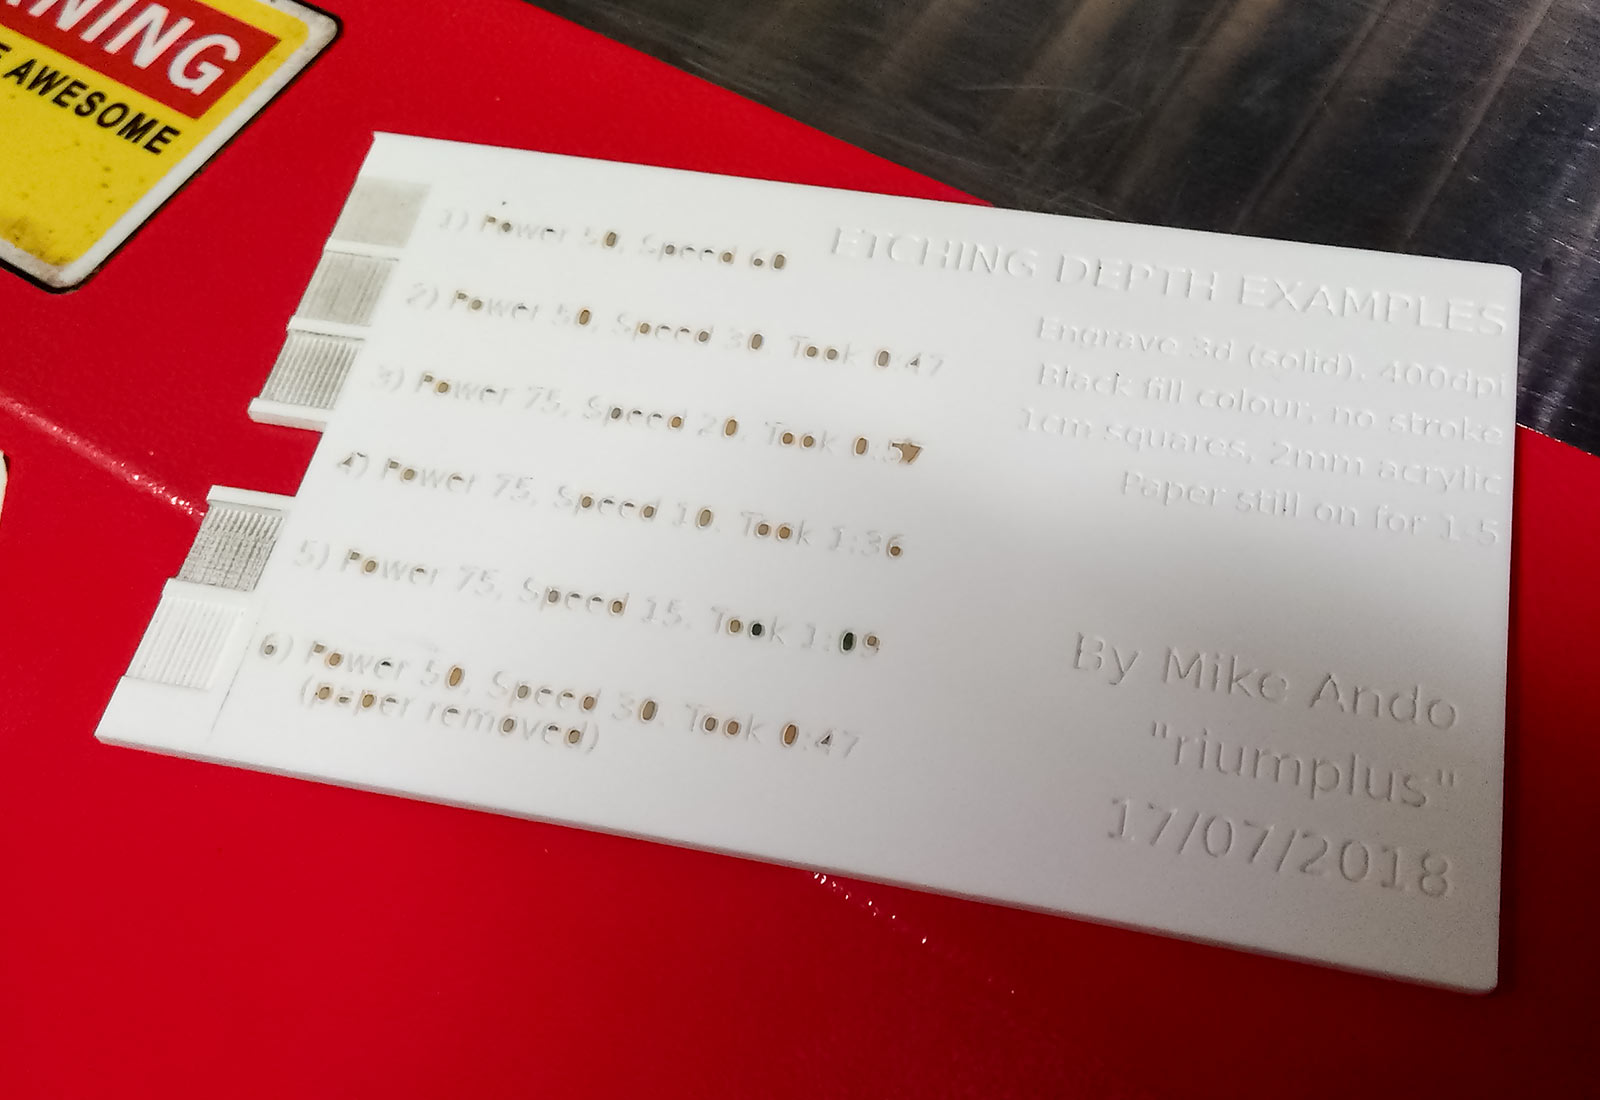
- Just because I could, to show off one more comparison the left half of text on my job was etched with the paper still attached while the right half was etched at the same settings with the paper removed. Keeping the paper on gives a better end product as it prevents the burn shadow that you can see on the right half, but it means lots of fiddly time removing tiny bits of paper from inside the letters. If you look at the test piece’s reflection you can clearly see what I’m talking about.
(In the reflection you can see that the paperless right half has some shadowing around it while the papered left half is much cleaner & crisper)
(The trade-off is that keeping the paper on during etching means lots of fiddly work carefully removing all these little leftover bits of paper)
Now that I’ve got enough data points to work with, next week I can get started on the actual project that requires this knowledge! 
(This super small screw is now flippy floppy flush to within 0.03mm!)


