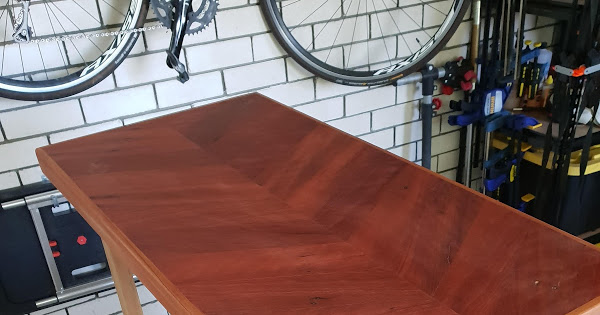
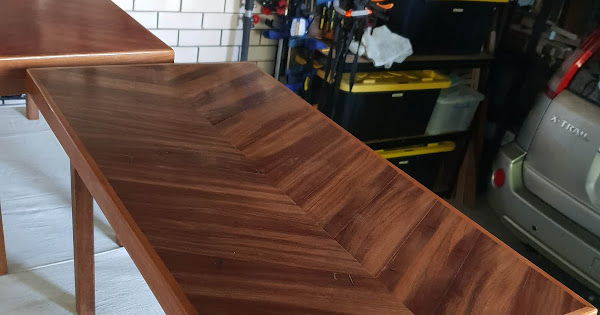
Here is my build log for a couple of end tables I am building.
Only thing that is not from reclaimed timber is the MDF backing board, Dowels for joins and Glue.
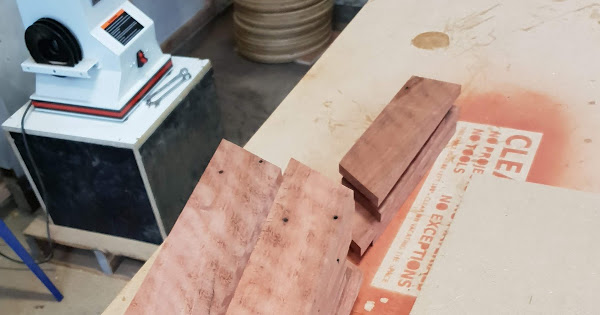
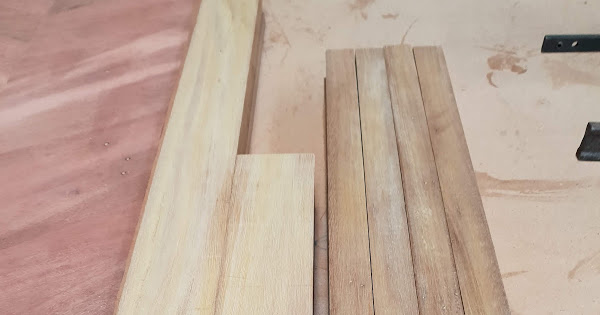
Planned and thicknessed all the timber
Then cut the pieces for the tops
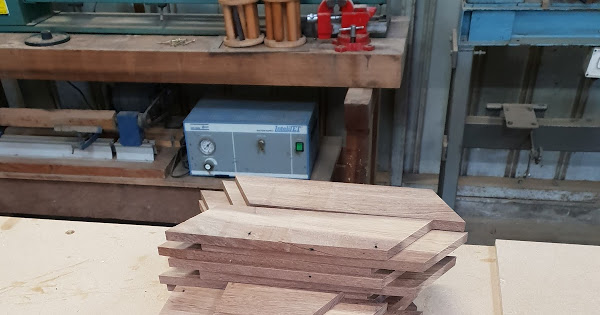
I originally tried this with the Mitre saw but found that I couldn’t get a good angle (saw was out of wack)
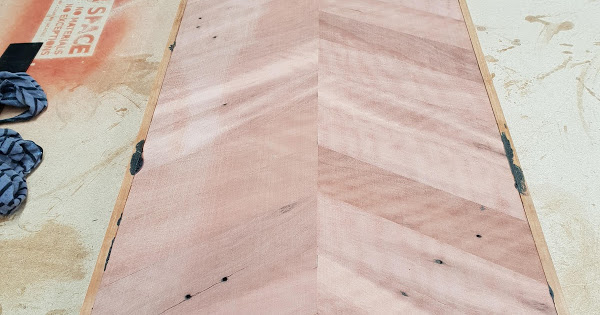
so I used the table saw to get a very consistent angle. (Is close to 30 degrees but doesn’t matter as long as there are all the same.)
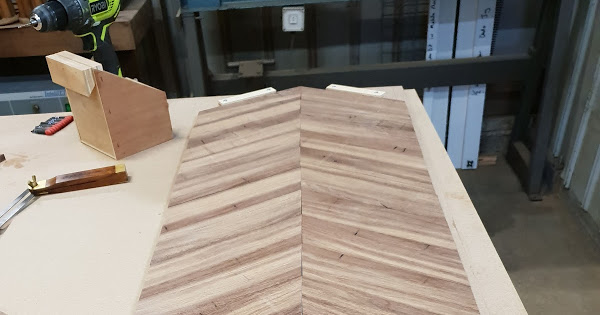
Marked the centre line on the MDF parallel to one of the sides
Basically so when I glue them down I can trim them based on the square MDF side.
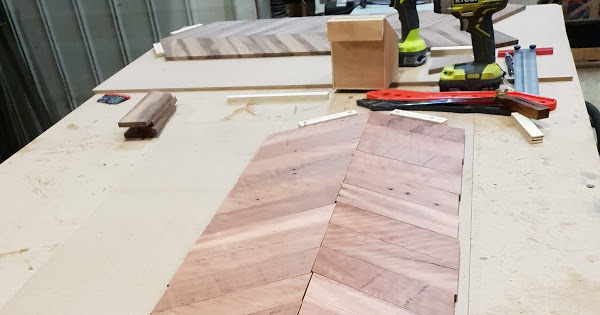
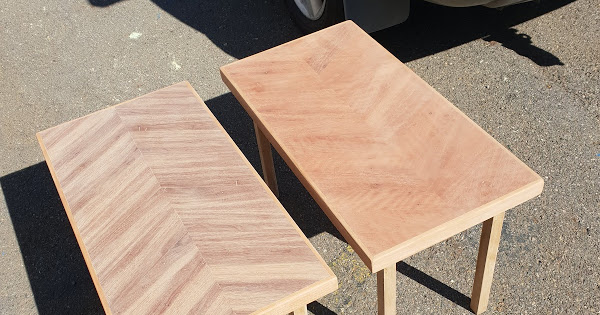
Before I glued them up I did mix and match them to try to give them an interesting look
I wish I had thought about book matching them before, But I would have needed more timber.
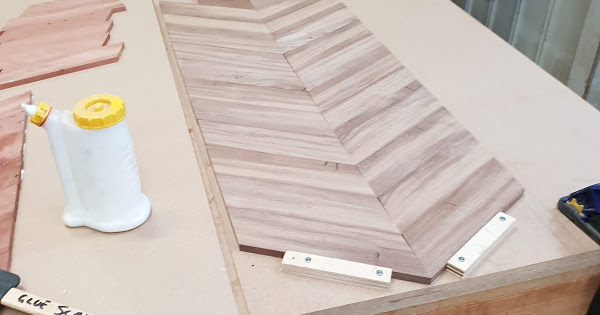
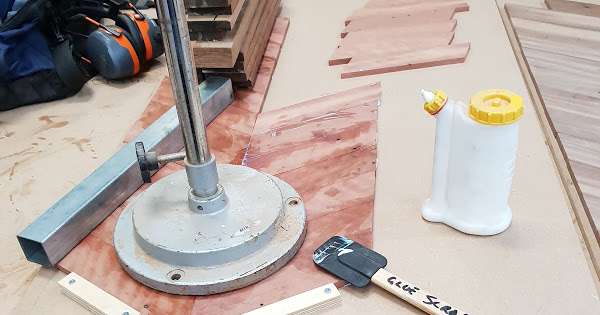
Glued all the pieces to the MDF.
I put a couple of bits of ply on there to push against when fitting, but I found that they were out a little and too hard to adjust.
I glued up one side using a straight edge to get a clean centre line. As this is backed by MDF the glue is not structural and therefore I didnt need to clamp together (as the angle makes it Very hard to clamp these). There are methods but I didnt want to use them. I just put some weight on them to hold them down while the glue dried.
Once the glue dried I trimmed up all the edged on the table saw
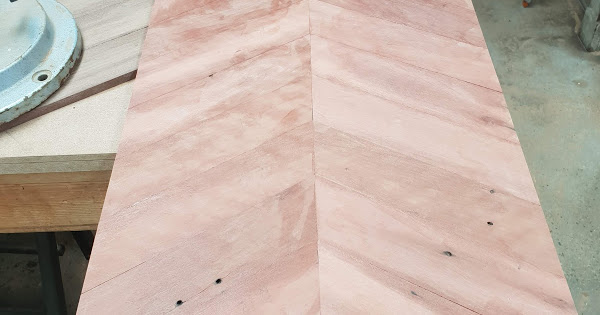
and ran them through the Drum sander
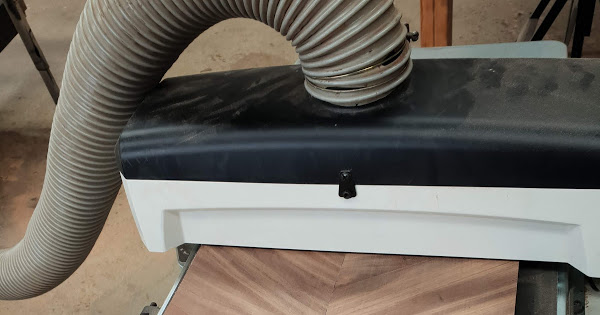
Cut up some more timber for trim and glued to the sides.
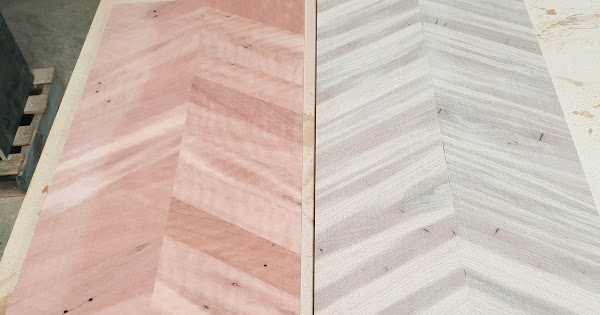
lucky for the new clamps… still could have used some more (especially some parallel clamps).
Sanding (60 grit) to cleanup and round the edges.
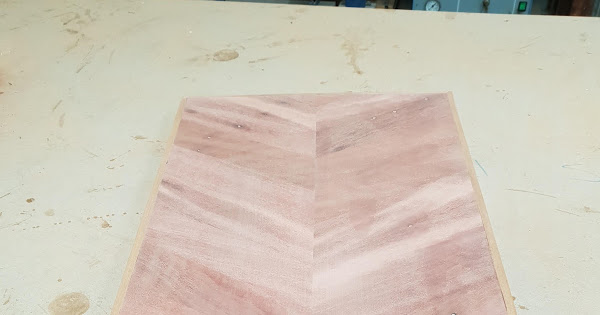
Cut up some more timber for the base and legs.
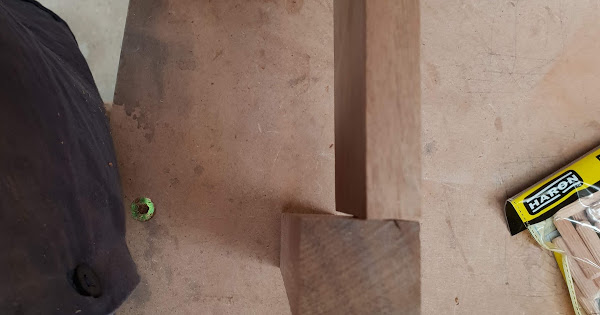
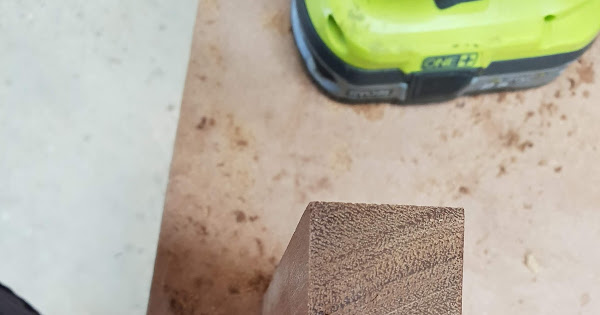
suing a couple of scraps I drilled and dowelled them to see how they would look
Decided on the centre for as it was easier and I didnt like the lack of meat in the side of the dowels for the flush fit. In the end most of this is pretty hidden under the table so I didnt think it really mattered.
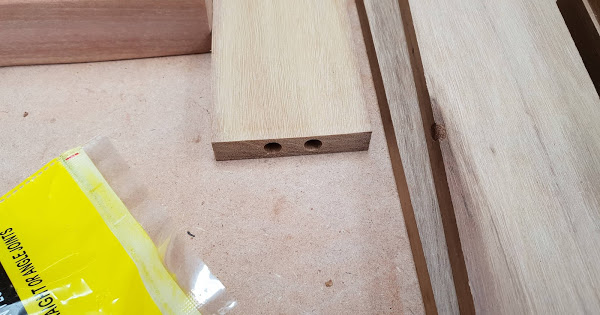
Then I drilled all the dowel holes for all of the base/leg pieces using a dowel jig (worked great)
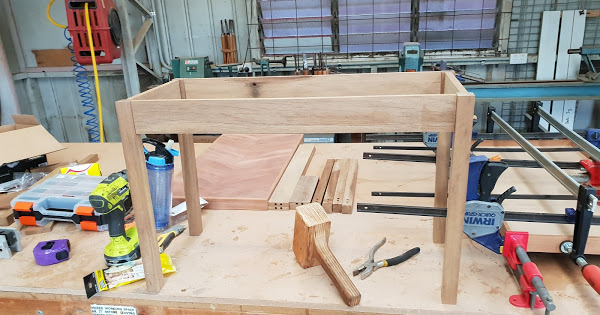
Dry fit with Top
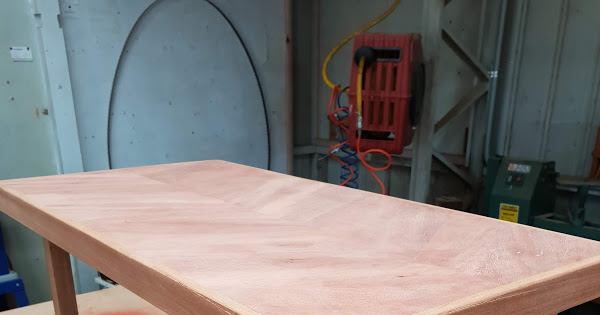
I then Glued up the 2 base legs and attached to the top (with Dowels again)
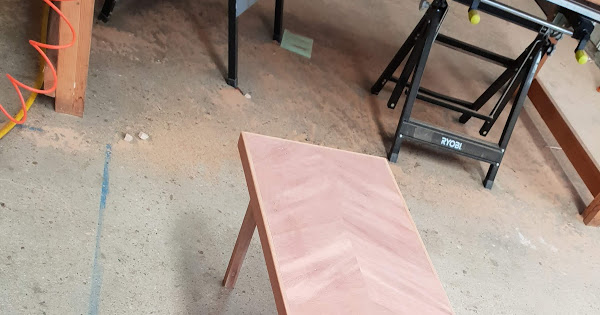
just the tedious sanding and finishing to go…
I will post the final pictures once the finish is applied.
