Prologue
Over the last few years, I’ve amassed a small collection of hand planes. Most of the planes require some level of restoration for use. At the moment, I’ve performed small restoration procedures on two of the better planes bringing them to usable condition and they’ve been great. As I’m beginning to do more woodwork, I’ve noticed the need for multiple setups and how it would be good to have another plane at the ready. As such, I will be restoring another plane and thought I would document the procedure here.
The Plane
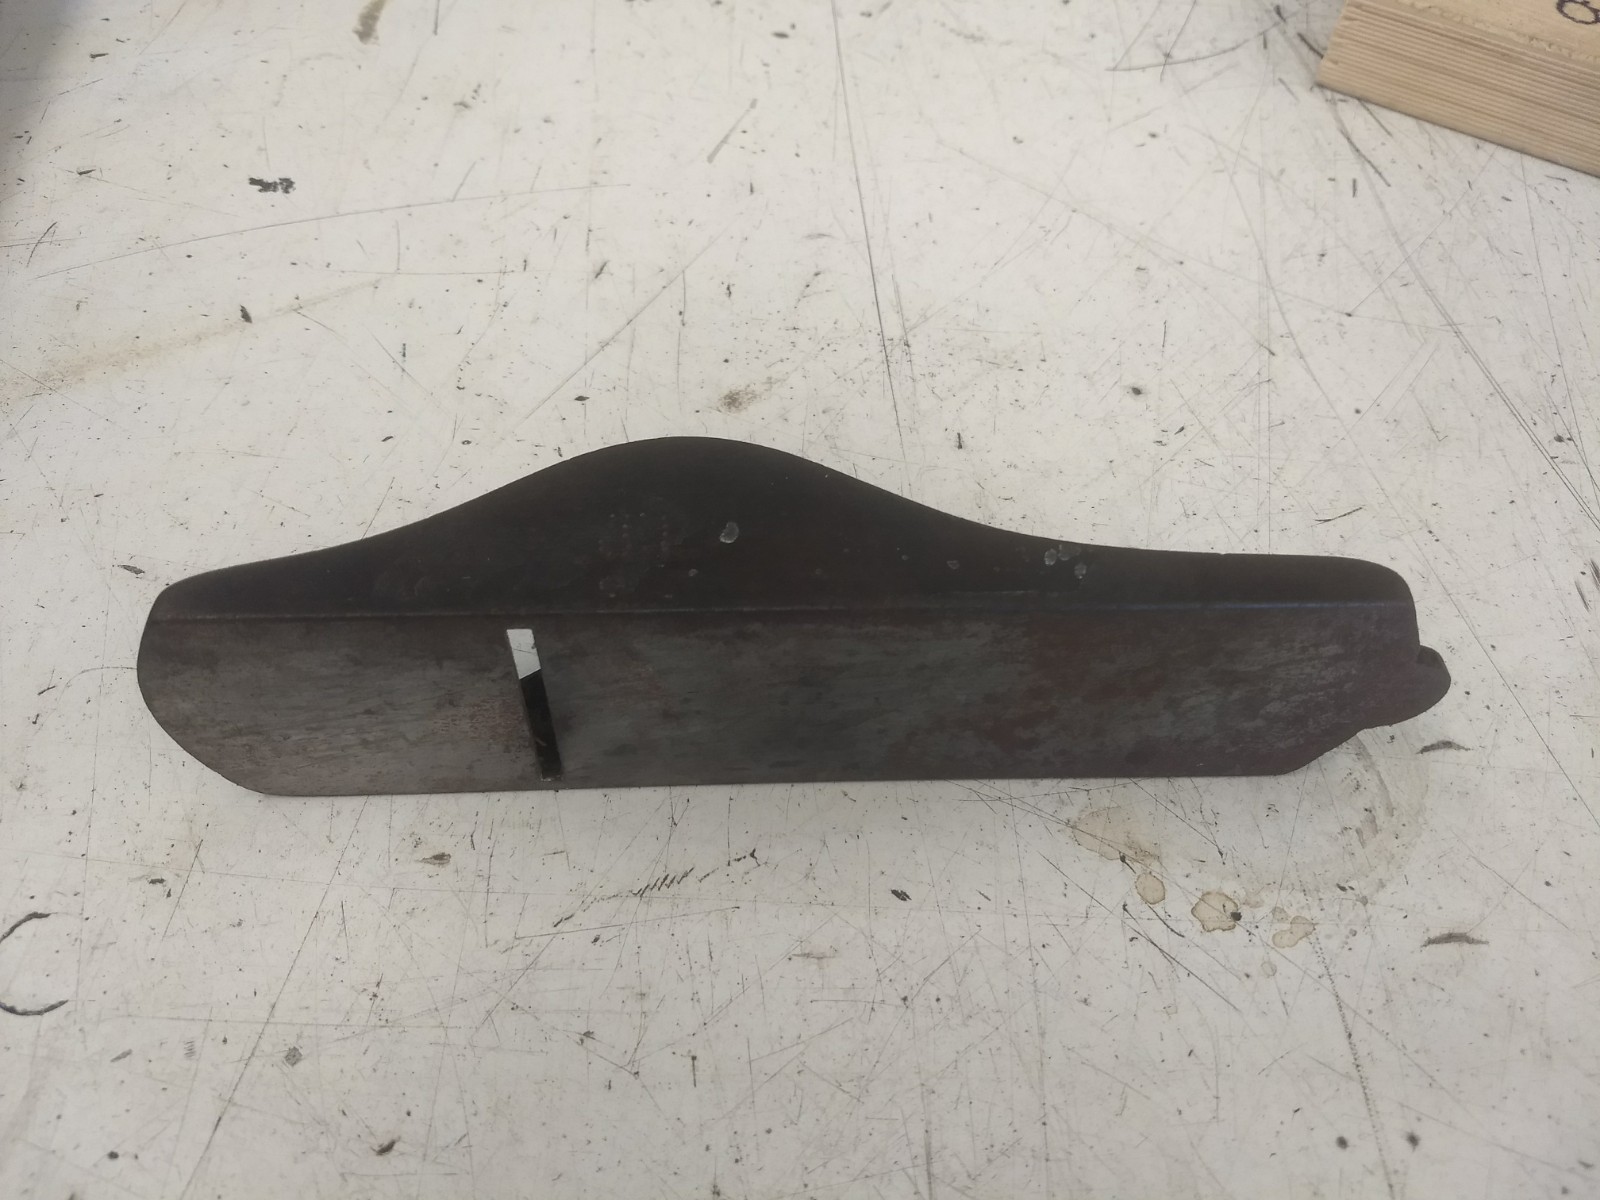
The plane is a Stanley Bailey No.4 plane made in the USA. I got this in a collection of 4 planes second hand with the whole set of 4 costing about $40. The plane has all parts included but I’d like to replace a few parts, some of which are a requirement but the others I’d like to replace for aesthetic. I’ve included a photo of the disassembled plane below.
Work Required
Here is a list of my issues with the plane and planned work to fix them:
The front handle works but is not a great shape and is very splintered towards the base. I want to replace this for ergonomic reasons. It will also be nice to have a matching wood and finish as the rear handle. I’m thinking I will use Merbau or Jarrah.
The rear handle is quite wobbly even with the screw fully tightened. This needs to be replaced.
The body and frog both have their japanning peeling quite badly and the machined surfaces are rusted and slightly pitted. Japanning and rust will be removed and a spray coating will be applied. Machined surfaces will be lapped to ensure they are completely flat.
The original brass or steel adjustment knob has been replaced with a plastic one from a cheaper plane. I would like to make a new adjustment knob from brass purely for aesthetic reasons.
The lever cap and chip breaker are very rusty, they will be cleaned and polished.
The plane blade is rusty, the cutting face will be lapped, the bevel sharpened and all rust will be removed from the back face.
The adjustment lever is very rusty. I will remove the rust and apply an electrolytic galvanised coating. Removing this will require destroying the rivet used to hold it to the frog. I will also make a new rivet to replace the existing one.
Flattening Base and Sides of Sole
Today I began the restoration of the plane with flattening the base and sides of the sole. In the past, I’ve achieved performed this procedure by lapping using sandpaper of a glass plate. This method proved very tedious given the side of the plane base. I decided I would use the universal grinder as the space to achieve flat and square faces on the plane. I started with the base first as I could then push it up to the back of the vice and ensure the sides are square to it when grinding them. Below are the photos of the sole in it’s original condition.
The Process
Setting up the body in a vice on the grinder, a dial indicator was used to ensure the base was parallel to the travel of the grinder bed. There was about a 0.1mmn bow in the plane disregarding deviations from pitting which had to be removed. to remove all defects in the surface, I ended up having to remove 0.2mm of material. I did so in vertical steps of 0.05mm with horizontal progressions of 1mm. For a final pass, the part was left to cool to room temperature and I performed a 0.02mm depth of cut still with 1mm horizontal progressions. The surface indicated flat within 0.01mm after this procedure although the horizontal progressions are noticeable in the surface finish. Smaller horizontal progressions would fix this although it would also make the process much slower.
Using the base as a reference against the back of the vice, the left side of the body was set up to be cut. Due to the odd shape of the top of the body, a piece of wood was used as a conforming clamp on the top of the sole pressing into the front side of the vice. The same process was used to grind the side wall as the base although a horizontal progression of 0.5mm was used for the final pass producing a better surface finish. After the left side was finished, the plane was flipped over and the same process was performed on the right side.
Overall, the whole procedure took about an hour and a half but I believe if I did it again, I could cut the time down to an hour instead.
The Results
The surface grinder method of flattening the plane sole worked very well. Checking against a straight edge, the sole is very straight and the walls are as square as I can tell using a precision square. The sole and sides could be lapped to achieve a consistent finish although I don’t believe I will perform this procedure as it is unnecessary. I will, however, break the sharp edges created by grinding to ensure they don’t bruise any wood while planing. I have included pictures below of the final result.