I took some photos of my adventures in trying to get some SMD soldering done here at the hackerspace and thought I might as well document it.
A few things are needed to start SMD soldering, tweezers being an absolute must. As all of our tweezers have been used to open a coke can or some other weirdness, we are now left with none. So, I made my own.
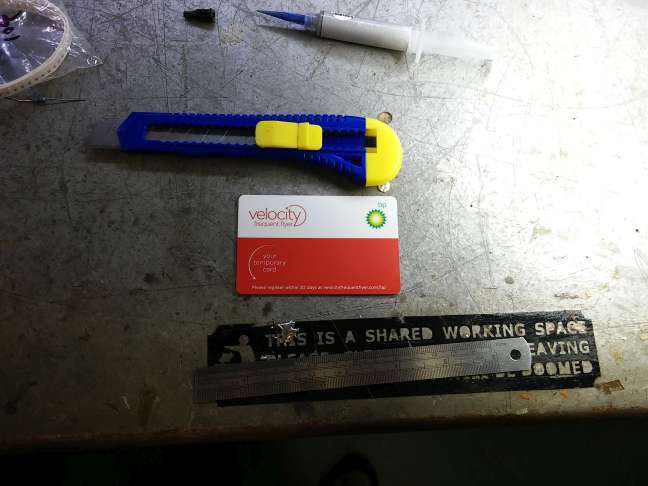
First, find a useless plastic card and gather your tools:
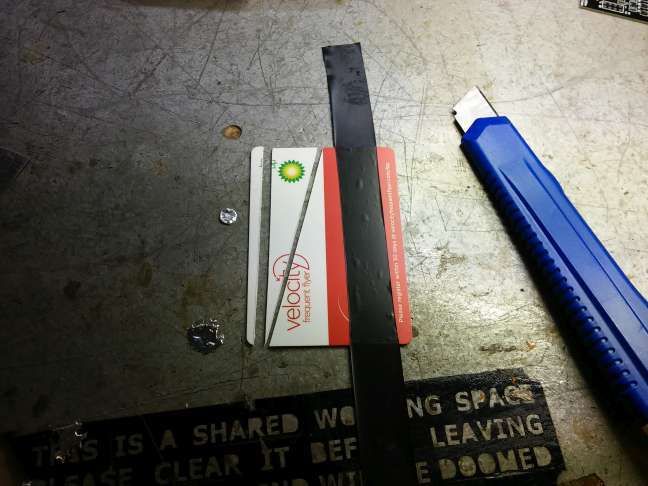
Score the card in the shape of a tweezer, flex and break to separate:
Finally, use hotglue to join the two pieces and shove a bit of wire insulator lying about in the gap:
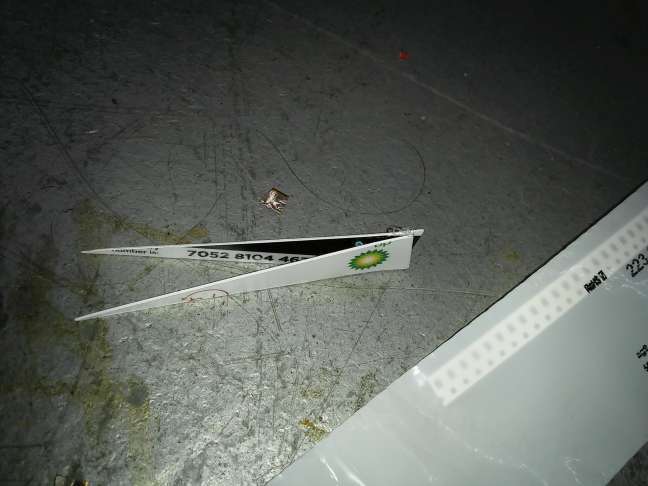
Boom, off to a flying start. These actually work surprisingly well for what they are.
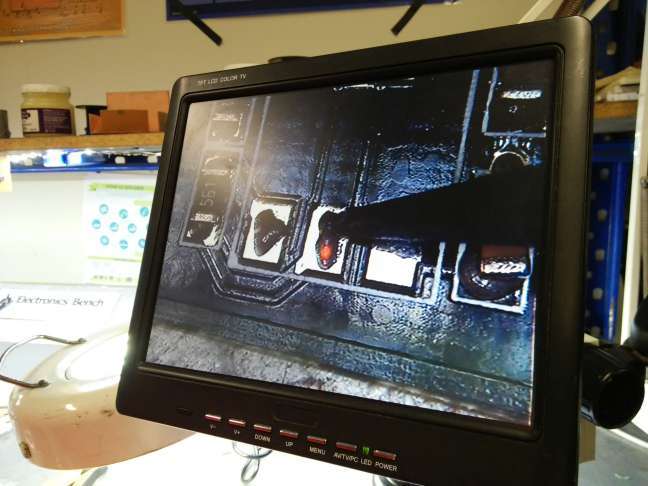
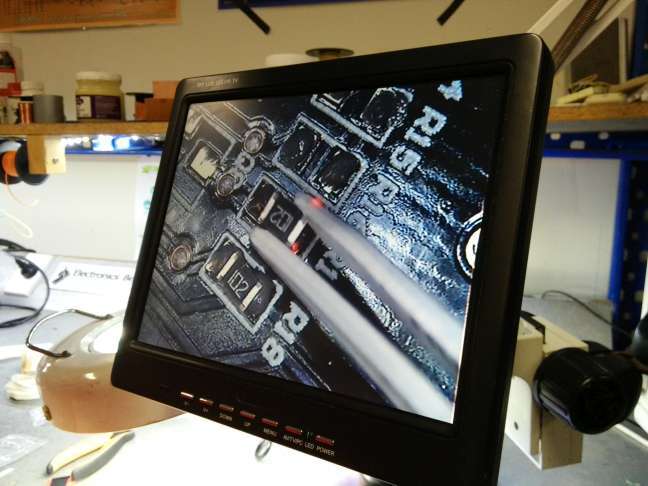
Next up, placing paste. After much frustration, I’ve discovered that the TV microscope is turned on at the side and if the LED’s are on and the TV is still off, THEN you press the power button on the screen after waiting a bit too see if it’s just playing possum. With that out of the way, it’s time to release the shmoo.
These are rather large pads and an extremely bad example of how much solder paste you need. You want a decent gob of solder placed on the pad, as the stuff shrinks dramatically after it’s flowed. Basically, put a nice dollop of solder paste on each pad. Next, placement:
Placement can be tricky if it’s your first time soldering SMD. The trick is to use the focus on the TV to judge how close you are. Don’t worry too much about getting the placement spot on, as when you reflow your board, the surface tension of the solder will yank your components around and centre them nicely for you. Finally, fire up the reflow oven:
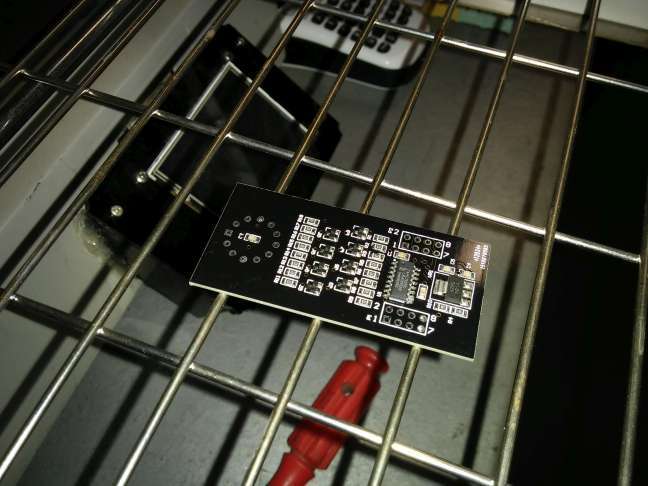
Nice and toasty. I unfortunately had the reflow oven die right before it ramped up to full operating temperature; however this was still enough to reflow my board. You may find that some of your components will have one side up in the air (tombstoned), this is easily fixed by hitting one end with a soldering iron and pushing it back down with some tweezers, then soldering the other side. Or you could use the hot air gun to heat both sides at the same time. An option if you can’t afford a reflow oven is to just place your hot air gun under the board and move it in circles so that you don’t burn the board. The heat will trickle through the PCB and reflow your board, and you won’t blow your components away!