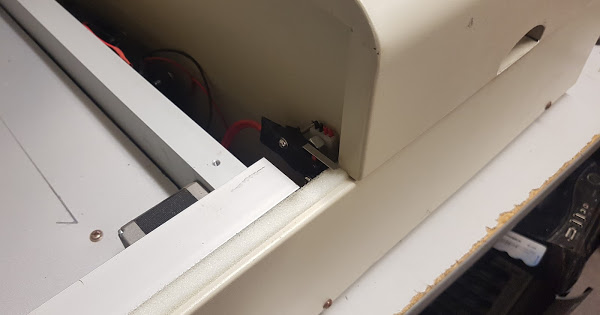
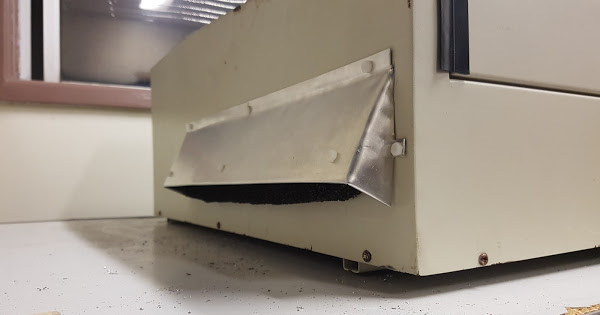
So I’ve bought in my laser that was gathering dust at home because I didn’t have anywhere to set it up. My intention with this machine is to get it to a point where (competent/inducted) members can use it without being directly supervised as the 4 laser supervisors can’t always be around. This probably means a set material/thickness and speed/power settings and capacitive touch interlock. (so you can’t wander off) I cleaned up digifab a bit and made some room. Currently it’s sitting on the bench next to the computer.
There is a long list of things that need to be done taped on the front. If you want to help out, reply here, @mention me on slack or text me (number should be on note on the machine).
Here is a non exhaustive list of things that need doing that I’ll try to keep updated:
> New bed made - current one has a slight bend in the sheet
Need a block that goes under the top sheet, must be perfectly level
Need a new top sheet out of something metal/laser proof
> Case and Access Interlocks - currently it has no interlocks
Access Interlock on power supply
Safety interlocks on case
> Make it so laser can’t escape machine
Seal up air vents in left side (while allowing air to enter)
Get some some really thick acrylic/laser proof material for see through panel on lid
> Arduino mega setup
Arduino should be wired correctly
Modified ramps firmware needs to be reconfigured/flashed
> Calibration - all the mirrors etc need to be readjusted and recalibrated
Once everything above is complete everything must be calibrated
Mirrors, the lense and the focus must be calibrated
> Proper cooling system (optional)
Current system uses frozen 1.25L bottles to cool reservoir
Could potentially hook up to existing cooler
> Proper dust extractor system
> Documentation/Induction process
I’d prefer to sort this out with current laser supervisors
Suggestions welcome


