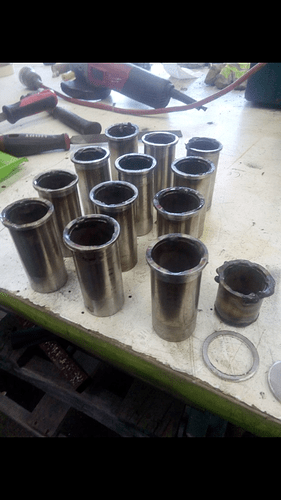
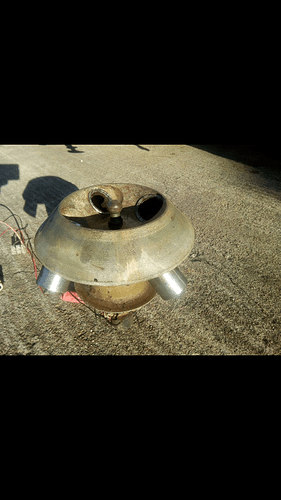
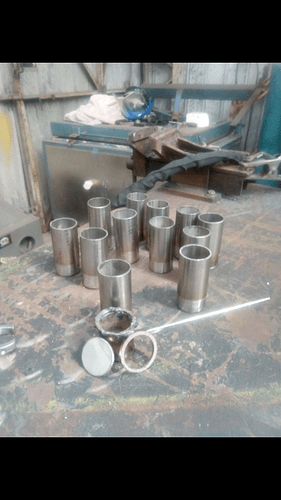
After building many projects successfully at hsbne I am finally putting up a build log for my most ambitious project yet. A machine to remove bubbles from the jewelry casting plaster mix, for burning out the 3D printed designs (leaving the plaster moulding) and for preheating the moulds and for melting and centrifugally injecting silver (or brass, copper, gold etc.) Into the moulds. The first step for me after obtaining the main parts was to make the tubes for the centrifuge. The original was 4 brass 50ml tubes 1.5 inches (38.6mm) in diameter. These 12 are made from 316 grade stainless steel. They have to be in multiples of 2 or 4 because they have to balance. They are 12 because I want to start classes after perfecting the method and the 316 tubing 38.6mm is expensive. I have another 50 of the other stainless parts for more future tubes. More pics and details to follow as the project progresses. Eris.
H Eris,
As I’m guessing you’re aware – centrifuge tubes need to be balanced at very tight tolerances (<0.1g variation between tubes) to stay in balance. We have a few high accuracy balances at work – (good to 0.0001g @ max wt 160g). If you want to use them for balancing the tubes you’re welcome to.
Although I will balance the empty tubes to the nearest gram I won’t bother with the full ones. This used to run with a motor at about 1000 rpm with a o.25g variation without vibration. It’s going to have a pull cord not a motor because I only need a few Gs for a few seconds while the silver sets solid, and a few seconds to get the bubbles out of the plaster (longer would settle the plaster within the emmulsion). Thanks tho if you bring scales (even kitchen ones) on a Tuesday I will balance the tubes then. Thanks 
Update. The bulk of the insulation is in now and the pull start off the line trimmer/whippersnipper is mounted to the base. I will need to find a very flat motor to run the fan forced oven because the plastic pulley and band will melt once I add insulation to the outside of this section. Any ideas?
Side Quest: Microwave kiln and second microwave for kiln work.
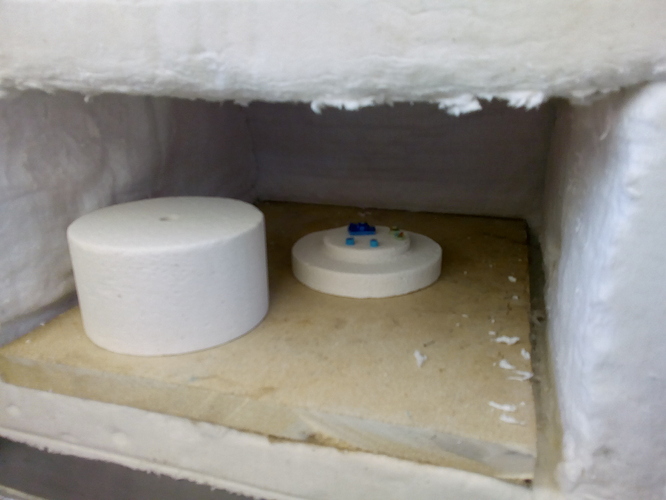
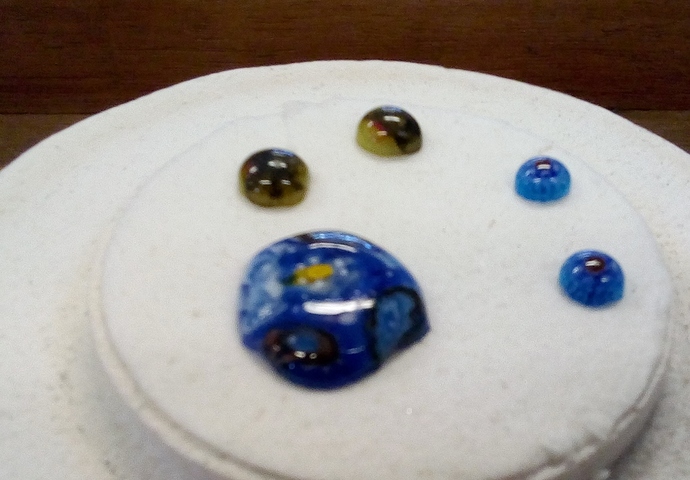
So somebody left an 800 watt microwave in the boneyard, and it was put to use out at casting testing out my new micro kiln. The whole kit was $50 on ebay and came with glass and tools to get started. It is a great and cheap and quick way to experiment with technique. !Here is the result:
https://www.ebay.com/itm/10pcs-Set-Microwave-Kiln-Pot-Kit-DIY-Stained-Glass-Fusing-Supplies-Jewellery-AU/322881790897?ssPageName=STRK%3AMEBIDX%3AIT&_trksid=p2057872.m2749.l2649
wow thats awesome, you got a vid of it running?
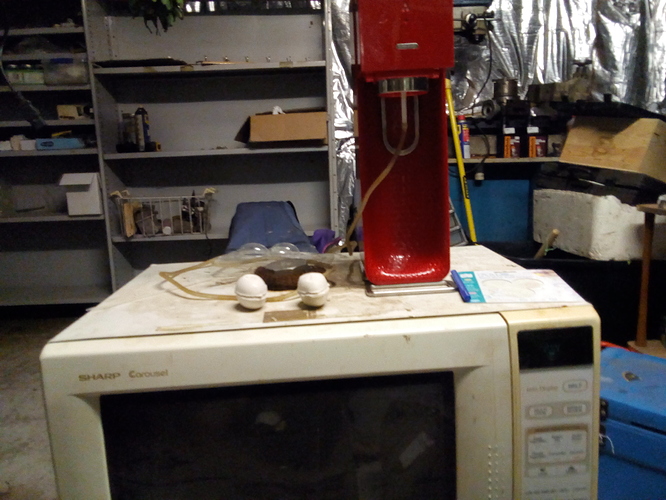
Yes, but just the oven and microwave parts. The inside has been rigidised but the door insulation has not been fitted, neither has the back of the oven element (more than it already came with) as I need to find a fast low torque flat motor to replace the plastic pulley system the oven fan motor has now. I test-melted silver in my oversized centrifuge test crucible using microwaves, but as the crucible did not have extra insulation around it I burnt my thumb through my gloves  I would like help identifying the thermometer as I have seen nothing like it before.
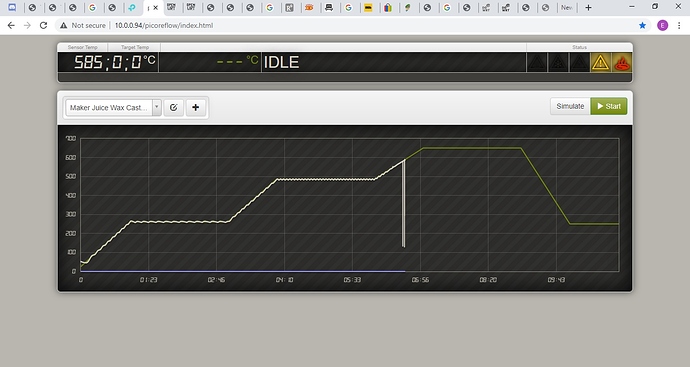
Update: So the microwave kiln nearly has the controller built (thanks to donations and skilled help from Lucas who let me copy his reflow oven software to his donated orange Pi). Now I am making the silicon carbide via a commercial-in-confidence mixture for the internal spin kiln… A process that needs 1400C degree heat. So I am making the parts by covering the egg shapped molds in the mixture then heating 150C to set the cast/ breakup the plaster. Then heating the casts in a microwave kiln (cheap on eBay) in the microwave itself. It’s making its own parts inside itself. The soda stream adds CO2 to the internal microwave kiln before I seal it, preventing burning during the chemical reaction.
google says this about makng silicon carbide… it doesn’t look like rocket science… grind quartz, or quartz sand and carbon/coke/ to powder, mix, then heat to spectacularly high temperatures. like 1900-2500decC I guess whatever secret sauce you are adding lowers the temperature , which is cool. pun intended.
“Typically, Silicon Carbide is produced using the Acheson process which involves heating silica sand and carbon to high temperatures in an Acheson graphite resistance furnace. It can be formed as a fine powder or a bonded mass that must be crushed and milled before it can be used as a powder feedstock. Once the Silicon Carbide is in a powder form, the grains of the compound can be bonded together by sintering to form a very useful engineering ceramic, which has a wide range of uses in many manufacturing industries.”
