Hi All, This thread will be used to document progress on the Lofty bus to motorhome conversion project.
Lofty is a 1989 Scania bus that is 12.5 metres long and 4.1 metres high with the passenger area extending above the head of the driver to the front of the vehicle. The body type is called Apollo and was built by PMC in Adelaide.
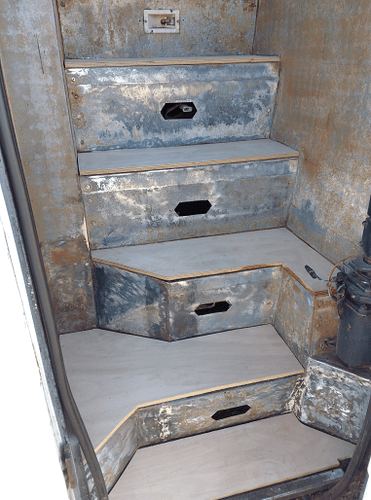
In the past week we have removed vinyl from the internal runway and rear stairs. This revealed some damaged ply underneath and some rust on the framework so we are in the process of sanding the frame and replacing the marine ply. (The orange areas in the image are adhesive).
Mike has been getting familiar with the existing bus electrics and removing redundant wiring.
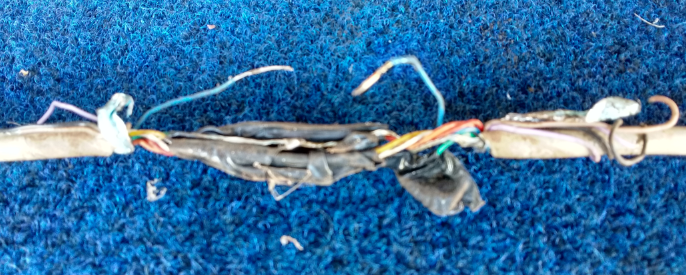
In the past week Mike has continued to remove a lot of redundant wiring, rejoined bad joints and has finished up connecting the indicators and lights as well as tracing a problem that had previously been bypassed.
The floorboards upstairs have been removed to expose a part of the bus that needed to be accessible. This has aided in removing redundant air-conditioning and heater hoses.
Most recently we have also removed lino and carpet from the front stairs and cab. We also removed floorboards in the cab to get access to air-conditioning and heater hoses.
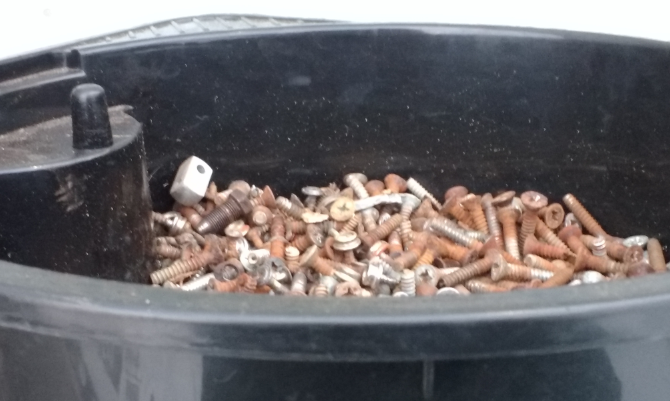
In the past week, we have removed heater hoses and the heater box and fitted the front seats in the drivers cabin. Lofty is currently at the mechanic to get some suspension work done.
Lofty is now back at HSBNE. We have been liaising with the certifier about seat mounting and have started stripping the cab back and grinding adhesive off the walls. We are continuing working underneath the floors to get as much done as we can while we have access to this area.


The last few weeks have been spent on bus mechanical, more issues are found that have to be dealt with:
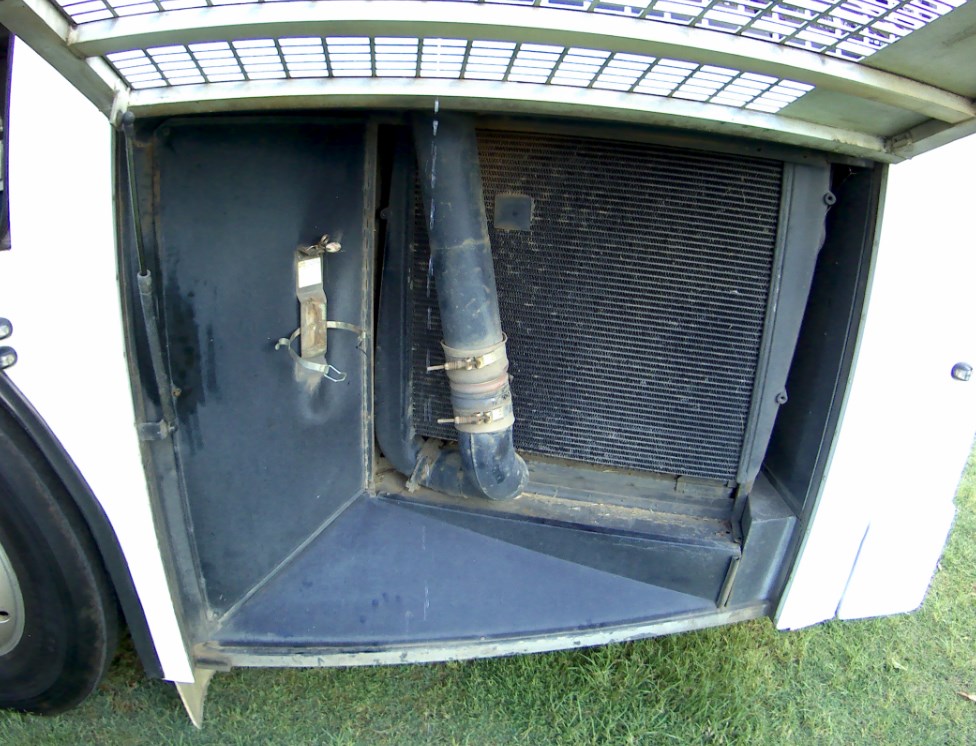
The radiator was not great so got removed, the inter-cooler had to come out with it. The radiator was re-cored, the the inter-cooler tested. Unfortunately the inter-cooler had many hidden holes in it so will have to be replaced.
With the radiator and shroud gone, this gives more access to the turbo side of the engine so the oil return line was resealed (leaking), and the mess it left cleaned up. Another leak on the other side of the engine at the power steering pump and air compressor was fixed. Again unfortunately the air compressor had excessive play in the bearings so it is being service exchanged.
Boost pipes for the turbo have been away being powder coated, work continues with wiring and cleaning the under-body.

The inter-cooler after removing,
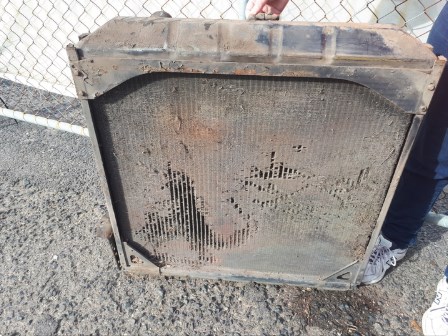
The cooling fins on the radiator were very corroded, The patch to the lower left was made by running my fingers down the fins.

The radiator after re-core and before painting.

Turbo side of engine.
Hi folks,
Well it has been some while since a log, I will make a few logs over the next few days to catch up to where we are at.
Progress has been made with the inter-cooler and radiator now mounted. Boost pipes and radiator pipes have been blasted and powder coated, new silicone joiners for both.
The cowls were painted and re fitted using nutserts rather than pop rivets.
The frame work got buffed and painted
We had leaks inside, mostly front and rear. We got Pheonix Glass to reseal the windows, they did a fantastic job. Apparently this is a 5 year maintenance job for city buses.
A new electrical cabinet is currently being installed to tidy wiring, intake system still needs reinstated.
So, I fabricated a new bumper for the bus, the old one was rusty and also had repairs.
I got 2 channel pressings from my sheety, butt welded them and then notched the ends to suit the profile from the bus. I bent the ends around and trimmed to suit.
The rear of the bus is not flat but curved, so some heating and cooling was done on the flange to contract the flange and create a curve. All went well and the bumper is currently getting powder coated.
Since the last build log there has been several areas where progress has been made.
Mike found rust in the intake port to the air filter so he fabricated a new air intake section which fits onto the filter.
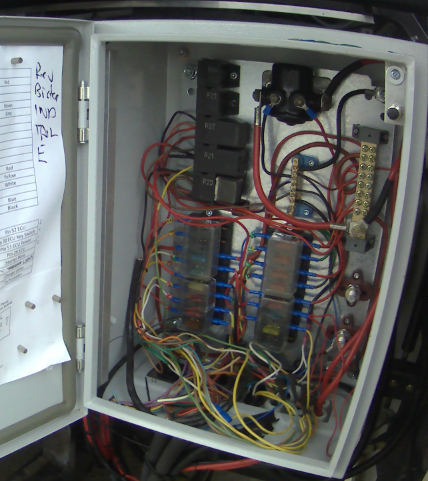
Mike has reached a milestone dealing with the electrical circuits, getting rid of unnecessary wiring and fitting an electrical box.
We have been liasing with certifiers about the seat rails and Mike has welded in extra support to mount the seats that we have on rails for upstairs.
Since the old horns were broken I decided to 3d print a horn for the bus. We tried it out and the sound was like a big boat horn which was much better than the squark that it made without the horn. Mike discovered that is was weak around the neck so we have inserted a aluminium sleeve inside the end near the thread which has made it much stronger.
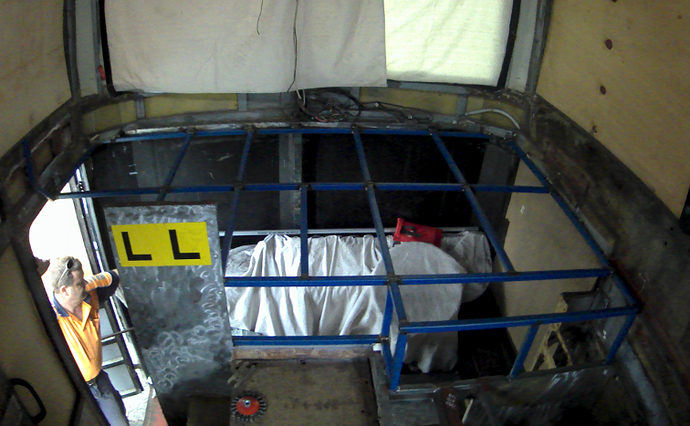
Mike has cut out a lot of the floor above the cab. This is to provide extra head room in the cab as the front will be a couch which can have less space underneath so the height isnt required upstairs for this part of the bus. It took over 40 cut off disks to achieve this. Once completed Mike has cut and welded a frame to go beneath the couch. 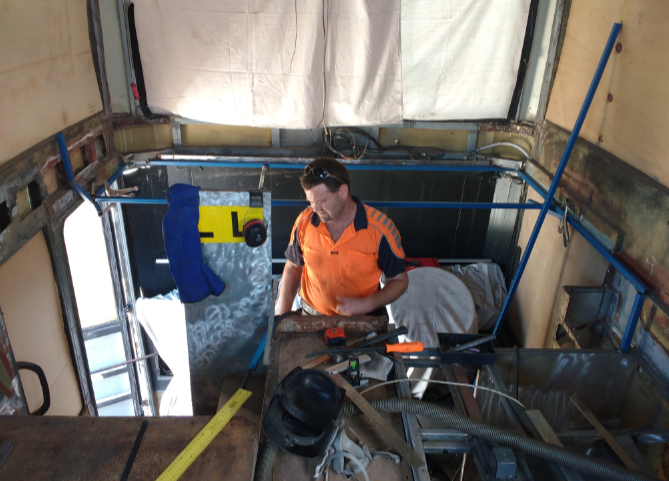
And here is a photo of the bumper, powder coated and complete with safety stickers.
We have spent most of the last month working on the cab section of the bus. We found out that the air suspension seats require tie downs to have points to be secured to behind each seat. Mike has welded in steel channel and plate to create these points. The assessor was happy with his work and we now have compliance plates for all of our vehicle seats.

We have spent a bit of time preparing for carpet in the cab section. This is an image of a 3d printed piece to provide a pleasing shape for the carpet to adhere to. AJ helped by chamfering the timber.

We had an expert do the initial part of the carpeting and Mike watched his working methods and has picked up some techniques. I cant tell who did which part just by looking.


I cleaned up the extrusions and Mike added a channel underneath for LED downlights.
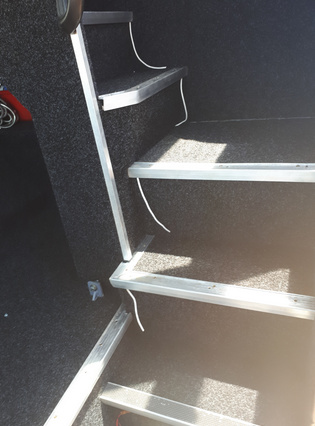
Over the Christmas and New Years Break we have continued making progress on Lofty. Having moved more focus to inside of the bus it is easier to see progress now than it was before.
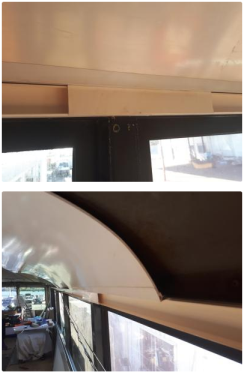
There has been significant work at the back of the bus. Some of the tasks included brushing/grinding of original metal surfaces, cleaning and taping, fitting insulation, thermal break and installing timber panel and aluminium composite panel. (The white strip shown in photo 3 is the thermal break)


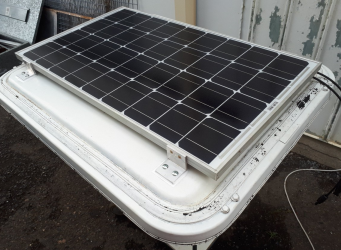
Mike has installed a solar panel on the top of one of the roof hatches. It was the right size for the hatch and a good use of the space. This will run a 12v standby system.
The frame that forms the top of the shower and the side of the toilet has been welded into position. This has provided us with the insight that when we walk along the bus runway our arms swing wider than the walkway itself and has led to changes in the layout (luckily no changes to existing work are needed). 
Trunking has been screwed into position above the windows and with a roof panel temporarily in position it provides a snapshot into the future of the build.
In the last month we have made good progess on Lofty.
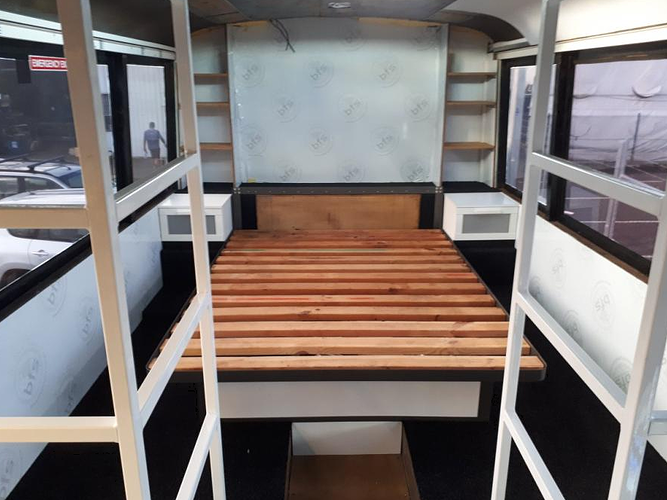
At the rear of the bus this has included lining the walls with aluminium composite panel. Mike has done a great job on the flip up bed. The welded frame matches the corner radius’ of a mattress and it doesn’t have legs at the corners to provide greater foot room down the sides of the bus. Mike has also used Ikea sliders with a custom front to create soft close drawers under the bed.

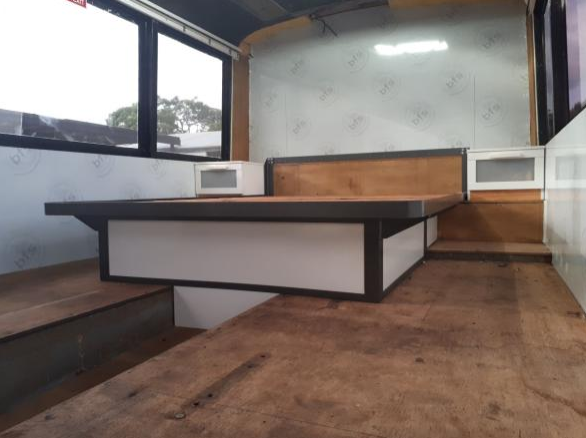

In the kitchen area we have made progress assembling installing Ikea cupboards. The ways in which the installation differs from a regular kitchen one is that Mike needed to weld a horizontal bar that sits behinds the cupboards and we designed and fitted 3d printed inserts to go inside the feet that enabled us to bolt the feet from underneath the bus floor and allow for a bit of height adjustment.


All over the bus we did window tinting. We bought a 30m roll of window tint and really enjoyed putting the tint on the windows. This cuts 95% light and 65% UV, For windows this big it is definitely a two person job. Since all the windows are flat it was a lot easier than it could have been. It has made a big difference to the temperature and how comfortable it is in the bus and now everyone time someone walks past outside they wont know if we are waving at them.

In the wardrobe, fridge and toilet area Mike has designed and welded up frames for the walls. This gives and idea of how the space will look when these areas are complete.
These will be powder coated and clad with ACM.

In the last month Mike has measured built the shelves on either side of the bed, laid carpet and installed the frames for the wardrobe, fridge and toilet after getting them back from powder coating. Each of these installations has been an exercise in careful measurement to allow for the rounded corners and to create vertical structures in a bus that doesn’t have any vertical walls.
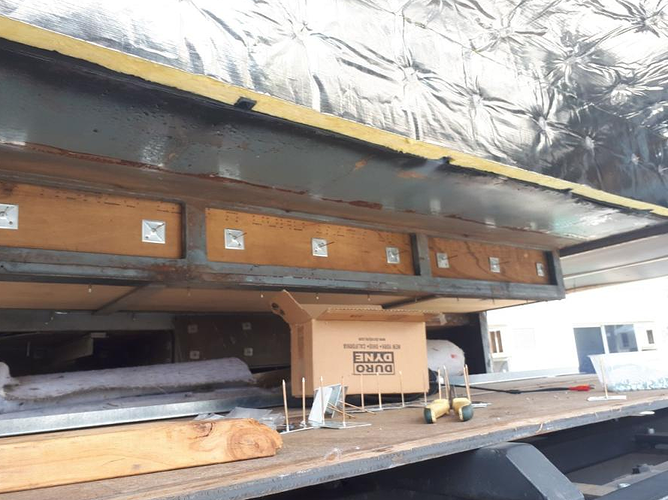
Mike has also installed insulation between the underside of the bedroom and the area above the engine bay with the help of some rather pointy fixings.
Mike has also printed some adaptors for a fan which is now installed under the bus that provides airflow through the floor of the bus.
I have been cleaning some more of the step edge extrusions and cutting aluminium channel to house led’s underneath. In the gap between the underside of the step edge extusion and the led channel Mike has glued in 3d printed blocks to keep the channel in position.


And now we have some step lights.

It has been a busy month with most of the work being done inside.
Mike has cut out a lot of aluminium composite panel in complex shapes to fit around the edges of the bus and to clad the frames that have now been powder coated.
At this point none of the cladding has been permanently fixed since we haven’t finished doing extra low voltage cabling around the bus.
I am looking forward to lining both these sides with mirrors to create an endless reflection.

Mike has also welded a frame to hold the fridge in place during travel that connects between the wall frames on each side of the fridge.

I cut out a timber template to check that the diagram created for the front of the shelves at the back of the bus would fit and found that modifications were required.
We got a bit more of a handle on things in the kitchen department.
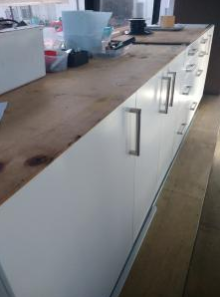
Mike has been working with timber to create a workspace area. This will house three 3d printers and a large screen display as well as some nifty storage.

By nifty I mean pull out drawers and a shadow board. 
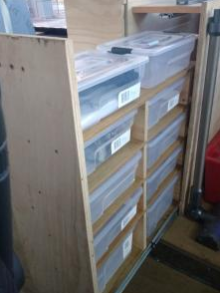

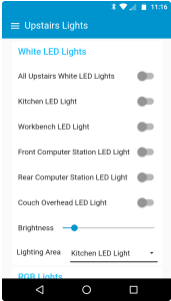
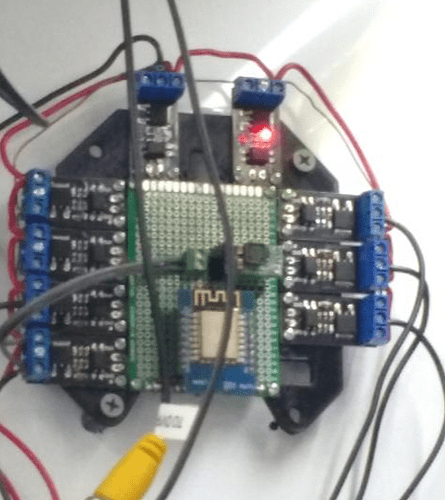
We have also been working in the electronics area to make lights and other components within the bus automated. We have had some amazing help from people in this area.

