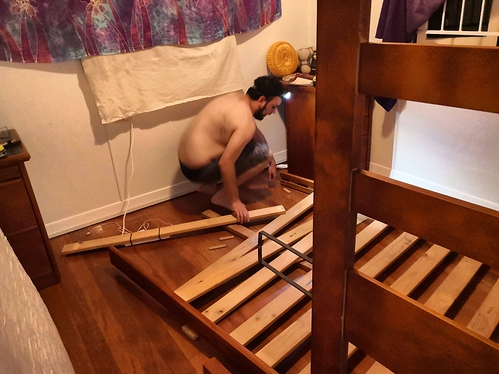
Gather round to hear the tale of the bed frame! Our journey begins in the far-off time of November 2019, when the second-hand bedframe I got from Lifeline a few years ago finally gave up trying to support two adult humans and two small dogs. Brendan tried to patch it up, but it was time to find the replacement.
I tasked Brendan with finding the replacement, and in true Brendan form, he found a project, and planned something he knew I would like (I have a love for Jarrah).
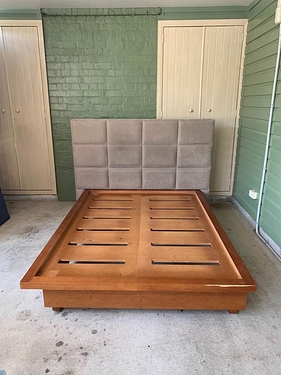
First, he found a frame on Facebook marketplace that would be workable:
The torsion box wouldn’t need anything doing to it, but the fabric panels were ghastly, and cleaning anything like it is a PITA. So after overloading the car with it and getting it home, he pulled off all the panels and we got to work undoing all the staples in the bedhead
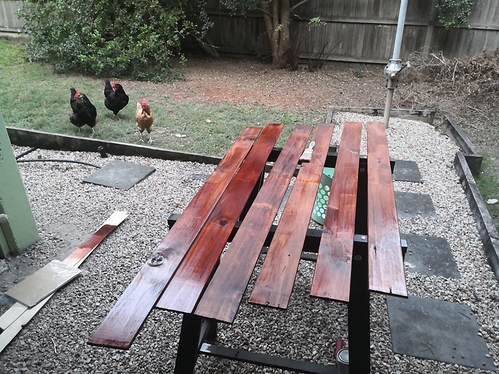
We sanded it down a bit to make sure we got everything off, and planned to use parts of the old frame to clad it. We took all the pine boards, cut them using the bandsaw and then planed them down as thin as possible- the bedhead is already heavy as hell, we didn’t want to add too much to it. we ended up making more cladding planks than we thought we needed, but that ended up being a good thing.
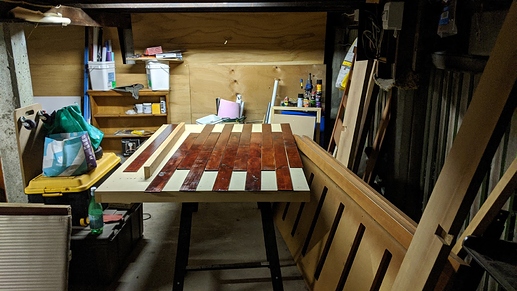
We worked out which of the planks looked the nicest, and fit together the best. We had looked at angled and other fun designs, but decided to keep it simple in the end.
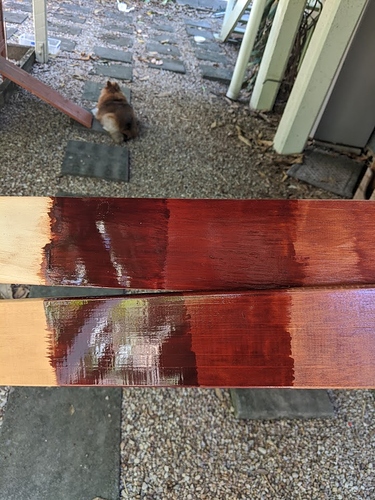
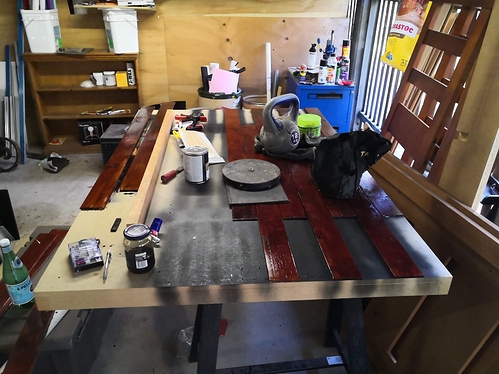
Next steps were testing the stained varnish to work out which look we’d prefer, we tested Watson’s Jarrah in gloss and matt, the matt was more brown than the gloss, and we figured out that two coats produced the look we liked the most.
The Jarrah matt The Jarrah glossNow we had to rinse repeat to get all the planks done
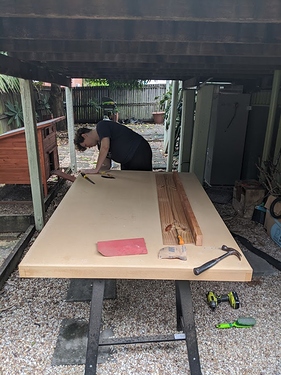
In this point in the story winter had become a thing, and the afternoon light was going before we could get home to work on it, so we moved everything underneath the house to continue. Something to note- I first inspected the house by myself, and walked around underneath with no issues. Brendan is a good ten centimeters taller than me, so he put up with a few head cracks to get this done!
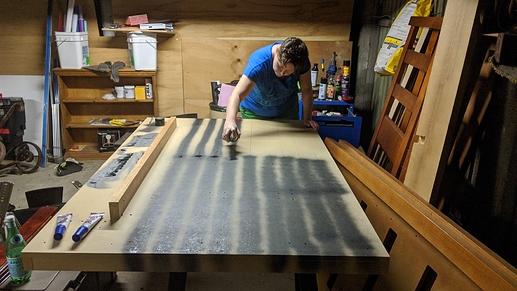
We needed to make sure the panels would still look good together after staining, and we noted a few hairline gaps where the beige colour of the headboard showed through, so we got some black spray-paint to hide that problem.
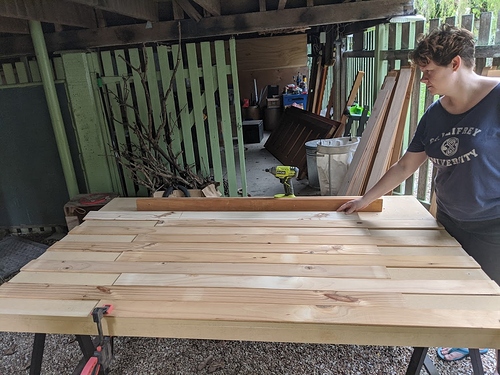
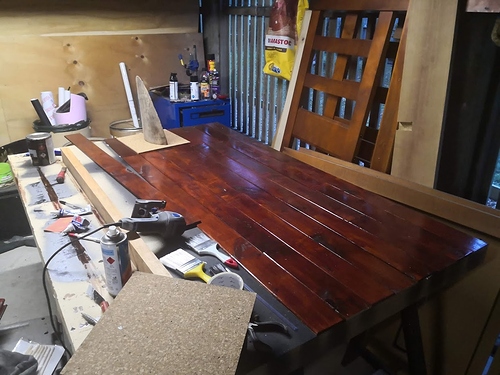
Next was gluing the main panels in place, (which we debated over, Brendan wanted to use mechanical fastening, I was sure glue would be fine) which would had been an easier job if I’d let Brendan persuade me to buy a caulking gun.
Using all the random junk to weigh planks down:
It started to come together nicely, thanks to all the extra planks we could cut up pieces to fit in the remaining spots. Not all the pieces had ended up as the same thickness, but that produced a pleasing effect, so no worries there.
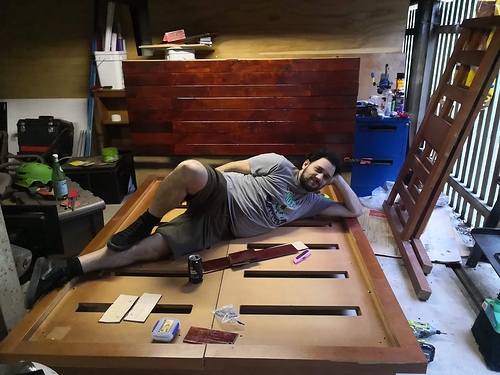
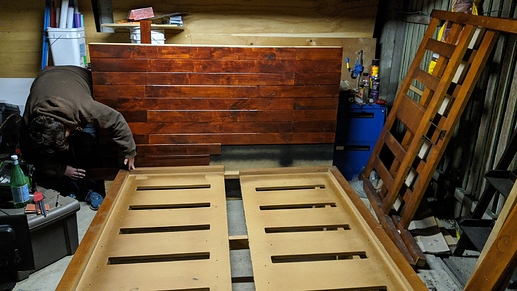
We did a test fit to make sure we were on track and work out next steps
We worked out we’d need to some some smaller pieces around the torsion box, and some sort of framing pieces along the top and sides to hide the rest of the beige headboard (and some of our sins)
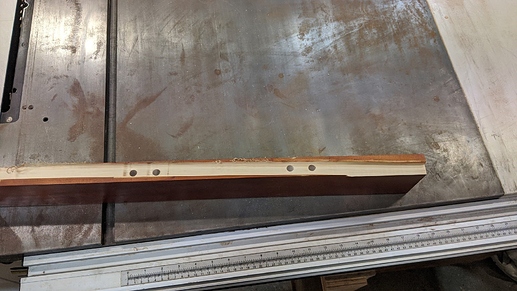
We decided to use more of the old bedframe (pictured above to the right) to create the ‘framing’ for the new one. The small pieces were a doddle on the scroll saw, but we ran into issues with creating the framing pieces.
The idea was to cut two rectangle prism piece into L-shaped pieces, and these would go along the sides so the long arm of the L would cover the sides, and the short arm would just sit over the edge of the planks, hiding some of the shoddier cuts. We haven’t managed to work on fixing this part yet.
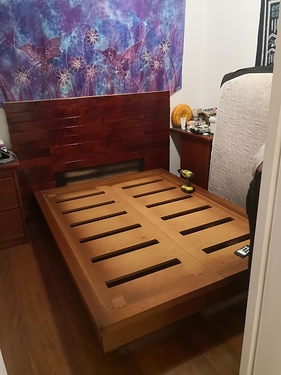
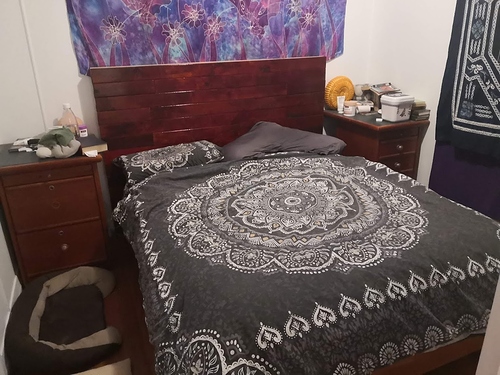
Unfortunately, we were getting to the point where A. I was sick of sleeping on a mattress on the floor and B. We were having a mate house-sitting for the weekend, and I didn’t want them sleeping on the floor. So we got the small pieces glued in place, then got it up to the bedroom and assembled:
picture is for presentation purposes only, usually there’s two quilts to prevent quiltwars
So, we still need to fix the side pieces, and we have a long piece of jarrah that we want to place along the top as a kind of mantlepiece, it’s long and thick enough that I do agree that it’ll need mechanical connection, but not sure what, as it’s something that needs to look nicer than just straight nails or screws.
