This is the Piano stool/‘bench seat’ I’ve recently finished. It serves as a kind of casual stool as it’s about twice as deep as a normal piano stool. This wasn’t really intentional, I just didn’t think of the correct proportions! 
The frame is made of reclaimed hardwood, and seat base is a piece of veneer chipboard upholstered with 50mm foam and sueded velvet.
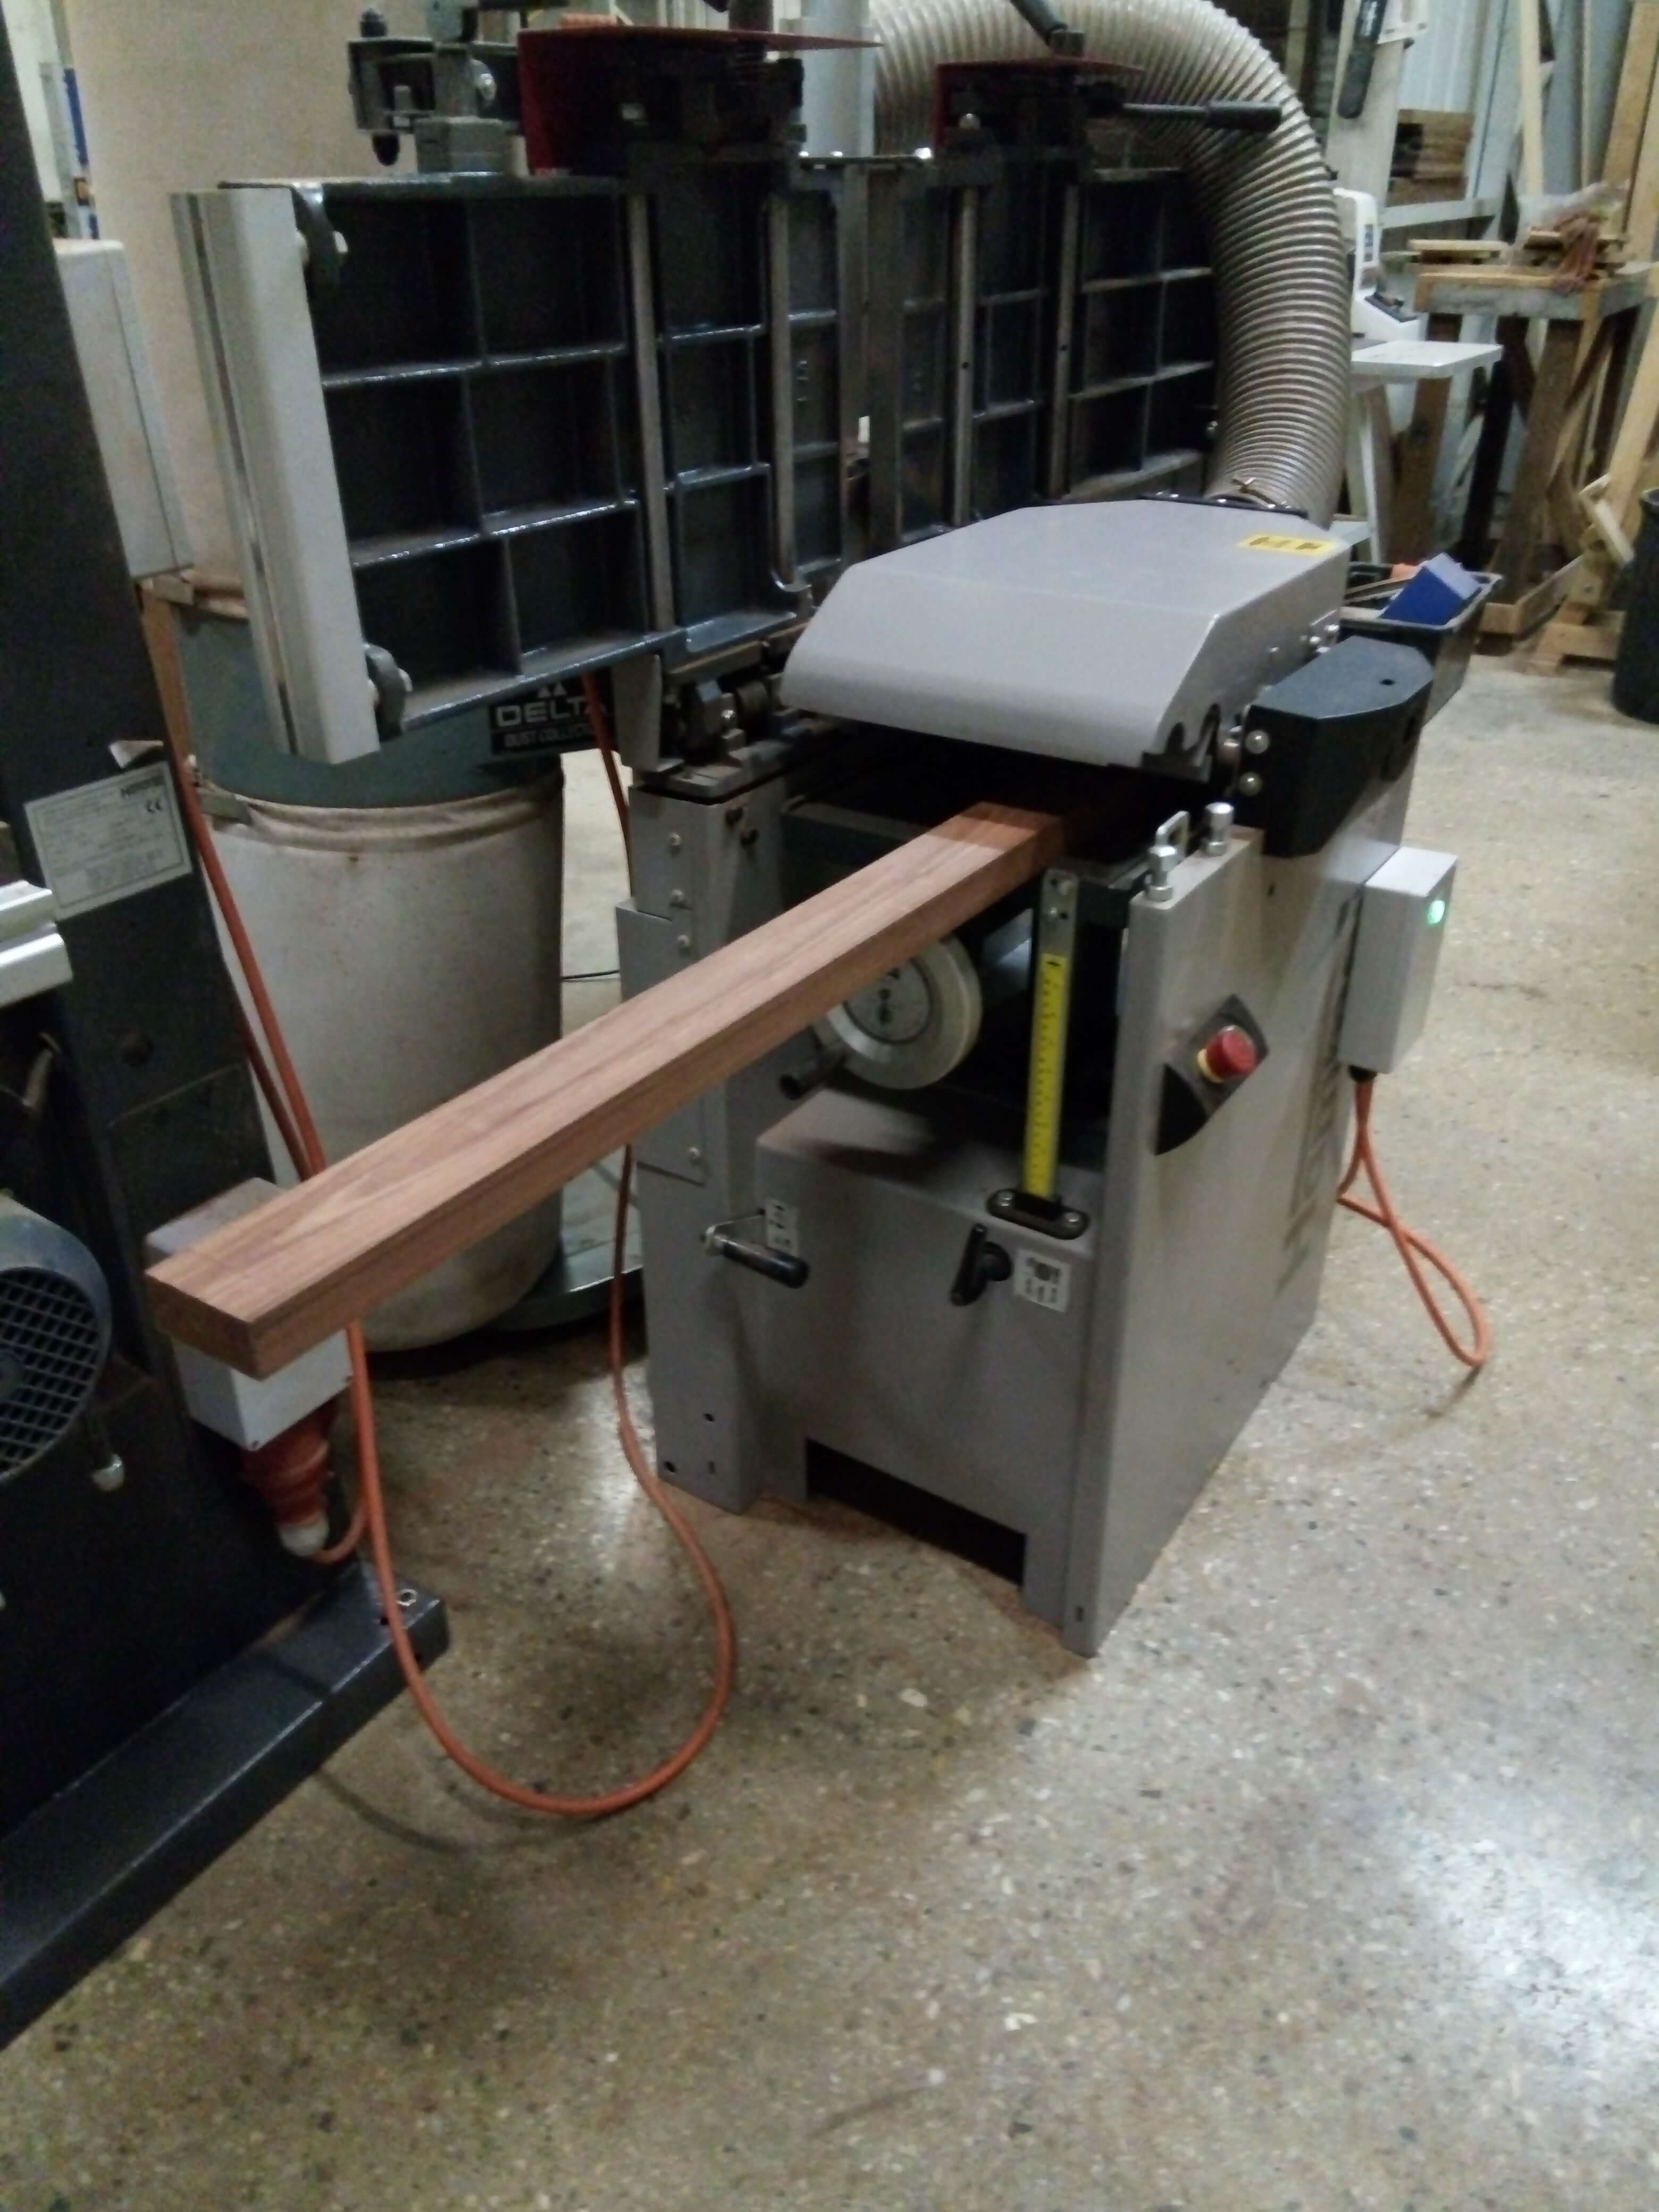
I didn’t take any photos of machining the rough bits of timber, so I’ll jump straight to cutting up the dressed pieces.
I had to make a jig in order to cut the tapers I had on the insides of the legs. It worked surprisingly well!
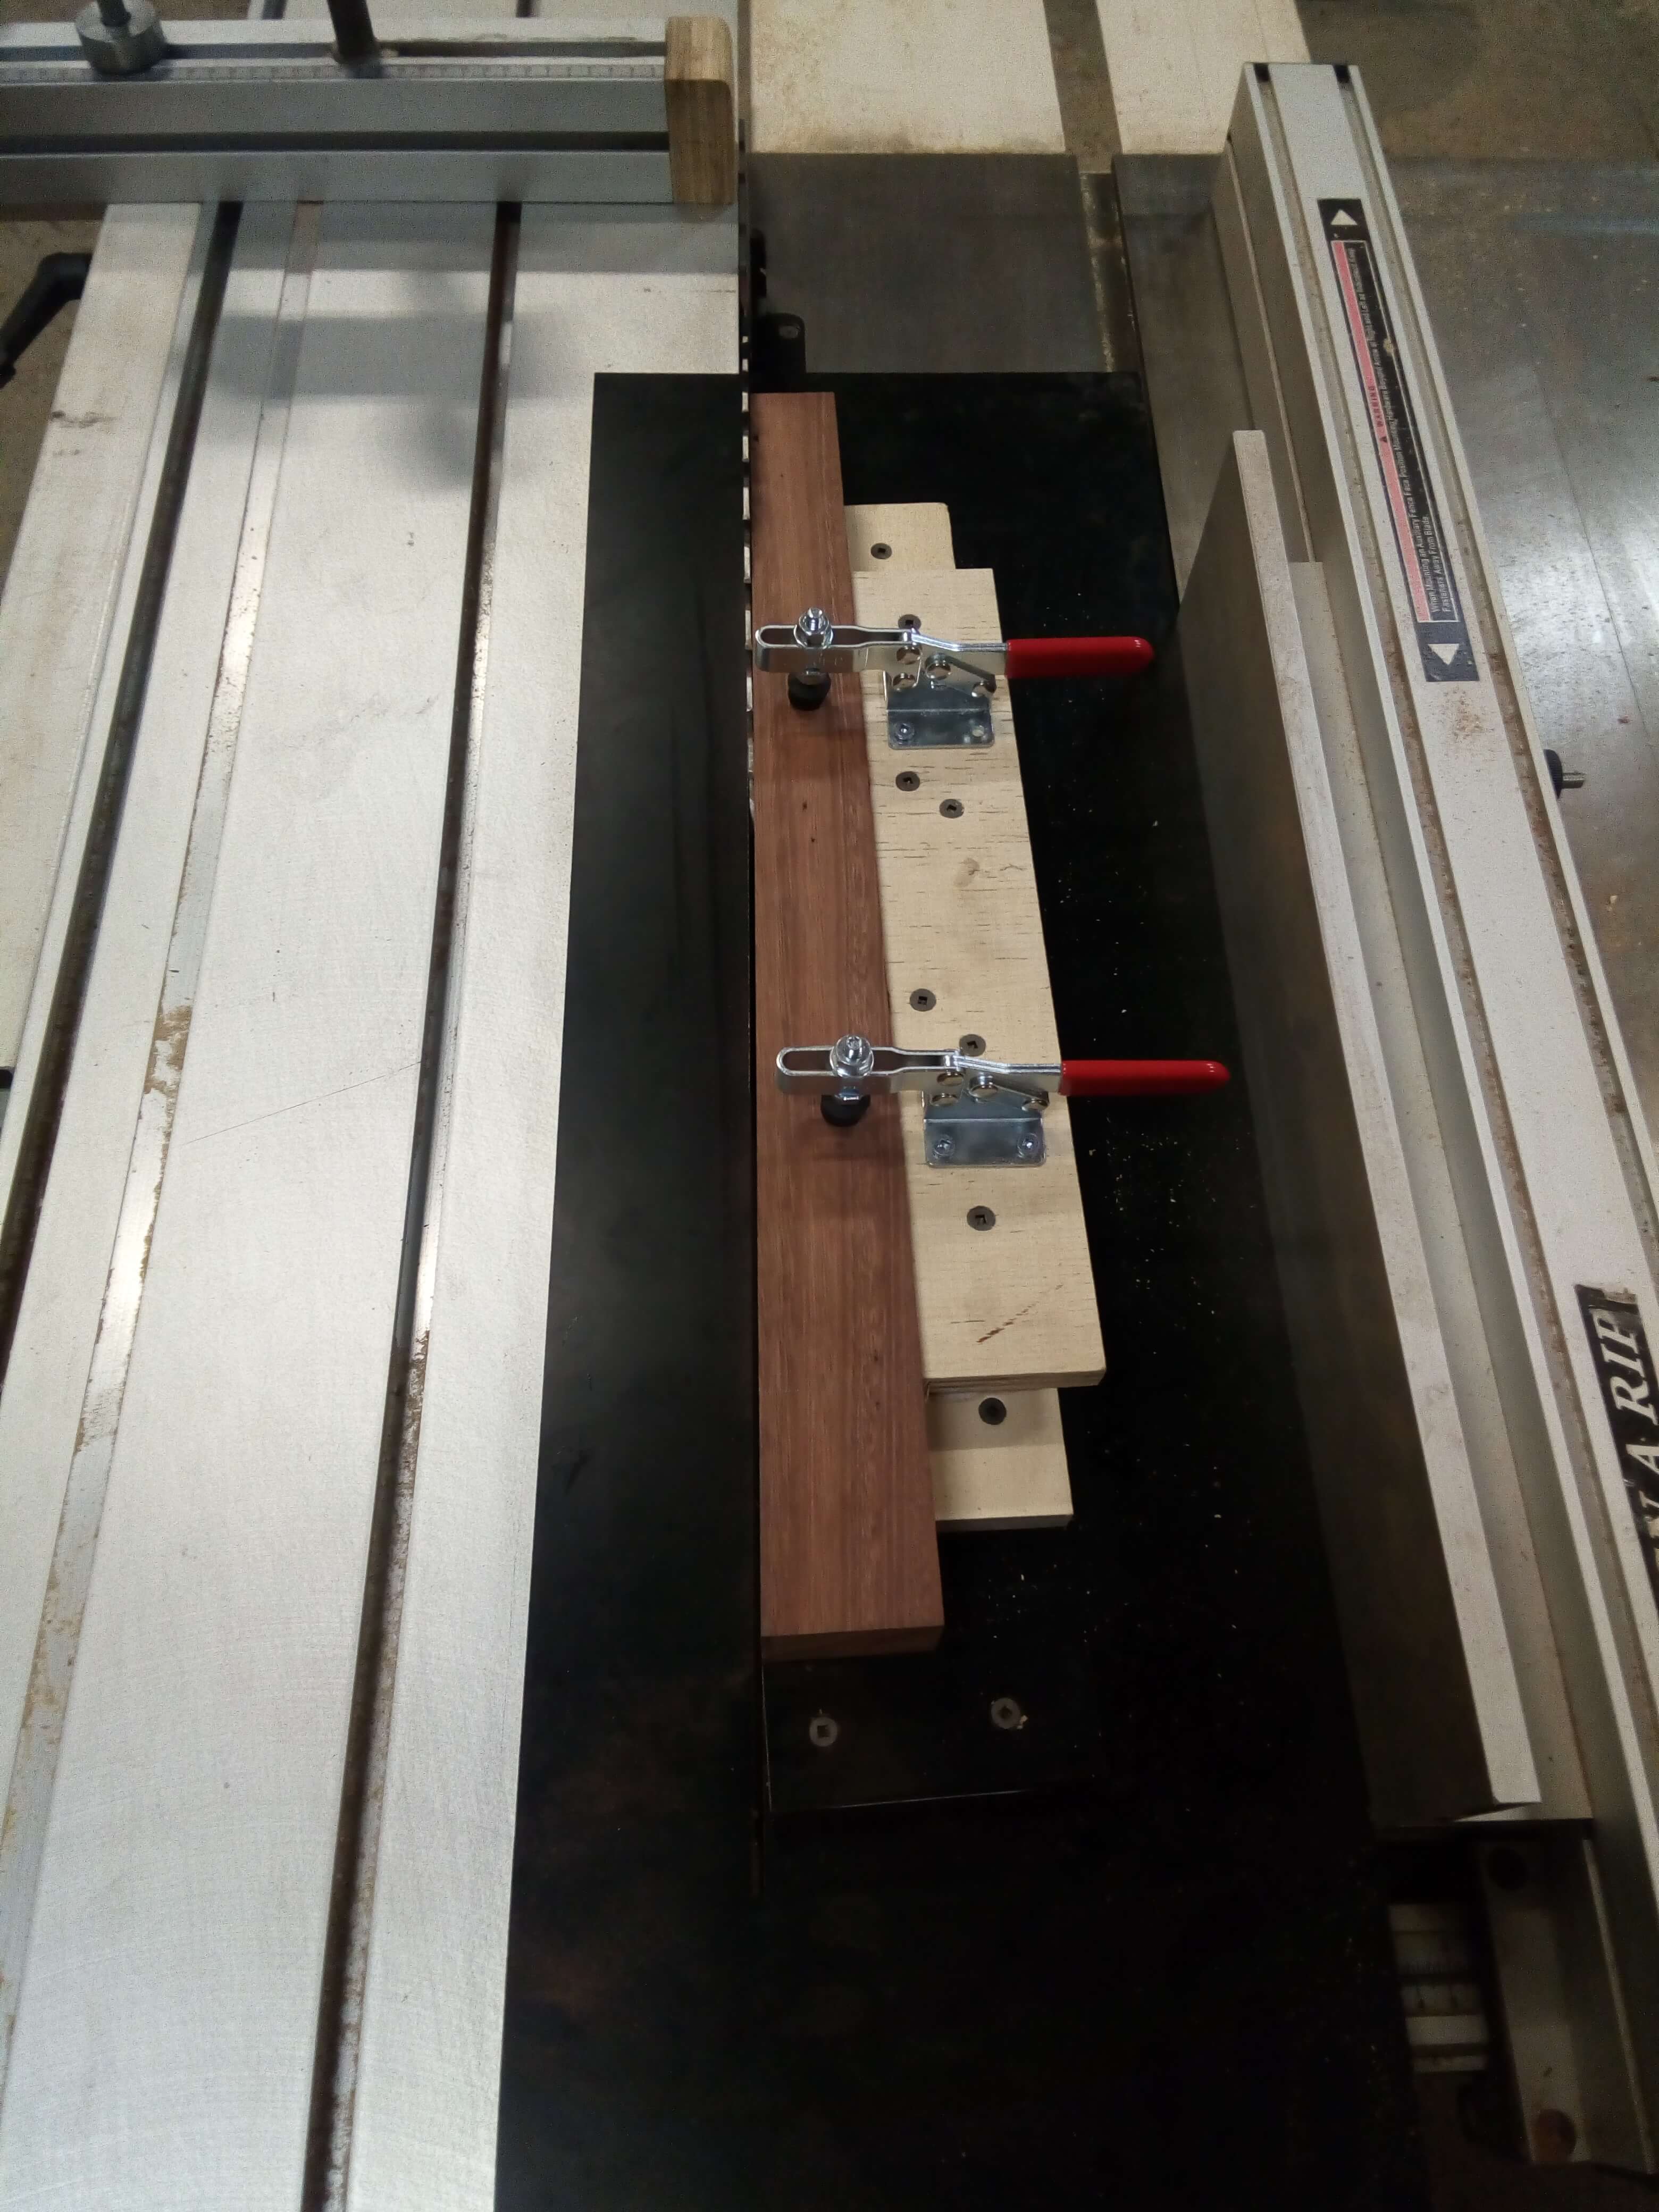
I had to put a couple of packing pieces of MDF/plywood to secure the leg once I cut and flipped the taper.

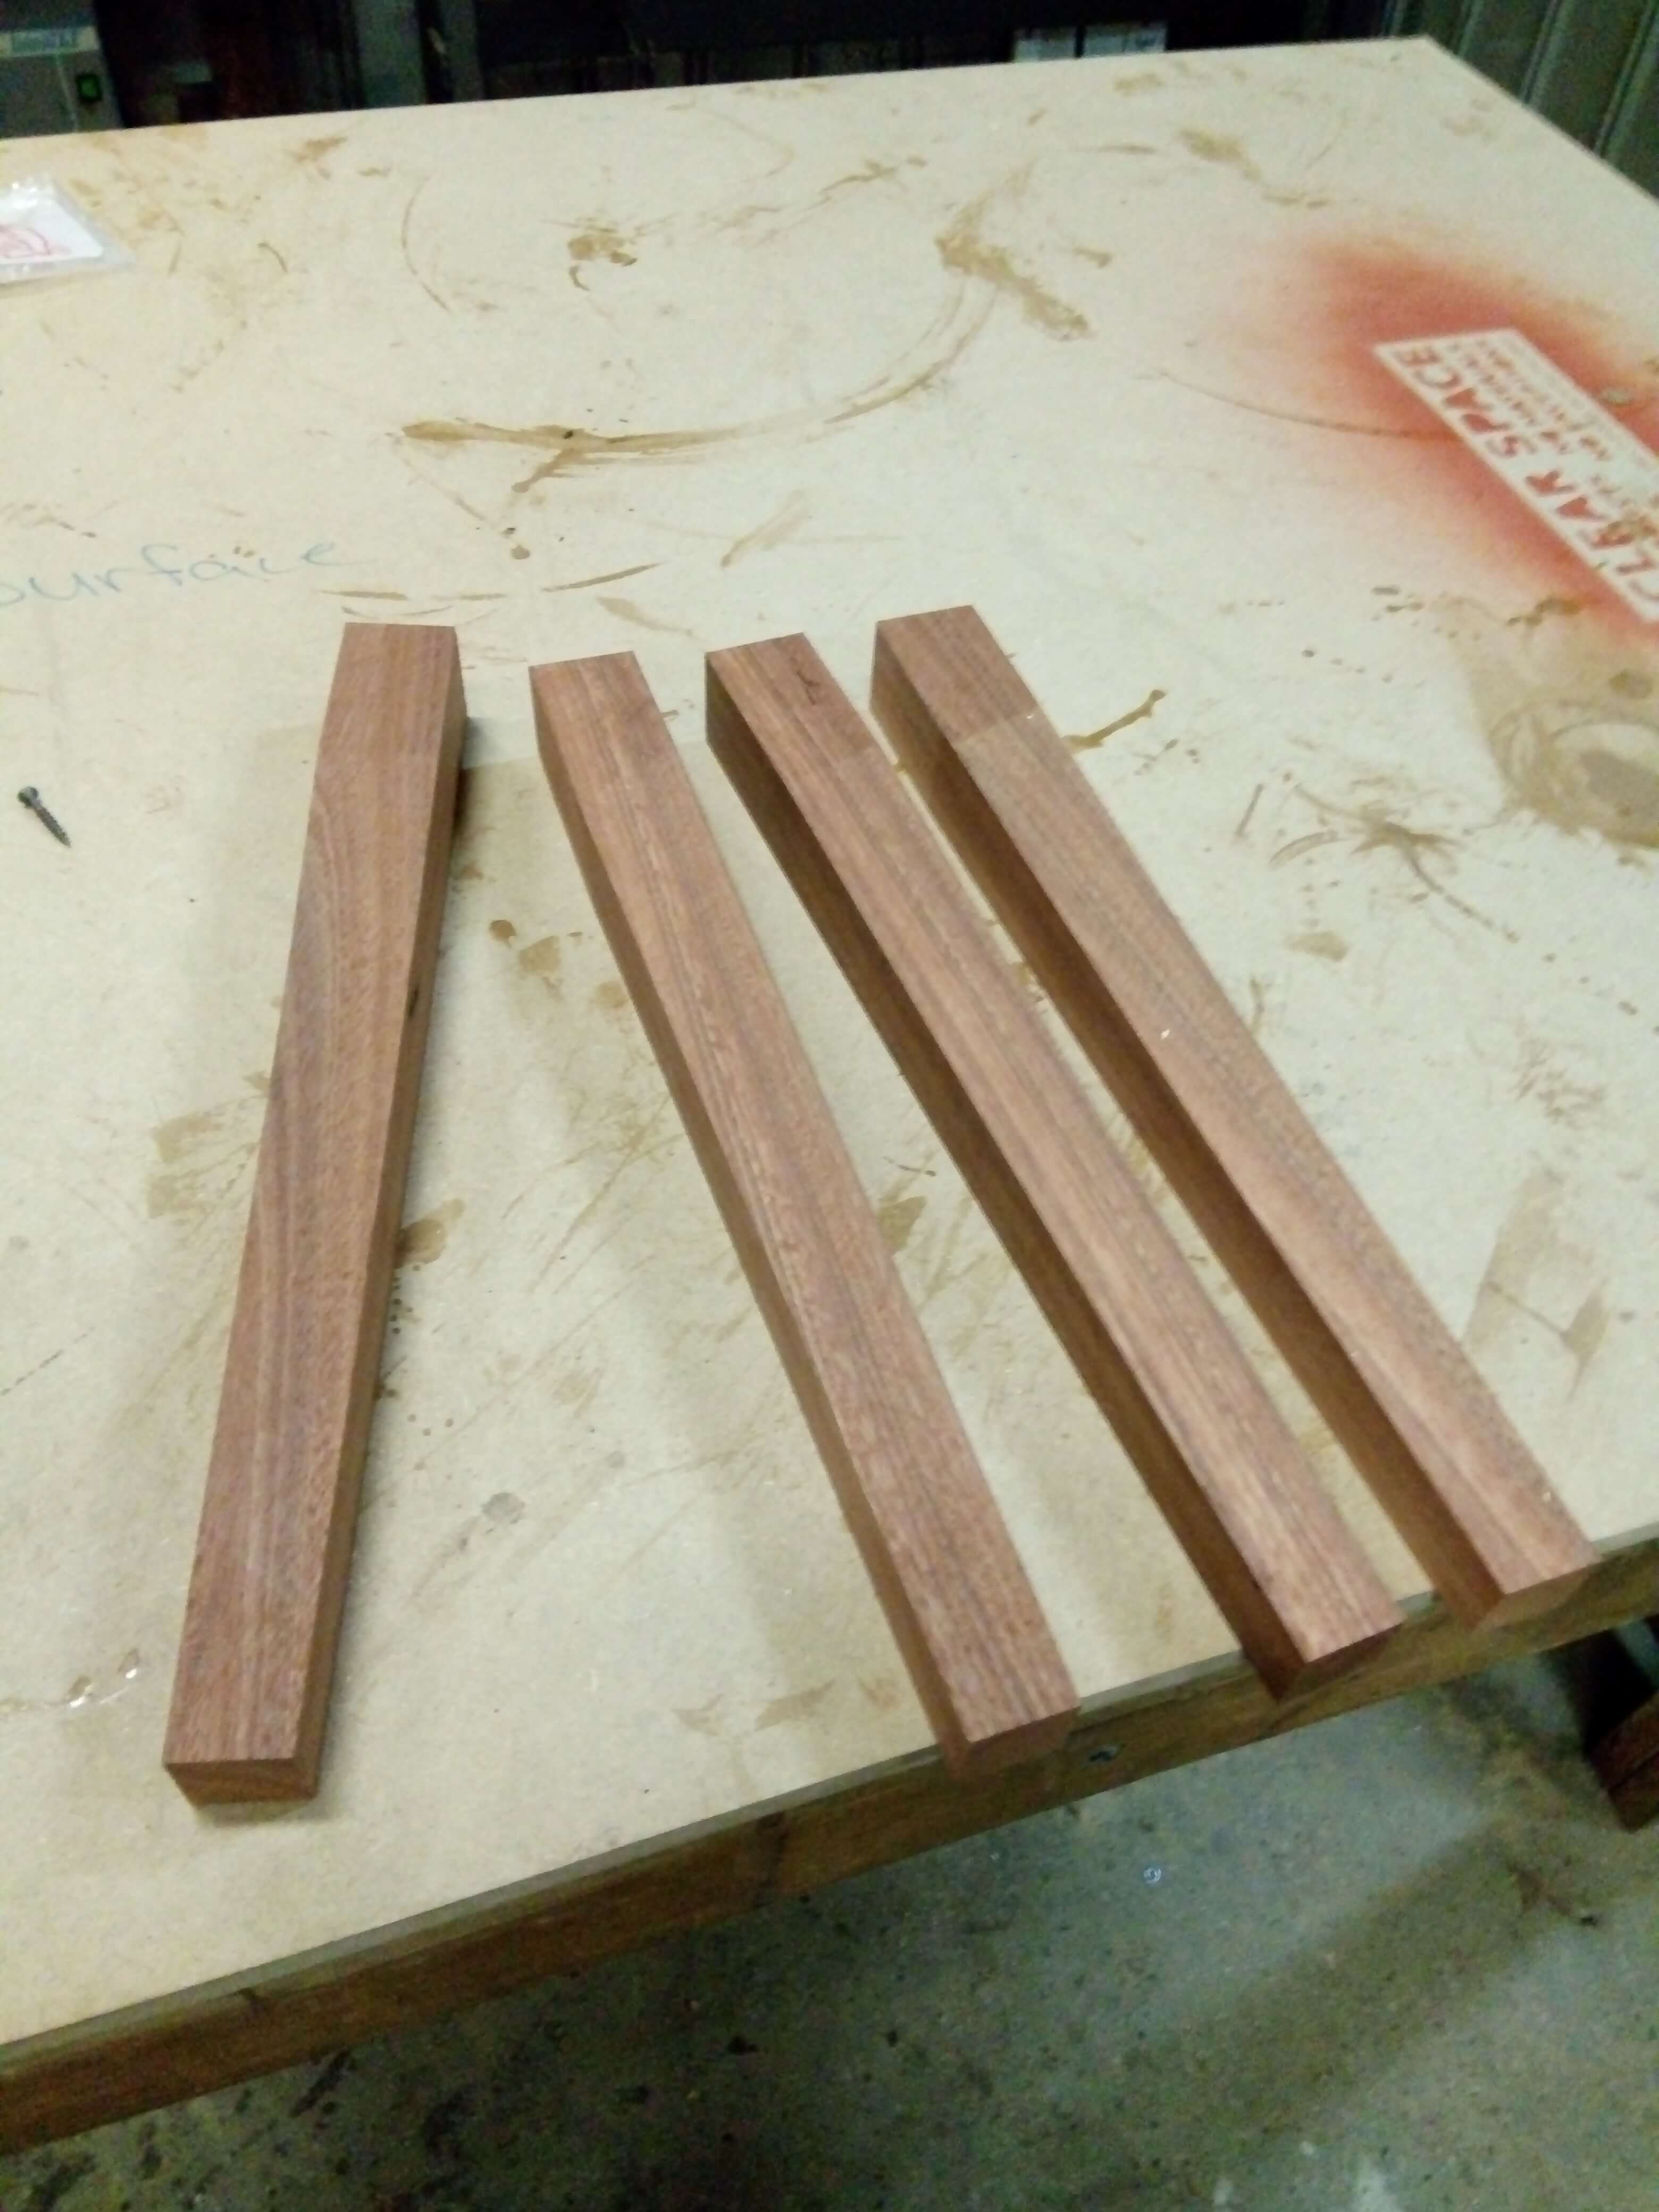
The 4 legs with inner tapers cut. To remove the saw marks I gave them a quick sand with an orbital sander.

The rails were then ripped on the table saw, and remachined to the finished size.


All the parts are now ready to have the dowel joins cut.

I used a self centreing dowelling jig to drill the dowel holes. This is where I encountered a few problems. When I originally bought the jig over a year ago, I was a bit stinghy and got it off Ebay. It was half the price of the exact same model from Carbatec. Without realising, I had purchased an imperial version and not a metric one. I didn’t have any imperial drill bits on me, so I used the closest fitting bit I had which was 9mm. My second problem was having to buy dowel by the metre length instead of in a packet(dowels usually come in 6, 8 or 10mm size packets) as I had used a 9mm drill bit.
Once I had cut my dowel into 50mm lengths I had to sand them down to fit the holes - about 0.5mm difference. After checking that all the ‘sanded down’ dowels fit snuggly, it was ready to get glued up.


The two short rails and legs were clamped up first.

Now the two long rails are used to join the two sides of the stool together. Holding the green sash clamp and two pieces of wood up while gluing it together was an interesting task. Like a game of Twister with wood glue covered fingers…

Fresh out of the clamps after a day of drying.

Corner blocks were cut and glue/screwed into place for extra support. Ideally I should’ve used some soft wood instead of offcuts of the hardwood. It would’ve been easier to screw together. After sanding and cleaning up the joins, it was finished with 3 coats of oil based matt varnish. The dark black spots above the joins are where the glue made contact with the metal clamps and left a stain.


Four strips of wood were cut to length and nailed into place. This stops the upholstered seat from sliding around.


Spray adhesive was used to stick the foam to the veneer chipboard base. I did a lovely hack job of the foam ‘chamfer’ 

The fabric was then stapled to the underside of the chipboard base. I used hand staple guns for this, not pneumatic staplers(doesn’t matter either way). The first staple gun was an american brand ‘Arrow’, it was great. But it ran out of staples and I had none spare so I used the Trojan staple gun. Probably 40% of the staples weren’t able to penetrate the base fully so I had to tap them in with a hammer or remove and retry. There wasn’t any consistency with it’s firing ability, it was a cheaper gun from Bunnings a few years ago.

The finished piano stool -


Overall I’m pretty happy with the end result. It’s the first piece of furniture I’ve made using machined timber. Lots of things were learned along the way. It might be hard to gauge the scale of it. It measures 51cm deep by 95cm long. It looks quite massive sitting under our slim electric piano. As mentioned at the beginning, it’s about double the depth of a normal piano stool. I’ll also have to trim the bottoms of the legs off by a couple of centimetres as the 50mm foam increases the height just a little too much. Next time I might actually draw some plans up instead of working it out along the way 