This post is going to be a bit big. That’s because I’ve made a lot of progress with this popcorn machine, but I tend to post my updates in the Slack vending machine channel. Check it out if you want to get involved with helping repair this machine (I have some easy tasks I’m keeping just for others who want to assist so I can focus on the trickier parts), or if you want more information than what I post here, or even just up-to-date coverage!
Just a minor correction to what Nog said above - I’m still going with the step 1 cleaning, I haven’t sterilised any surfaces just yet. That will happen later on when I basically clean everything all over again… And it’ll be much quicker the second time since I’m not removing decades of gunk & crud from everywhere! For those who might be concerned about eating things cooked in a vending machine of unknown origin or past owners - I’ve actually got more than a passing familiarity with the food safety & handling standards, since I was a co-founder of a food-based start-up after all. What’s more, I happen to be rather picky about cleanliness with rather high standards myself (you might’ve seen me cleaning the space almost every week), so I can guarantee this vending machine will be spotless by the time popcorn is offered for sale. 
To give you an example of the things I’m cleaning inside this popcorn machine, here’s part of the stainless steel chute after the hot air popper, half-way through its cleansing scrub:
(clean vs original… So many years of baked-on oil, gone for good!)
This popcorn vending machine is incredibly modular and it’s actually very well designed, WAY better than both our drinks machines. It’s actually been pretty easy to access & clean most surfaces, since almost all parts are just hanging off hooks and most of those parts are just folded Stainless Steel that’s being held together without any screws, bolts, or other such things that would be difficult to clean. I’m almost done with the first pass of all the relevant areas inside the machine, I only got the kernel holder & dispensing auger to go.
(Power control board on the top left, CPU boards top middle, corn dispensing auger top right, corn kernel holder mid-left, power transformer lower middle, coin acceptor lower right (a CashFlow 560 24V whose most recent service expiry was July 2000, by far the most-recently-serviced coin acceptor we have). All so easy to access thanks to these pull-out drawers)
The bottom surface has been completely cleaned of gooey gunk and I’ve removed all the old kernels from all their hiding places inside the machine. Almost all wingnuts are accounted for - we have 15/16 (though one is damaged and unusable), and we should be able to make do with this for now. Also, there were a lot of kernels hiding in some places. As in, here’s my dustpan once I was finished:
(SO many unpopped kernels inside the machine)
The search for documentation about this machine has turned up pretty much nothing other than that patent application (including such attempts as checking Rowe International’s website’s history on the Internet Archives). @sjpiper145 managed to find the contact details of one of the original inventors of this machine and emailed him - he sent us a brochure about the machine and he’s going to see if he has anything else stashed away anywhere. Thanks, Steph! 
rowe_popcorn_machine.pdf (471.8 KB)
This thread is now the best source of information about this Rowe Popcorn Machine on the entire internet. Mwahaha. 
All the electrical connections have been cleaned with contact cleaner, and almost all the electricals are in a good state. A few things need some work (like the lighting and the missing flavour mixers). The damaged power cord for it still needs replacing. I’ve bought the necessary parts to do this job, just have to do it. The fluorescent tube is dead, not sure if it’s the starter or the tube, but we don’t have any 110V stuff left in the other vending machines to test with. I think it’s best to just replace this with LED strip, just like we did with the two drinks machines. Someone else can totally jump on this task if they want - since it’s not critical to the machine’s operation I won’t be doing this myself until everything else is done. There’s two separate jobs that need doing here - the sheet steel backing plate needs to be painted white (why the reflector was painted a dark colour I don’t know), and the tube needs to be replaced with white LED strip & a 110V AC -> whatever the LED strip uses power supply. For reference, the current blown tube is a Philips F20 T12 Cool White 20W 24 inches/60.96cm long.
(Fluorescent tube reflector that needs to be painted white)
(Dead fluorescent tube that needs replacing with white LED strip)
I’m definitely going to need some help fabricating a few missing parts for this machine and they need to be made out of food-grade Stainless Steel. @Boo has offered to have a shot at acquiring some and fabricating the parts for me. Thanks, Meka! 
I may have found a source for reasonably-priced replacement cardboard cups. Need to check they’re the right size for our machine, when the person gets back to me with the dimensions. Failing that, I’ve bought 100 paper bags we can test with once our current stockpile of ~160 cups runs out. For future reference: the machine officially uses 32 oz cups, which are 0.94 litres, and they measure 11.5cm in diameter at the top and are 14cm high.
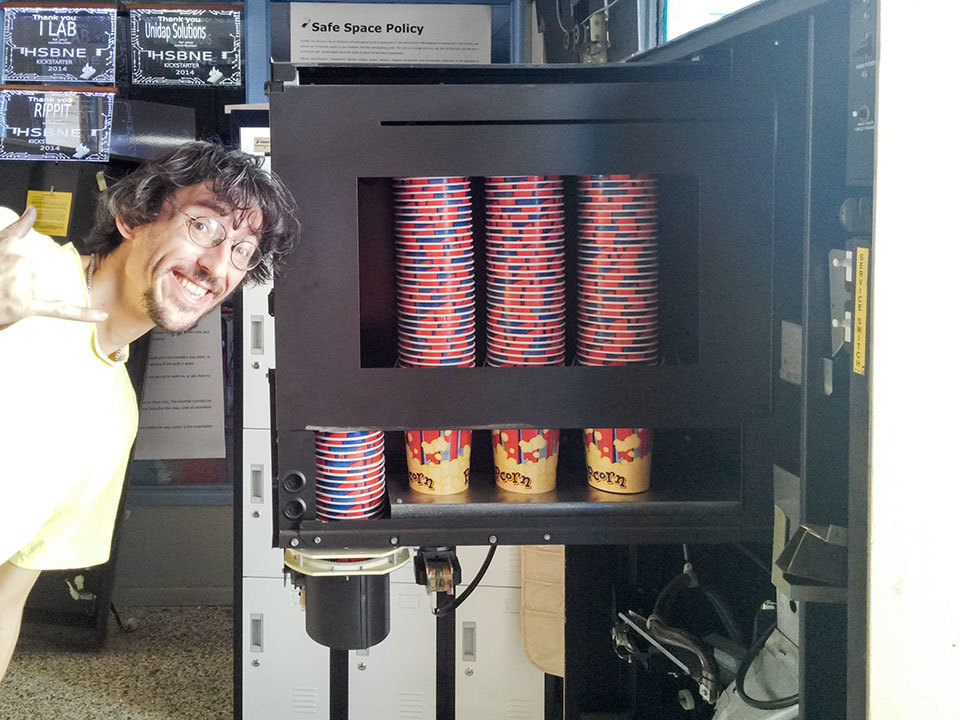
(@Svenska posing with the automatic cup dispenser mechanism pulled out. The brochure advertises “one-handed cup loading”, which is actually doable if you know how to load it. Impressive!)
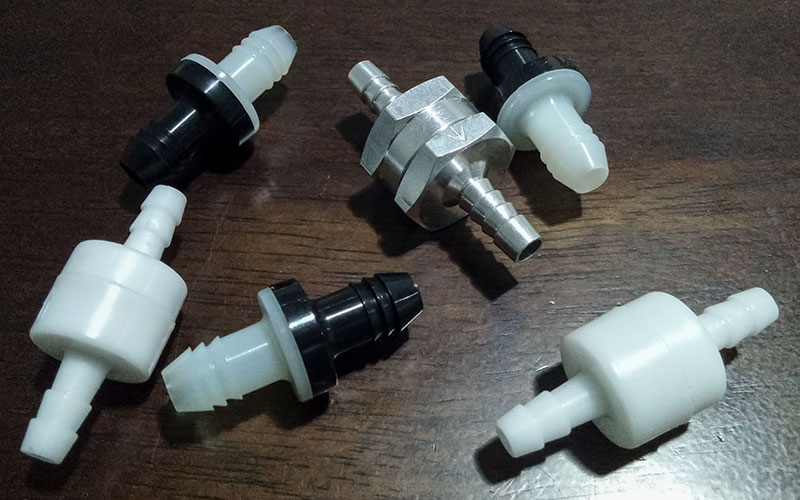
I’ve acquired some food-grade vinyl tubing to replace the existing flavour dispensing tubing. There’s no way I can adequately clean the existing stuff, it’s too far gone, so it’s just all getting replaced. Still on the hunt for appropriate-sized nozzles for this tubing though, but I need to test if it works properly with the peristaltic pumps first. Need to have the tubing that goes through the pumps easily replaceable with connectors, because it’s going to wear out every so often.
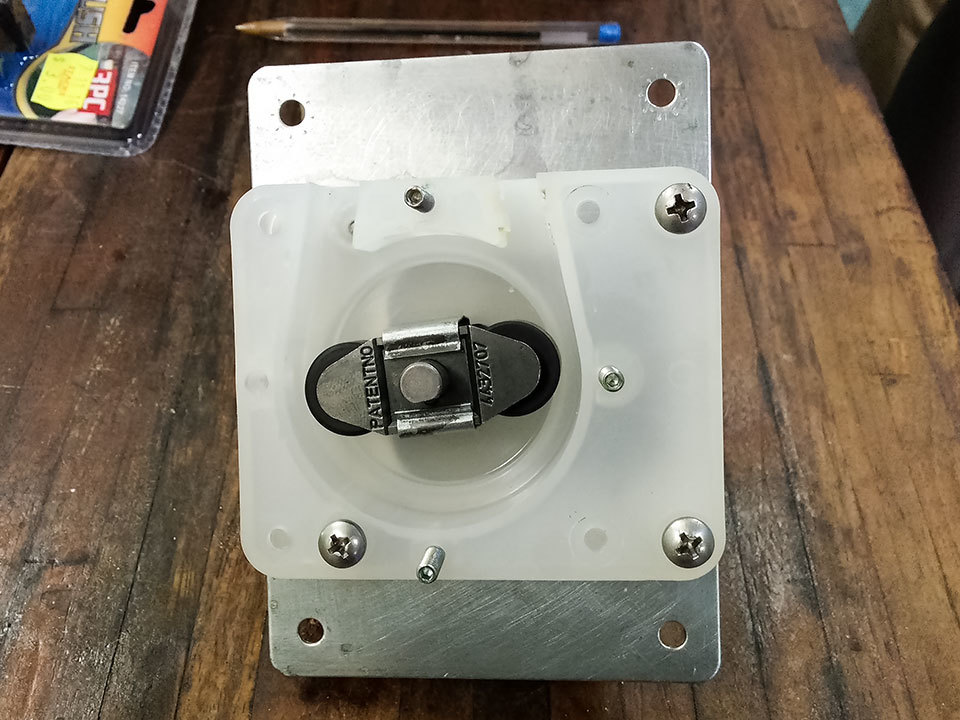
Speaking of, I’ve been working on servicing the peristaltic pumps that the machine uses to dispense its flavours. It takes me a few hours per pump, but the end result is super clean and all accessible parts have been properly lubricated. Have some before & after photos of the second pump from the left!
(Before cleaning - so many different kinds of gross things and the mechanism barely moved it was so gunked up)
(After cleaning & lubricating - so much better looking and the mechanism now freely turns!)
I’ve acquired 7.5kg of the right kind of popcorn kernels from this machine. This took visiting five separate supermarkets. My calculations say this will do us for around 200 servings of popcorn, so we should be good for a while.
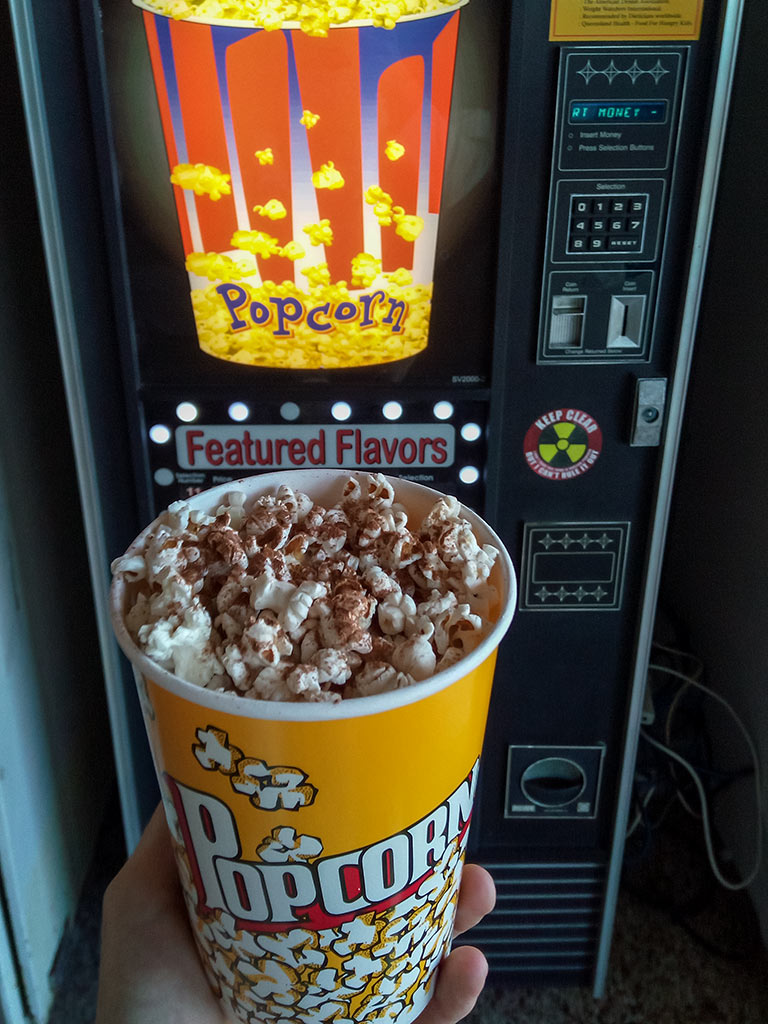
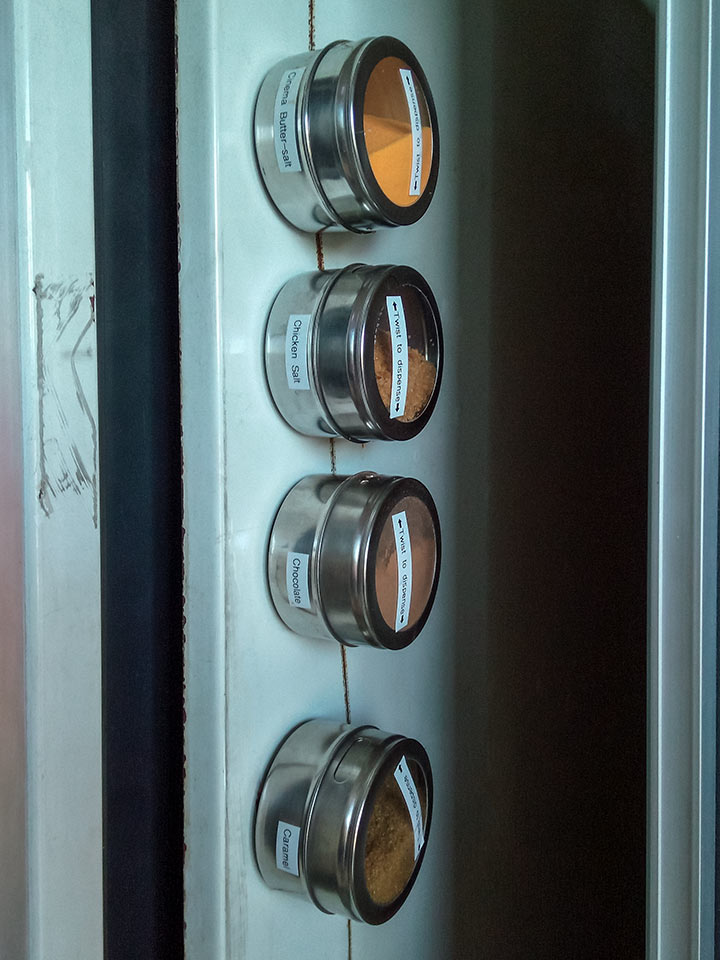
I ordered 2.5kg of powdered flavourings for me to test with trying to make my own flavours… and unfortunately, I couldn’t make them work. They’re designed for oil-popped popcorn, not air-popped popcorn. I’m trying to source alternatives that will work with this machine, but in the meantime… If anyone reading this wants some actual cinema-style butter salt seasoning, chocolate glaze seasoning or caramel glaze seasoning, hit me up! I’m happy to parcel it into smaller quantities in zip-lock bags and I’ll charge a flat percentage of what the bulk amount cost me. 
Finally, I’d like to say something very important: if you open the machine, unless you have a reason to do otherwise and you’re going to post about it in this thread, please put everything back in the EXACT configuration you found it. Someone has already opened the machine and not put everything back the way it was, and it’s only because I took reference photos when I first bought the machine that I spotted something was wrong and could fix it. Please don’t cause me to waste my time finding where things are supposed to go. 


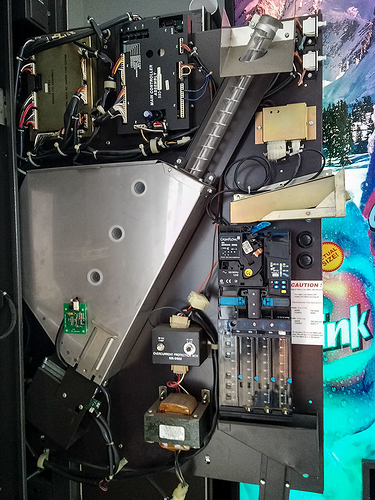





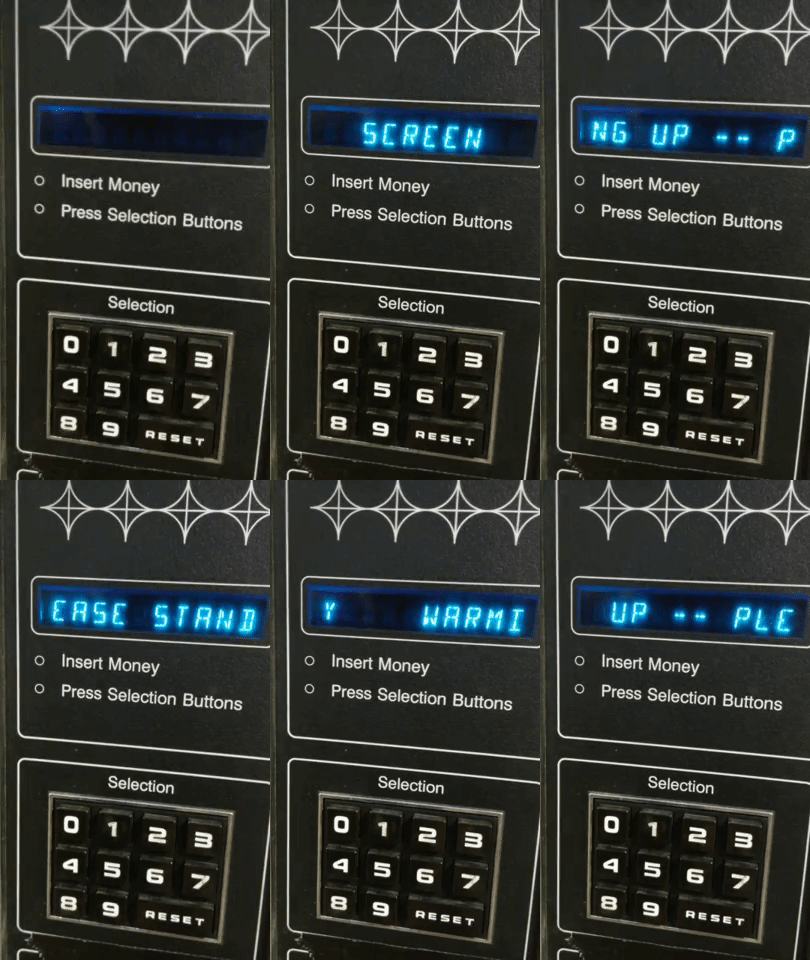
 Looks like I’ll have to print up a replica label, laminate it and stick it over the top of this sticker to hide it.







 ). The good news is that I’ve been able to reverse this process to “refresh” the kernels through the clever application of large quantities of silica gel. Based upon my measurements, I’ve now increased the popped kernel volume by a good 30-40%! So much so that I’ve had to adjust some values inside the machine to reduce the amount of spillage from the cups overflowing with popped popcorn. To help prevent this in the future I’m reducing the amount of kernels stored in the hopper as much as I can, plus there’s now a 100g silica gel packet placed in the hopper (and I’ll monitor that packet’s weight to measure the kernel moisture content), and I’ve attempted to create a bit more of an airtight seal on the lid (but not 100% air tight because that would just create more problems as the air pressure varies). We’ll see how well this works in the long-term.


