When you pick up a STM32Bluepill for the first time, you will inevitibly encounter the dreaded:
Error in initializing ST-LINK device.
Reason: No device found on target.
This is caused by the code running on the microcontroller not configuring the SWDIO interface. Or you haven’t wired up the programmer to the microcontroller correctly. Correct wiring is shown below:
Assuming the problem persists, Follow this guide to fix it.
You will need the STM32 ST-LINK Utility, STM32CubeMX and your favourite IDE. I recommend STM32CubeIDE as it’s developed and supported by STMicroelectronics directly and has STM32CubeMX (initialization code generator) integrated into the IDE.
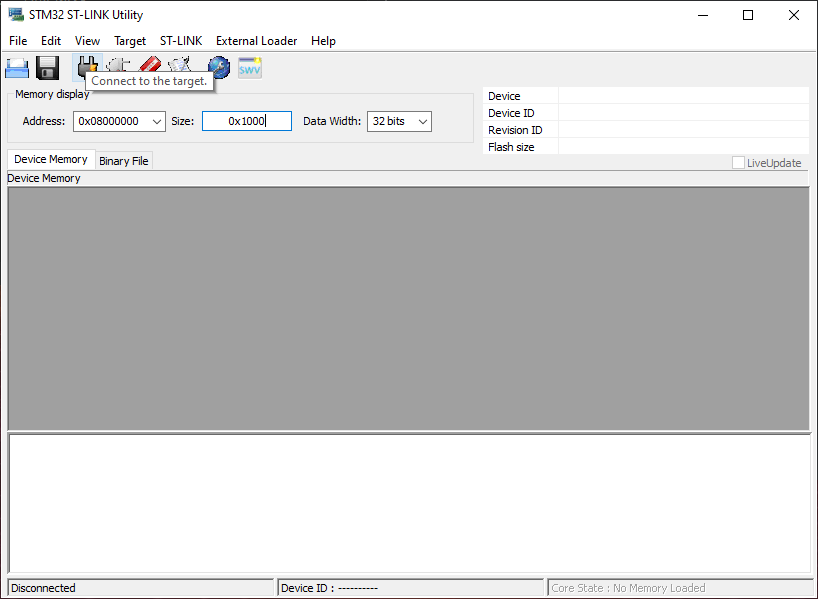
Open STM32 ST-LINK Utility and attempt to connect:
You should get this error if things are going poorly:
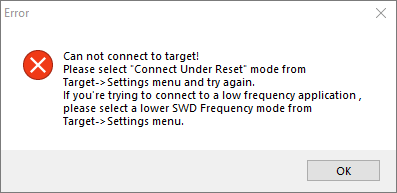
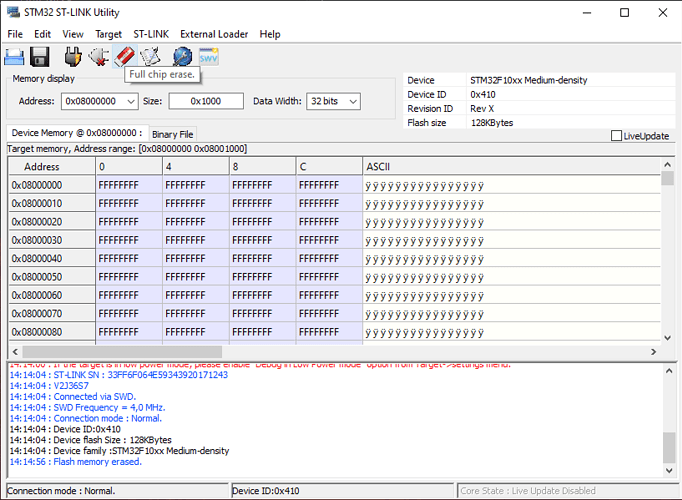
Now, hold down the reset button on your bluepill and press connect, then release the reset button, you should be greeted with a screen that looks like this:
Here is my target -> settings configuration.
Peform a full chip erase:
Disconnect from the target:
Now, to set up your microcontroller initialisation so that it doesn’t get you back into this fun situation.
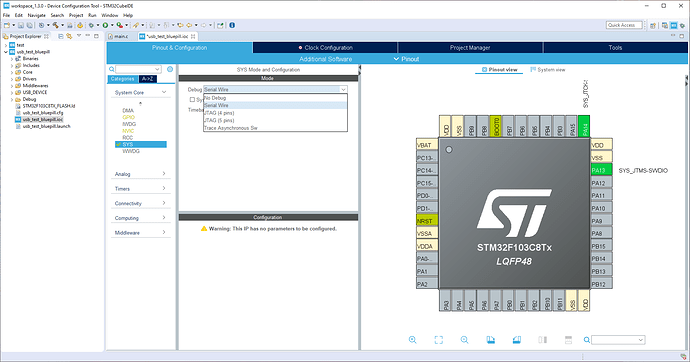
Here I’ve got CubeIDE with the CubeMX perspective open.
Under system core -> SYS, select debug -> Serial Wire.
This initialises the SWDIO and SWCLK pins for programming and debugging.
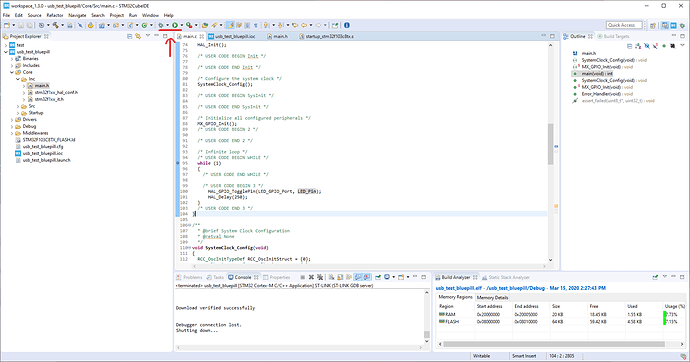
Now you can set up your peripherals, generate your initialization code and write your application. To program or debug, you should be able to just click the appropriate buttons at the top of the screen.
In case that didn’t work, here is my debugger configuration:
Go forth and blink some LEDs!

