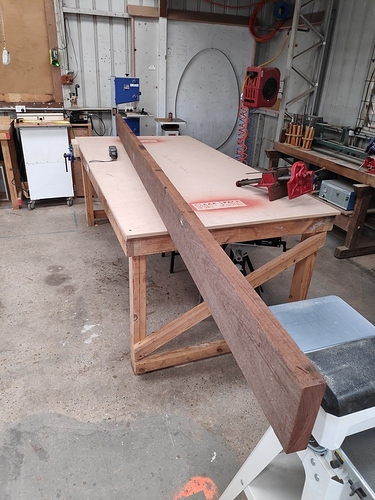
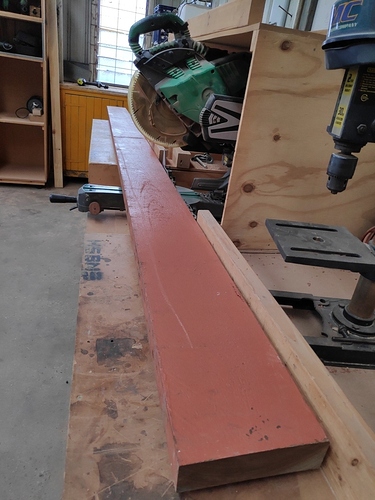
So, a 13" is way-heavy.
I cut a 1.2m section of the Spotted gum to make a start on. I’d say 1.5m is as long as you’d want to go with this size of timber by yourself on the tools.
THIRD LESSON - Cut your stock down to (over)size early.
Looking back, it would have been better to be able to assess the quality of the planks ahead of cutting them down, so I’d be inclined to plane the faces on the bench to avoid damage/rot/holes and to get the most of any grain pattern.
FOURTH LESSON - assess the whole plank before cutting.
So I ran this first section across the planer to get a good face…
…but as much as I tried, I always ended up with a bow (convex) face, which meant the end of the board was held away from the blade at the end of the cut.
Made some adjustments to the machine and got better results…
This spotted gum looks quite nice

I then planed a good edge on the same machine. These edges are slightly spring (concave), which is good for jointing if you have boards with a bit of flex in them. These do not. I ended up jointing on the tablesaw.
I didn’t have much success trying to resaw a section of the jarrah on the bandsaw. I think it was too hard and two thick. I think I’d use a hybrid method next time - start by cutting on the tablesaw, and cut the remainder on the bandsaw. As it ended up, the rest of the pieces were resawn on my tablesaw, which worked out all right.
FIFTH LESSON - resawing deep boards is tricky. Given that you can only get 30cm through the thicknesser at a time, I think I’ll stick to working with 16cm boards and jointing for the time being.
Setting up to resaw on my tablesaw. These pieces are already cut to width. I make one cut, flip the board, and cut from the other side. This gives a cleanish cut that could be finished by hand or in the thicknesser.
Always use the metal detector! (I had, but evidently missed this…)
Jointing the spotted gum boards.
Removing mold stained wood.
One board had gray/blue mold(?) on one face. I thicknessed this down to remove, and these two boards will form the thick top of the bookcase (did I say I was making a bookcase?).
Having jointed three boards (one thick top, and two thinner, lower shelves) I cut them to width (30cm - as wide as the thicknesser goes) and took to final thickness.
These all came from the same plank, but these is a significant colour difference across them - ho hum…
I had always planned on building a small bookshelf for the office area at home, but it has gone through ,any iterations as I have been learning the process of preparing stock. Current thinking is something in a ‘midcentury modern’ style.
I’m not very confident of working the Jarrah, so my current plan is to mortice it into the shelves. I think I shall also chanfer the fronts of the lower two shelves to match the laid-back angle of the front legs.
Something like this…
Next stop - cutting mortices in the shelf end-grain to take the legs.


