So I made a shelving unit over the weekend.
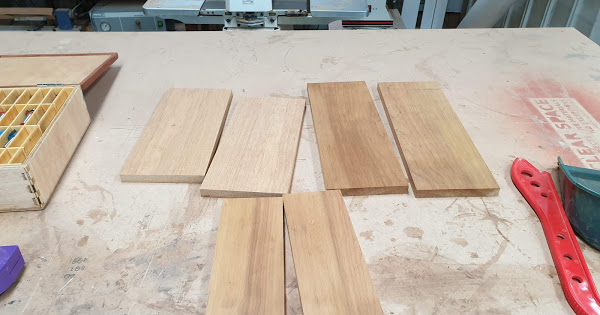
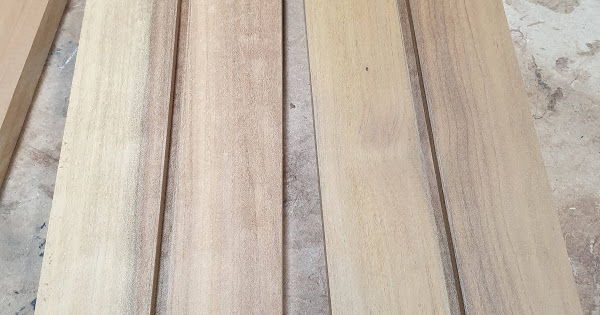
Planed, thicknessed and cut down some reclaimed timber @uqcadams gave me.

Plan to look roughly like this
So I planned to attach the back pieces to the uprights using sliding dovetails.
So to make it easier on the Router, I cut some slots on the tablesaw

Set up the router (this can be a little tricky, as our router table is not the easiest to dial in)
I was going to attach the shelves using mortise & tenons, but decided to use the sliding dovetail again.
Routed the slots with a stop and trimmed the pieces with a chisel.
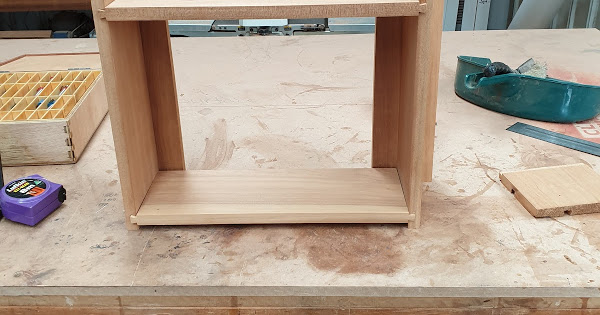
Dry fit together.

Next I wanted to add some more detail, make the shelves a bit more interesting.
So I drew up some curves, printed it out and stuck it to one of the uprights.
Then I used the bandsaw to cut the curves
Another dry fit to see how it looks
Then a bunch of sanding, tweaking the glueing here is the final product
Just need to varnish it now and it is all good
(well made a small mistake, in the last photo you can see some holes i drilled into the back piece to mount it to the wall… I didnt even think about the shelves… holes are very close leaving not much room for the screws… Ill make it work but a little annoying that i didnt think it through very well)
