Okie dokie, Brendan put it to me to write a Build Log for the project so I’ll have to recap the initial 2 months as the mill has progressed to build phase.
A while ago Matt acquired a ThingOMatic off a friend and caught the 3d printing bug. Has since built the i3 Prusa Re-work. We’d been playing with Both for quite a while and had the itch to build something bigger… the cnc router/mill idea was planted!
It was supposed to be a brief night of sketching things out on paper, head to the hardware store and grab what we needed and away we go… or so we thought. I suggested that there should be a model designed first to work out all the kinks and have a visual guide for what we were building.
Going with the 3d printer line of thought, a ramps and arduino were purchased shortly after the initial design began.
Version 1.
600x 600y 600z

We started with this design first (looking back on it now, it would have had issues with the way the carriage was guided). We ended up discarding it due to the oversight of not being able to use the spindle to cut the bottom layers once the work piece was over 100mm.
Version 2.
600x 600y 150z

This was the same design as V1 but the side supports were cut down so the gantry would run on the base. Same issues would have arisen as V1 on the guidance point of view. Discarded this one for a revamped V1, realised we could use the height in the design to do larger pieces and have the possibility of a 4th or 5th axis.
Version 3
See V1.
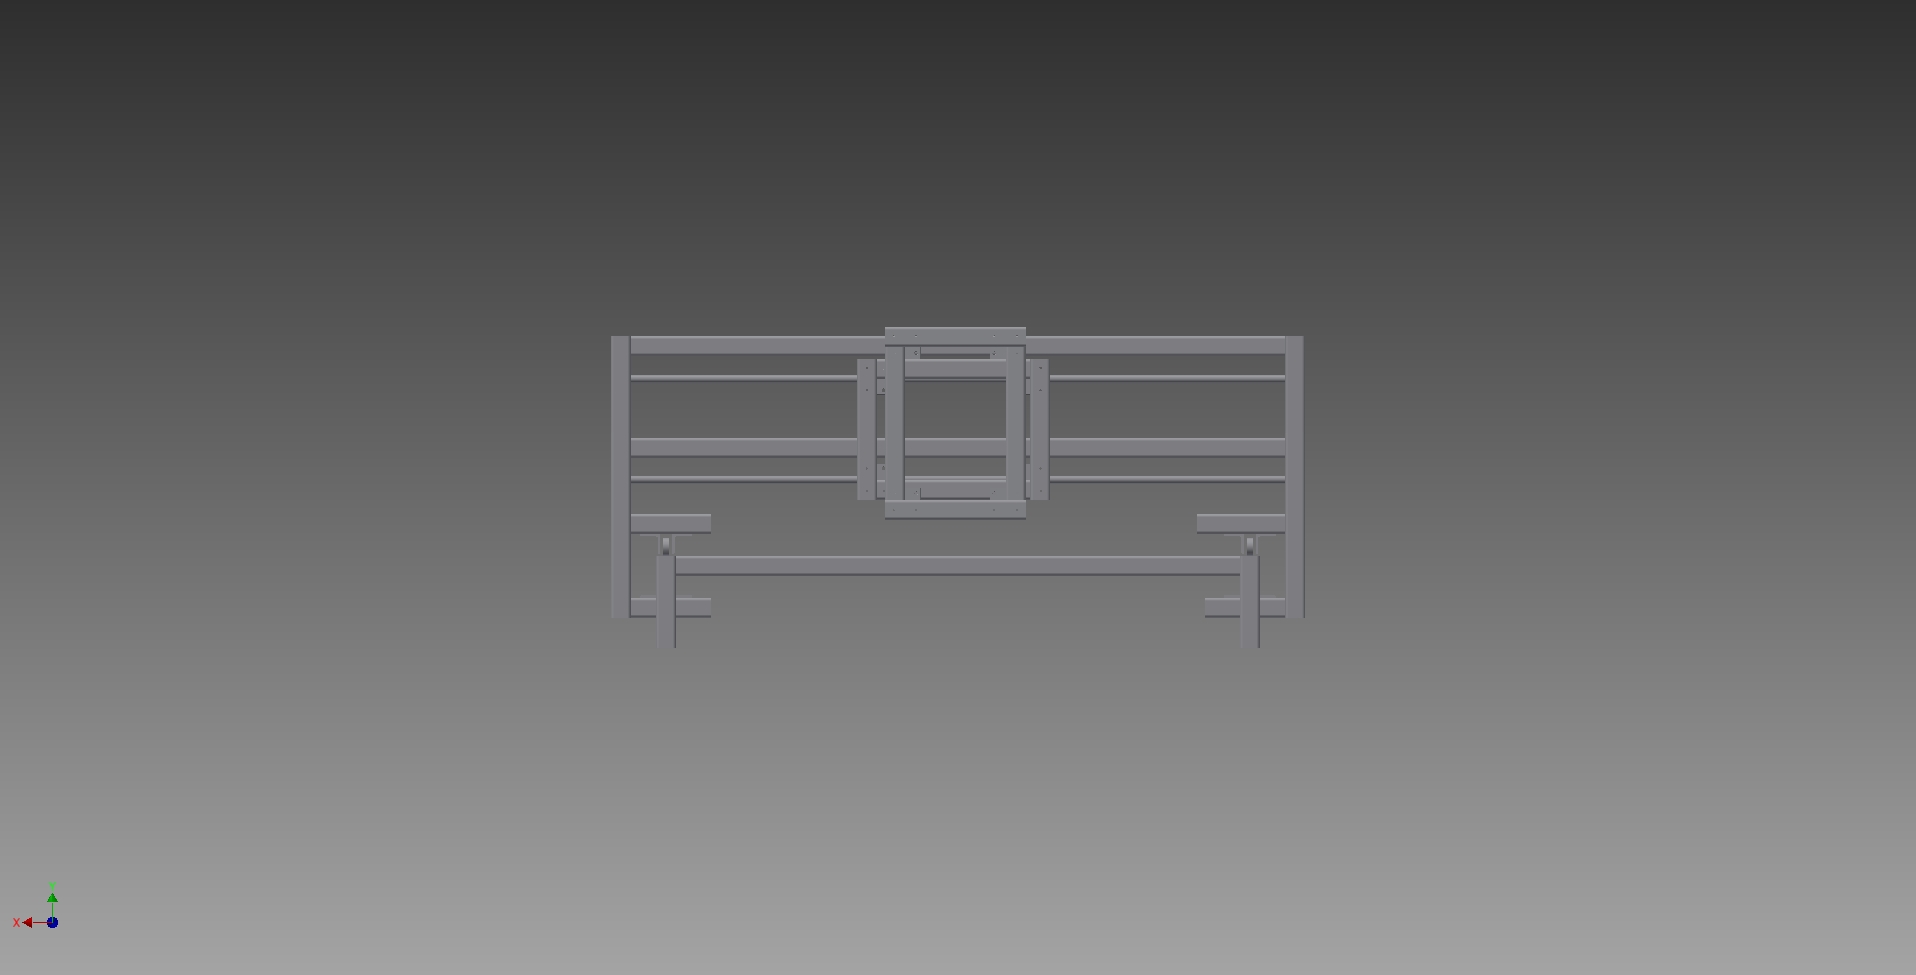
Version 4
600x 600y 600z

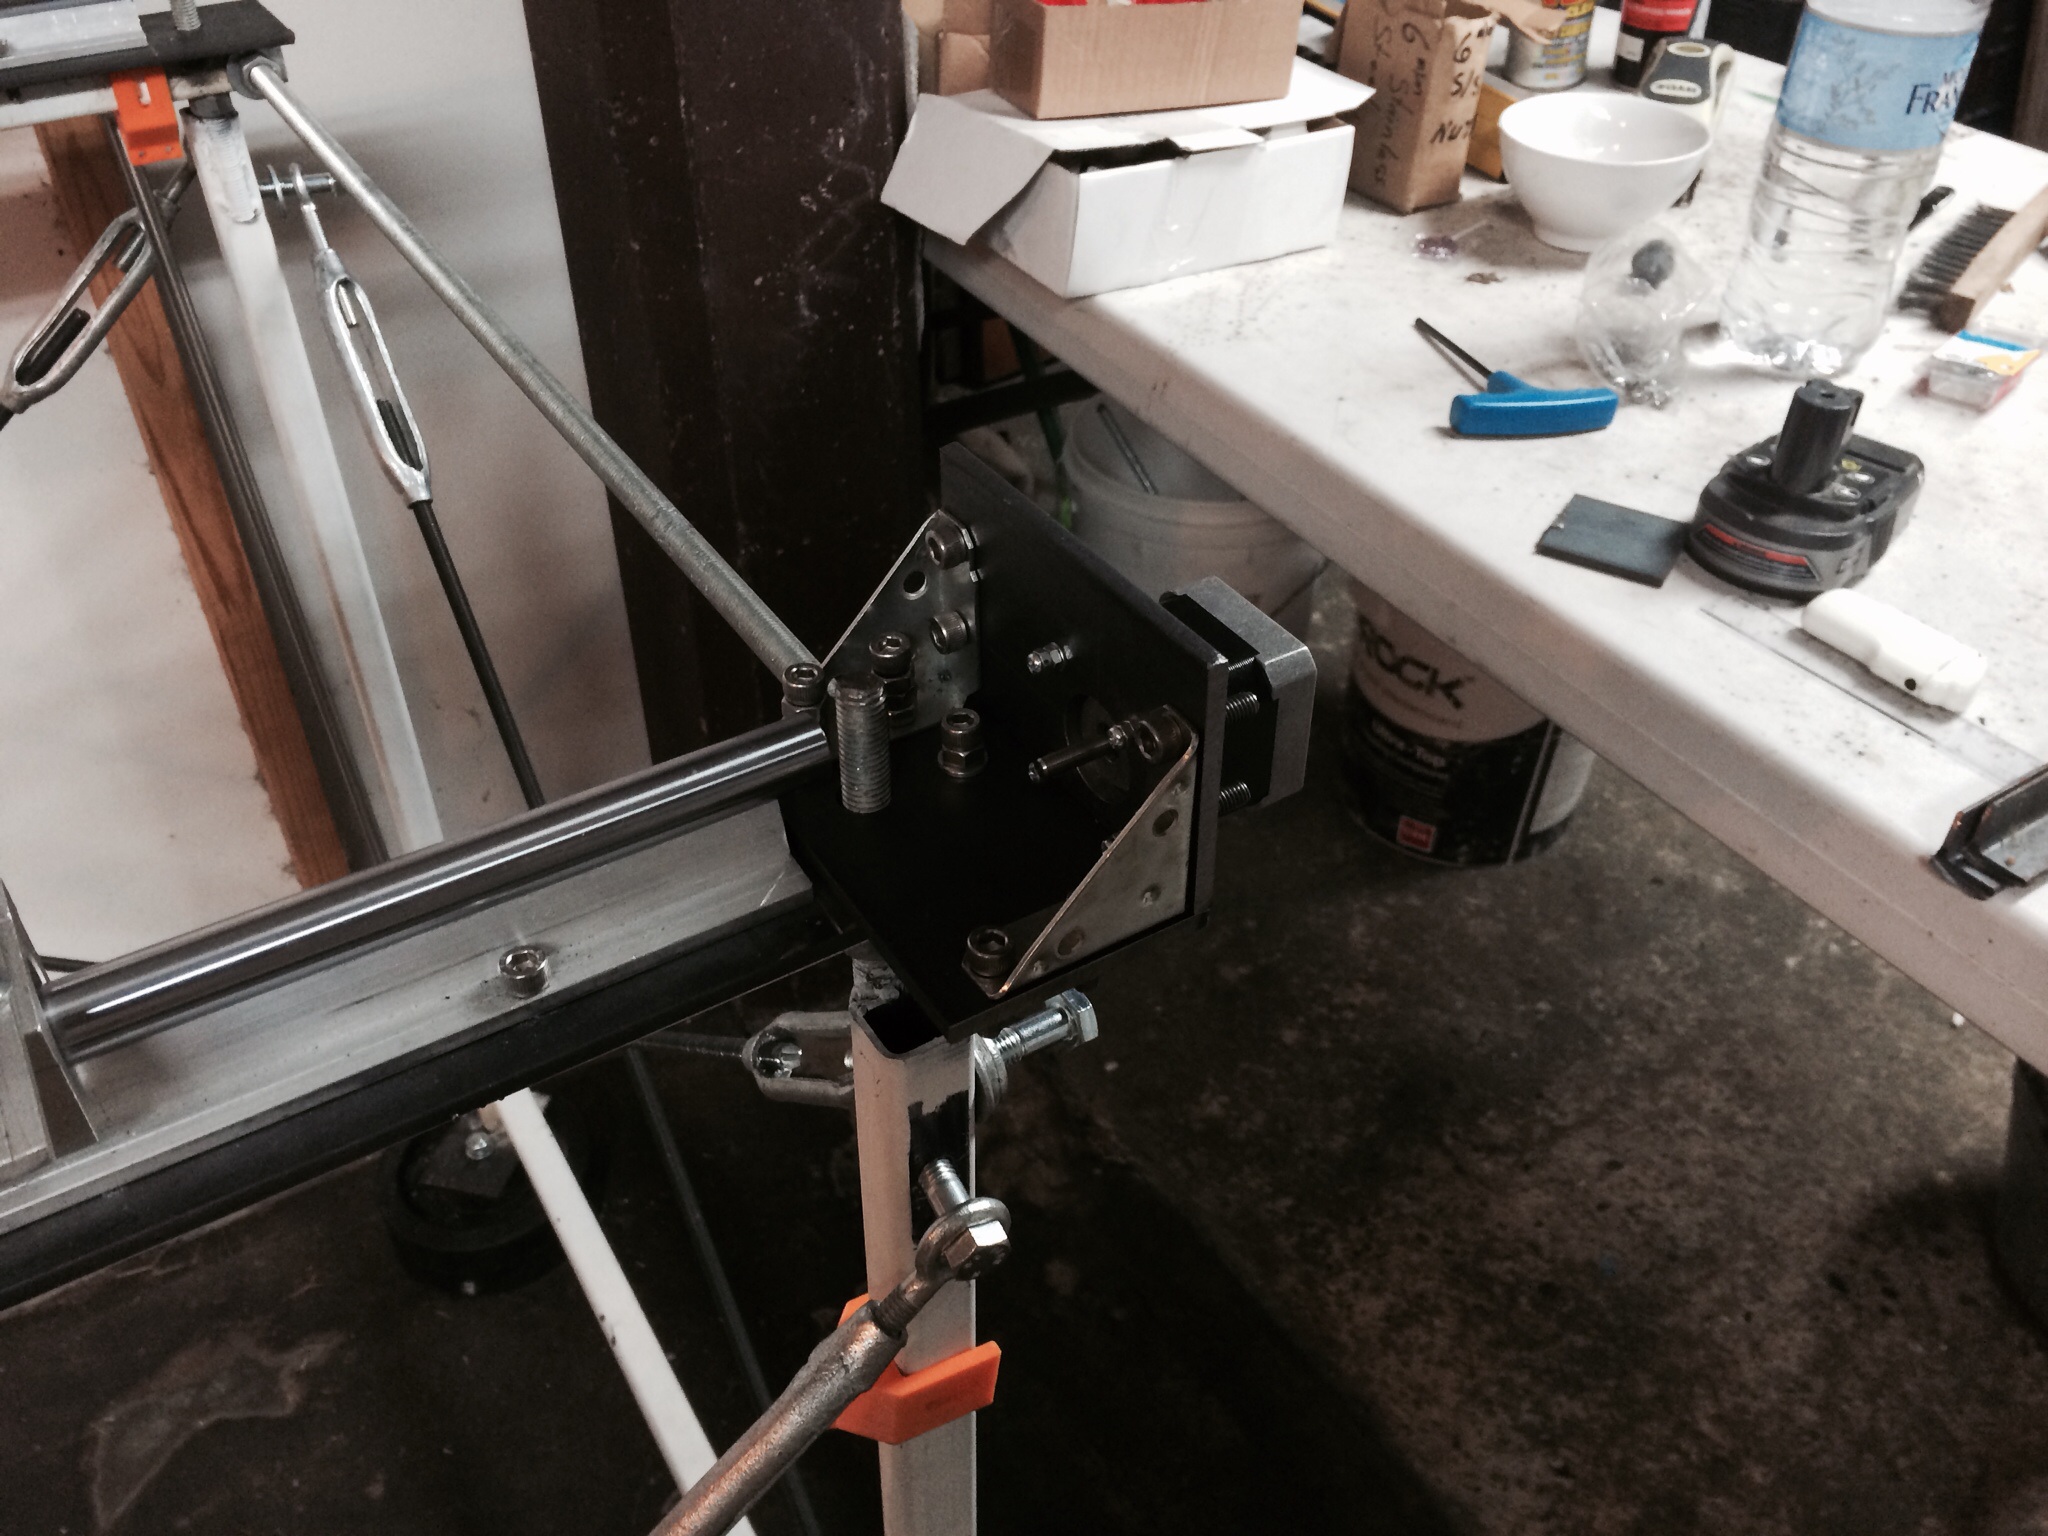
Same base frame assembly as V3 now with added linear rails! I decided to just bite the bullet and went for the linear rails. Figured my budget had barely been touched as it was so for $180 I purchased two 1800mm SBR16 Linear Rails for the X and Y axis.
Acquired 12x3 Leadscrews for motion.
<img src="/uploads/default/338/f039dc59c8294b00.jpg" width=“690” height=“416” img="Overview with Steppers>


Thats about it to date. There will be more additions and edits to come. But as it sits it wont change much from here =)
-Lex