Laser Cutter 2.0 - safer, better, faster, stronger

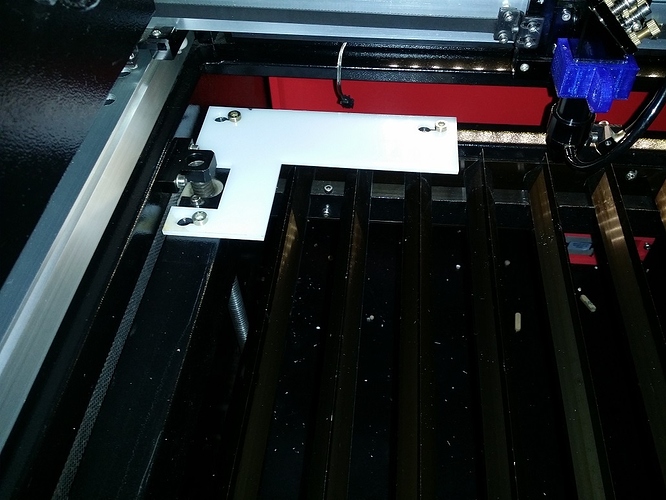
Put a hard reference corner in the machine last night; it lets you put a sheet of material in the machine and easily have it perfectly square, and you can confidently cut right to the very edge.

It’s attached using three bolts and keyhole slots, so it can be easily removed/replaced when someone wants to use the honeycomb bed instead.

I helped Kirsten cut a bunch of small gears using it today, and the gears went to the very top edge of the material with no problems at all.

1 Like

I also went through the material shelves the other day and took out everything that had been partially cut. I then took the acrylic to the bandsaw and recovered whatever decent rectangular pieces I could, and put those back in the shelves. I plan to do similarly for the MDF, but I haven’t gotten to it yet (it’s in a pile in the woodshop right now).

From this point on I’m instituting a rule that stock that’s had holes cut out of it can’t go back in those shelves. It has to be rectangular or circular pieces only. If there’s half a sheet left after you’ve lasered something, it goes to the bandsaw (or you can laser off the clean section, which is probably a better solution, if potentially fiddly.)

1 Like

I’ve now added an esp8266 to the laser cutter, flashed with a transparent serial bridge program. At the moment that’s primarily for debugging, but it could conceivably be used instead of the usb cable.

1 Like

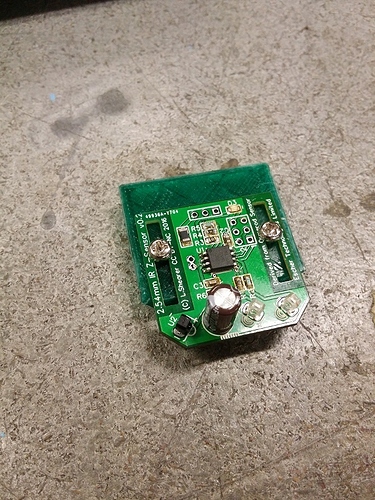
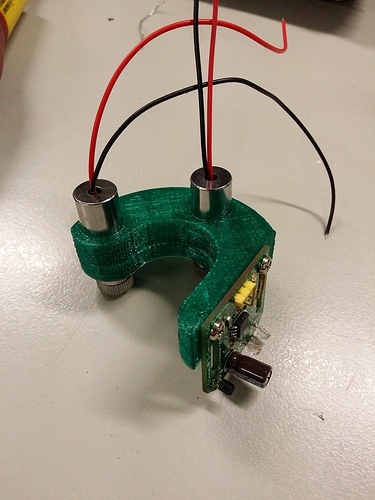
@AussieLauren graciously donated an IR height sensor to the cause, and I’ve printed a mount to attach it to the cutter nozzle (erm…with hot glue). It’s not mounted yet, because there’s some other wiring involved, and it kinda needs to be where the red laser module is right now. But it’ll hopefully give the cutter auto-focus capability.

Now if only I can come up with a small enclosure for it that’ll both keep smoke off the optics, and not just block the sensor altogether. Maybe I need some of that IR-transparent black plastic from the front of a TV remote…

There are lots of common things that are IR-Transparent but black to our eyes. Coca-cola is one example, but that may be hard to mount in front of the sensor. A more convenient example is probably the developed black ends of a roll of 35mm film after it comes back from “rabbit speedy photo”.

You can either help Mike fix his car and go back to 1990 when film still existed OR just ask one of the many old timers around for the end strip of their negatives from that photos they took on their holiday to coffs harbour to see the big banana in the 80’s

(BTW I am not sure why it needs to be black like the ends of a remote control. most clear plastic is also clear to IR)

It won’t work. Unfortunately one of the benefits of the sensor gets in the way - it happily triggers on the specular reflection of the material, which happens even when it’s transparent. If it didn’t, it wouldn’t be of any use in this application, because you could put a sheet of clear material in the cutter and the machine would drive the head into it.

I did design them to ensure speculate reflection, unfortunately :frowning:

Next iteration on the ir sensor mount. Since I had to pull off the original laser dot it seemed like it was time to put the crosshair indicator on. So the mount now holds both laser line modules.

I also pulled out the original laser power wiring, which was a pain (it runs through two separate cable chains and a lot of ziptie bundles) and will be replacing it with a shielded 4-core cable that’ll run both the laser power and the IR sensor power/signal lines.

3 Likes

Not too much visible progress recently, my efforts have mostly been cleaning up the internal wiring.

The height sensor is mounted and the cable is routed, but it isn’t connected or tested yet.

I’ve added a 240V relay to switch the sockets on the back of the machine, which currently run the exhaust fan and the coolant pump. To drive it I need to use the FET channel that I blew up earlier, so I’m waiting on RS electronics to send me some replacements. Went to the letterbox this morning to see if they’d shown up, and they weren’t there. Neither was the letterbox (!)

Today I helped @Kitty laser cut some latex for a rush job, after her business partner’s machine caught fire - a big reminder to never, ever leave a laser cutter running unattended! Taped the latex down to an aluminium sheet, used 50% power and high speed, and it cut really well. Unfortunately, the air-assist tended to blow the cut pieces away, and it had to be turned down quite a lot. In future we’ll glue sheets down completely with a removable spray adhesive instead.

Of course, cutting rubber creates horrible smelling smoke, so I’m leaving the exhaust fan running for an hour or so to clear it out.

1 Like

Thanks so much for that! was awesome for the helping… yes do not leave laser unattended… and also … do not mount stuff on cardboard to cut… cough

Next project to rebuild our laser … was going to do it in a year … I guess the schedule just moved itself up.

Here’s a new one. We’re so worried about a fire starting in the laser cutter that it was a complete surprise when we got rain instead.

Condensation builds up in the air-assist compressor and the airline to the laser cutter. There’s a water trap in the regulator at the back of the laser cutter, to stop it getting through to the laser head. But we’ve not drained the system recently, so it finally filled up enough for water to get through to the workpiece. Heavy fog rolled through about half an hour later…

The cutter was shut down, the airlines disconnected and the water trap was drained. Draining the compressor had to wait until the morning, as I couldn’t see where the drain tap was. When I could find it, the compressor pressure was released, and I opened the drain plug to watch at least a litre of bright orange rusty water pour out of the cylinder. Ugh.

Once the compressor was sealed and re-pressurised (which took a while, because the breaker tripped and I didn’t know until my laptop ran out of power), I blasted air through each segment of the air system to clear any remaining moisture before hooking it back up to the laser cutter and blowing the remaining water out of that end too.

I guess that’s one more thing to add on to the maintenance schedule from here on out…

4 Likes

Unfortunately the water has left behind a fairly nasty residue on the lens. Until that can be cleaned, the laser cutter is out of service.

I’m ordering a replacement lens now, as the existing lens was already damaged and overdue for replacement, although I don’t expect that to arrive for a couple of weeks.

1 Like

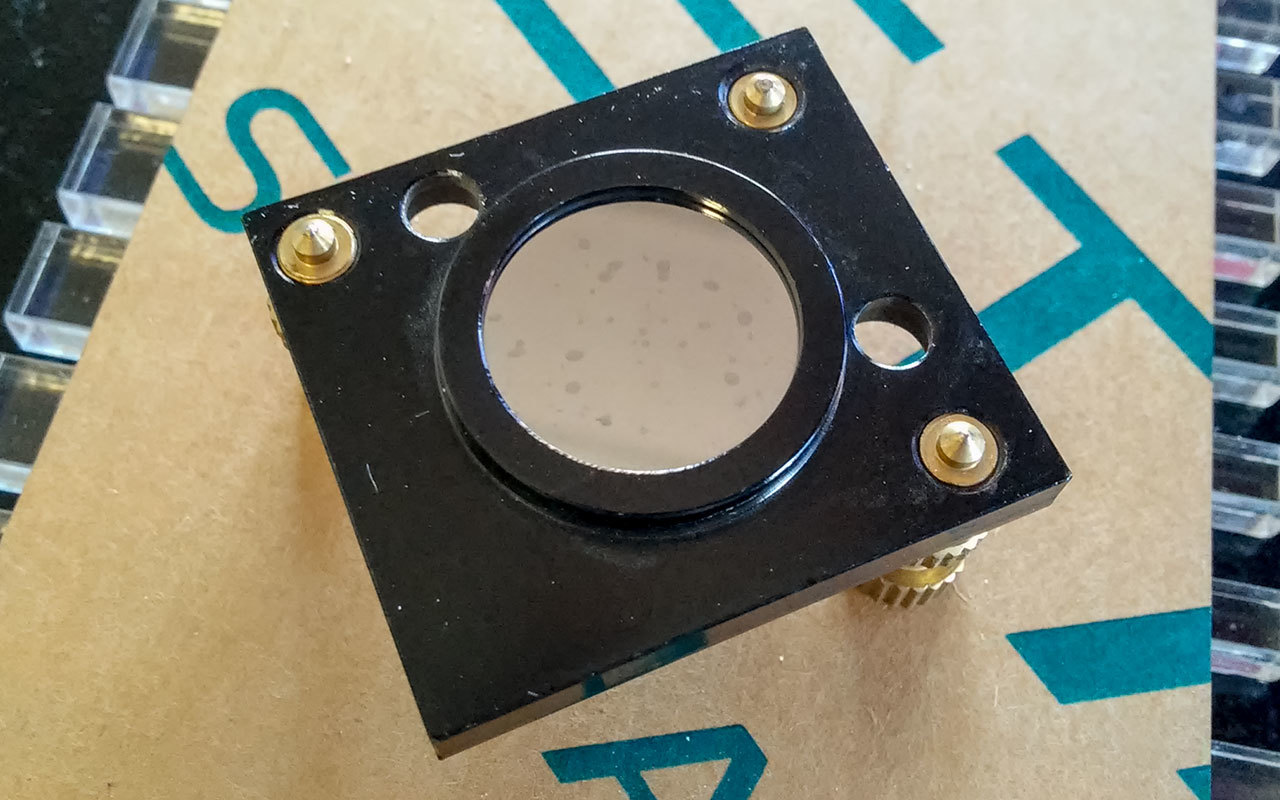
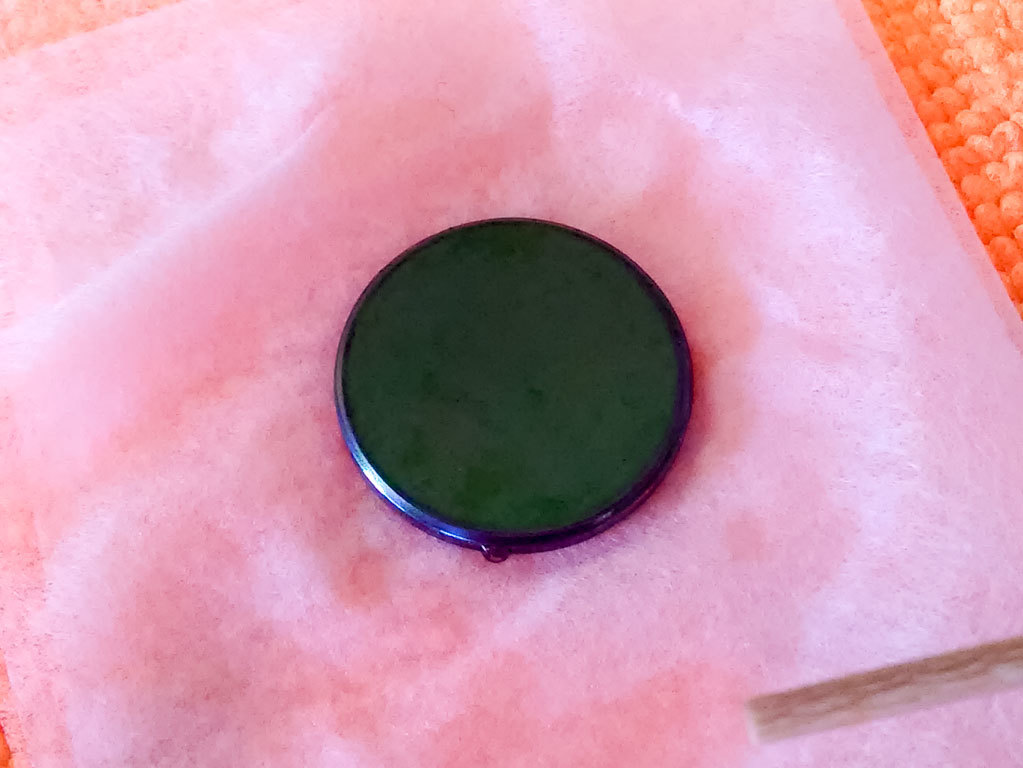
I did a thorough teardown and clean of the optics to the laser cutter today. Turns out some of the water residue was corrosive so even though I did my best, one of the mirrors has some permanent spots on it now. They’re towards the edge so it shouldn’t be too much of a concern - if it is, well, then we just replace the mirror because that’s as clean as it’ll get.

Have some photos!

(The mirror directly above the lens, after blowing the dust off but before cleaning thoroughly - yes water managed to splash up this high!)

(The lens itself, post-cleaning. We really need a new one. Thankfully, one’s on its way!)

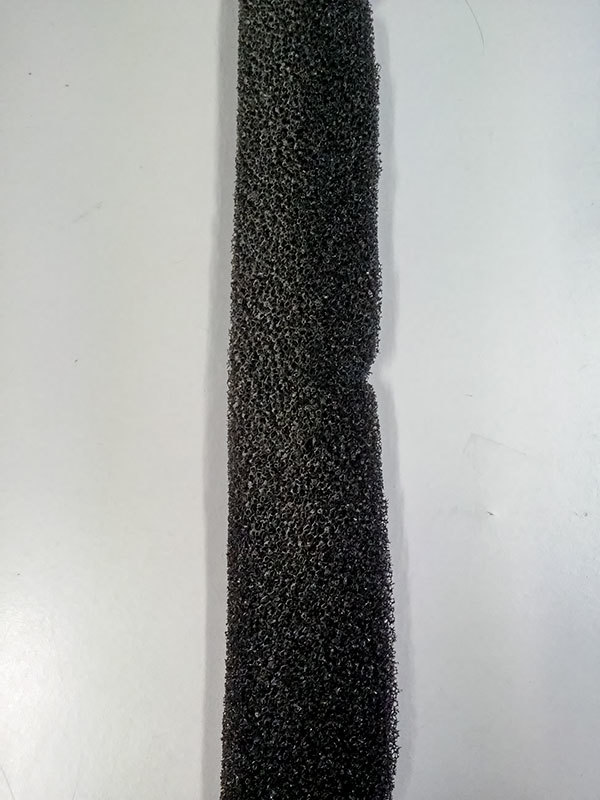
As part of this service I cleaned all the back areas, many of the difficult-to-access-for-regular-cleaning areas, and I washed the dust filter. It’s amazing how much dust that filter has already stopped - but hey, that’s dust that’s not on the optics! :slight_smile:

(You can easily tell which way the air flows through this filter material from the dust pattern)

Note to other laser cutter people - the head mirror is COMPLETELY OUT OF ALIGNMENT. I only had time to clean it, I didn’t have time to align it again. The filter material needs inserting back in the machine once it’s dry and the head mirror needs adjusting back into calibration before it can be used again. My time was limited and you really need more than one person present to calibrate it anyway, for safety reasons. But at least cleaning the optics is no longer a blocker to getting it operational again! :slight_smile:

2 Likes

Always with the Unexpected LOL. Kitty sad face for the Laser

How far out of alignment is the head currently?

I’m happy to align it as we really need this operational in some form for GovHack this weekend.

I honestly didn’t even test it, I just knew it was wrong because I hadn’t even gotten around to checking and adjusting it. Apparently @pelrun has realigned it; can you confirm if it’s good to go now pelrun? :slight_smile:

It’s not done yet, I’ve been avoiding it a bit. But I need it tomorrow, so I’ll be finishing the job tonight.

1 Like

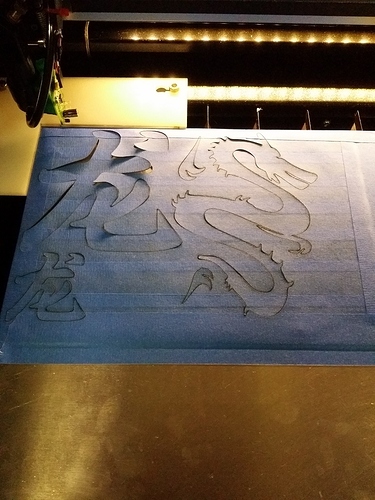
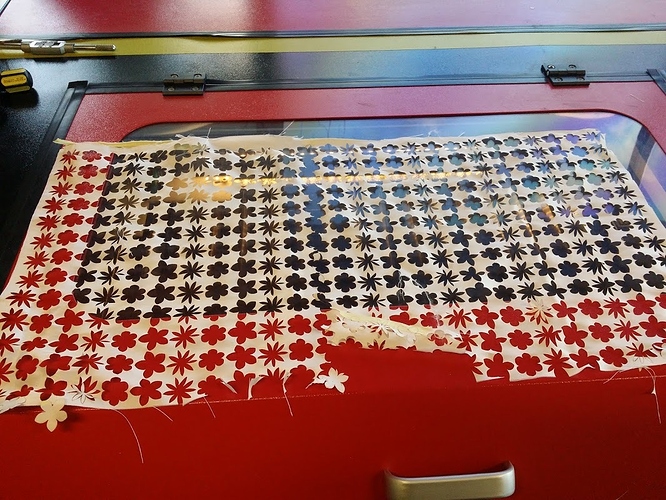
So the alignment isn’t perfect; I pretty much eyeballed it (my visible laser diode insert makes it a lot easier to get close) but it was sufficient to cut a bunch of silk for a dressmaker who is making a wedding dress. Here’s the remains of one batch:

The denser pure silk fabrics tended to discolour at the edges, regardless of how low the power was set. (fyi burnt silk smells terrible) A silk/polyester blend had a much nicer edge, largely because it could be cut via melting instead of burning. The pure silk organza cut quite well, probably because it was so light that any burn discolouration was not obvious.

By the end of the afternoon, we’d probably cut 1500 flowers. I don’t envy Megan having to press and apply each one individually… and she’ll be back at some point to cut more.

3 Likes

Wow. It will be nice to see the finished product. That will be certainly a one of a kind with a story to it!

We’ve been trying to open this machine up to the members a little, by trialling letting people use it under supervision of one of the Laser Cutter Experts. Unfortunately, it seems that people don’t seem to understand how important it is to keep this machine clean - one time I arrived at the space and the machine was absolutely filthy. This is NOT okay or acceptable behaviour. This machine must be cleaned after every use. If you’re doing a lot of cutting, clean it roughly hourly. Its insides should be one of the cleanest places in the entire hackerspace. Failure to do so will lead to this machine breaking. This is not an exaggeration or paranoia or my personal high cleanliness standards here - if you don’t keep this machine clean the optics will shatter on you. While cleaning the optics themselves is something that can only be done by those who are trained in cleaning high-powered optics with the proper equipment, the rest of the machine’s interior should be cleaned after every use and this can be done by any user - doing so greatly decreases the rate of crud accumulation on the optics, which is why it’s so important.

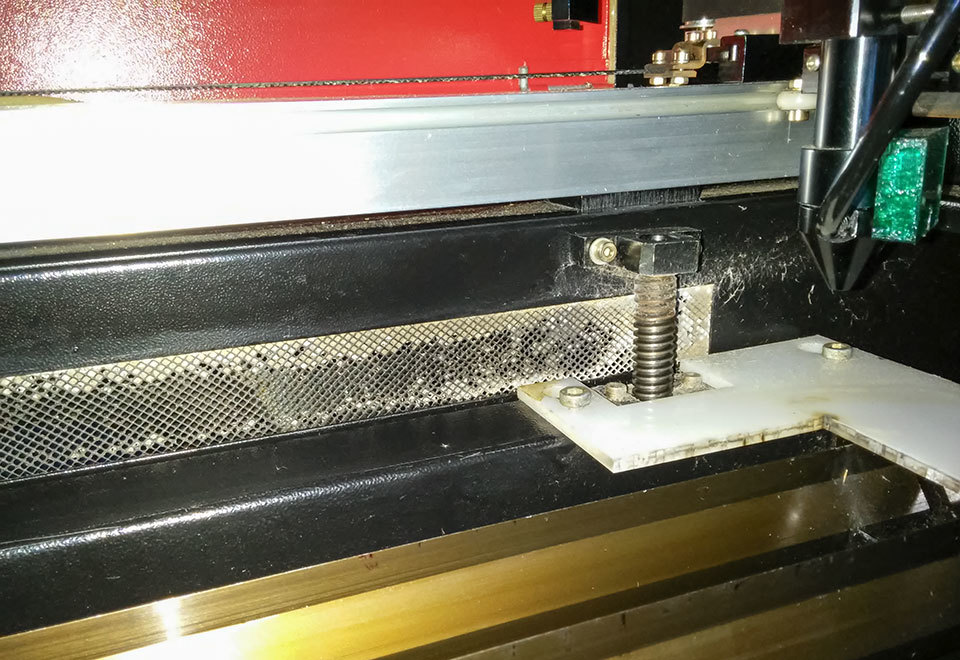
Here’s a great example that shows the state of the machine when I inspected it recently.

(This is wrong on so many levels)

There’s three things wrong with this image that indicate the recent people who used the machine didn’t clean up after themselves.

  1. The extraction grill is not only dirty, it’s freakin’ clogged solid. It’s important to keep this grill clean as it pulls the fumes out of the laser cutter before they settle elsewhere inside the machine. Going by the colours on the grill, it looks like it hasn’t been cleaned for a long time & many different materials. There is a toothbrush on the tools shelf for scrubbing this grill clean. Use it, people.

  2. There are acrylic vapours on the black wall in the upper right of the image. Someone didn’t wipe this down, which means they probably didn’t wipe down any of the other areas. Wipe down all interior surfaces after your cut is finished.

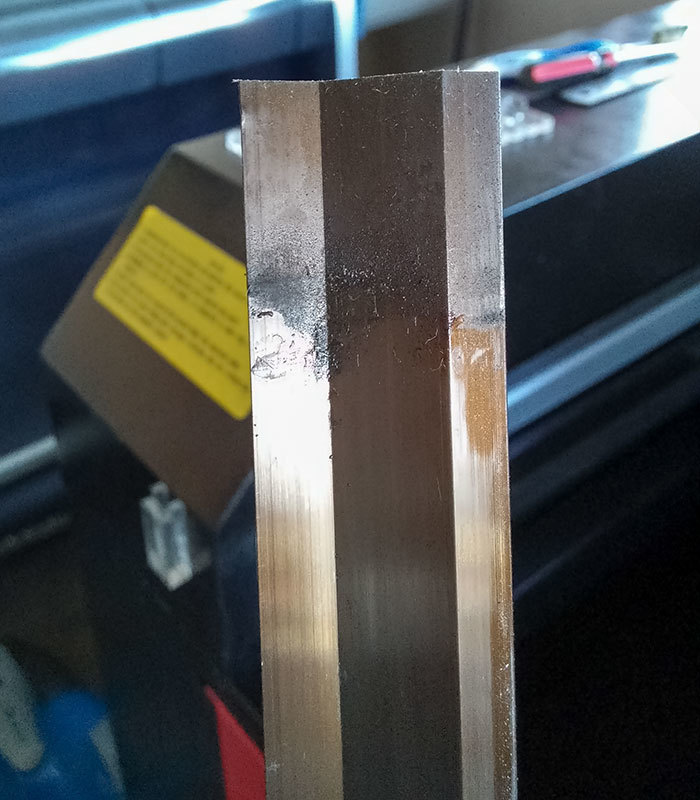
  3. There’s crud on the blades in the lower right of this image. Someone didn’t wipe down the blades when they were done. When cleaning the machine, remove all the blades, wipe them all down and then put them back in a random order. This is usually the place that gets the most buildup in the entire machine. Which is why it’s important to wipe down all the blades, even if you only cut over a small area - this means most areas on the blades get wiped down multiple times before they get dirtied again.

Just to show that I’m not exaggerating at how bad a state the machine was in, here’s a close-up of the crud on the blades:


(laser cutter blade crud)

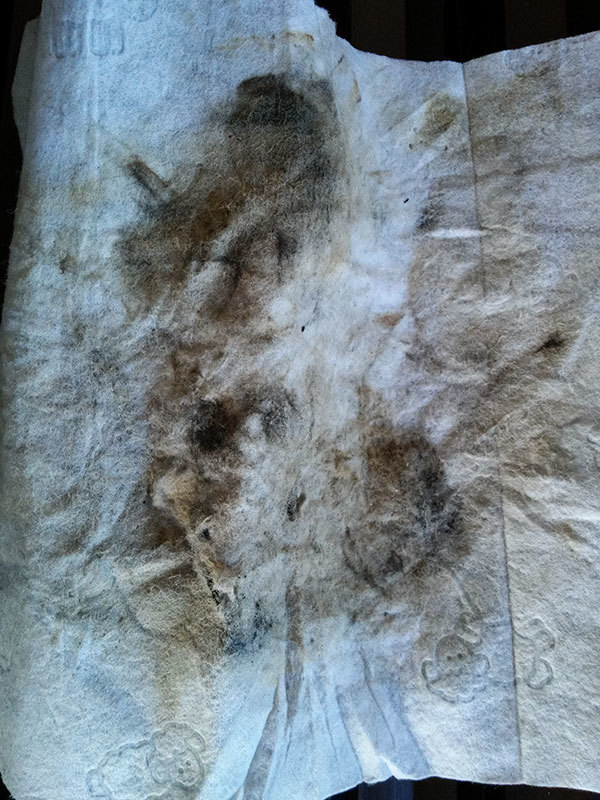
And here’s just one of the multiple rags I used to clean this machine… this should’ve been still mostly white because someone else should’ve already cleaned the machine after using it, but no, this is how dirty the machine was when I got there. And I had two other rags similar to this too.


(one of the wipes after I cleaned the machine)

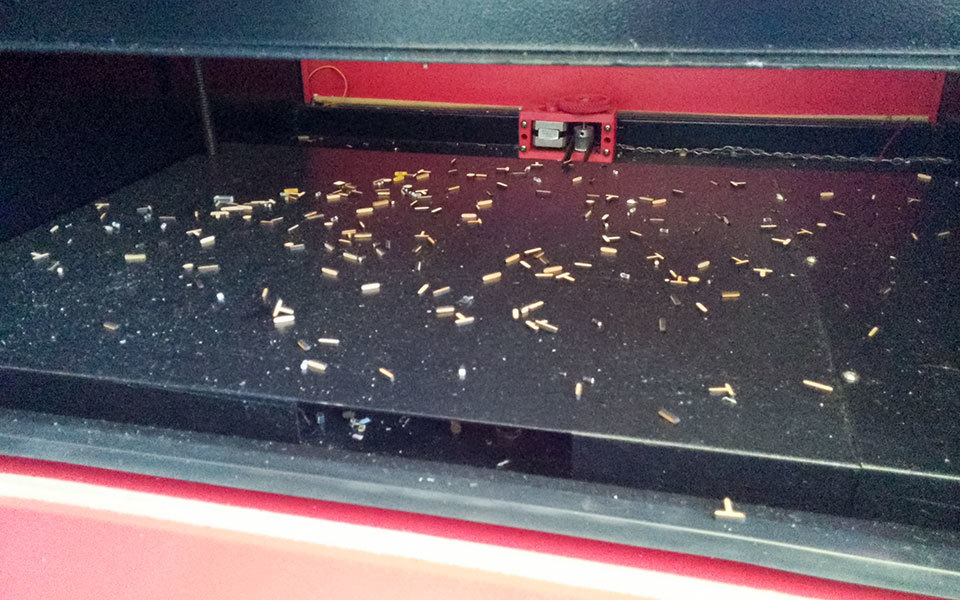
The next photo is from a different time, but it highlights another area that people frequently forget to clean… underneath the cutting area.

(underneath the cutting area)

There is both MDF and Acrylic swarf left on this area, which means it’s likely from at least two different people. Clean up your swarf when you’re done cutting on the machine - there’s a dustpan & brush in this room and we have a dedicated vacuum just for sucking up swarf too so you’ve got no excuse. There’s a reason the panels to this area are kept unlocked while the others are all locked. If you’re having trouble opening it, unclick the locks then push inwards on the panels above the locks - they’re a little sticky, on purpose, so the panels don’t fall open unexpectedly where the vibrations could misalign the optics. While swarf itself isn’t necessarily harmful to the machine or the optics, it’s a 100% positive sign that you didn’t wipe down this surface when you were done cutting, otherwise there wouldn’t be swarf left sitting all over it.

In case I haven’t got my point across yet, let me say this again more clearly - if you use the laser cutter and don’t clean it afterwards, your access to this machine will be revoked and you may be infracted. Because depending on how badly you didn’t clean it, the entire machine may need to be taken out of commission until someone can service it.