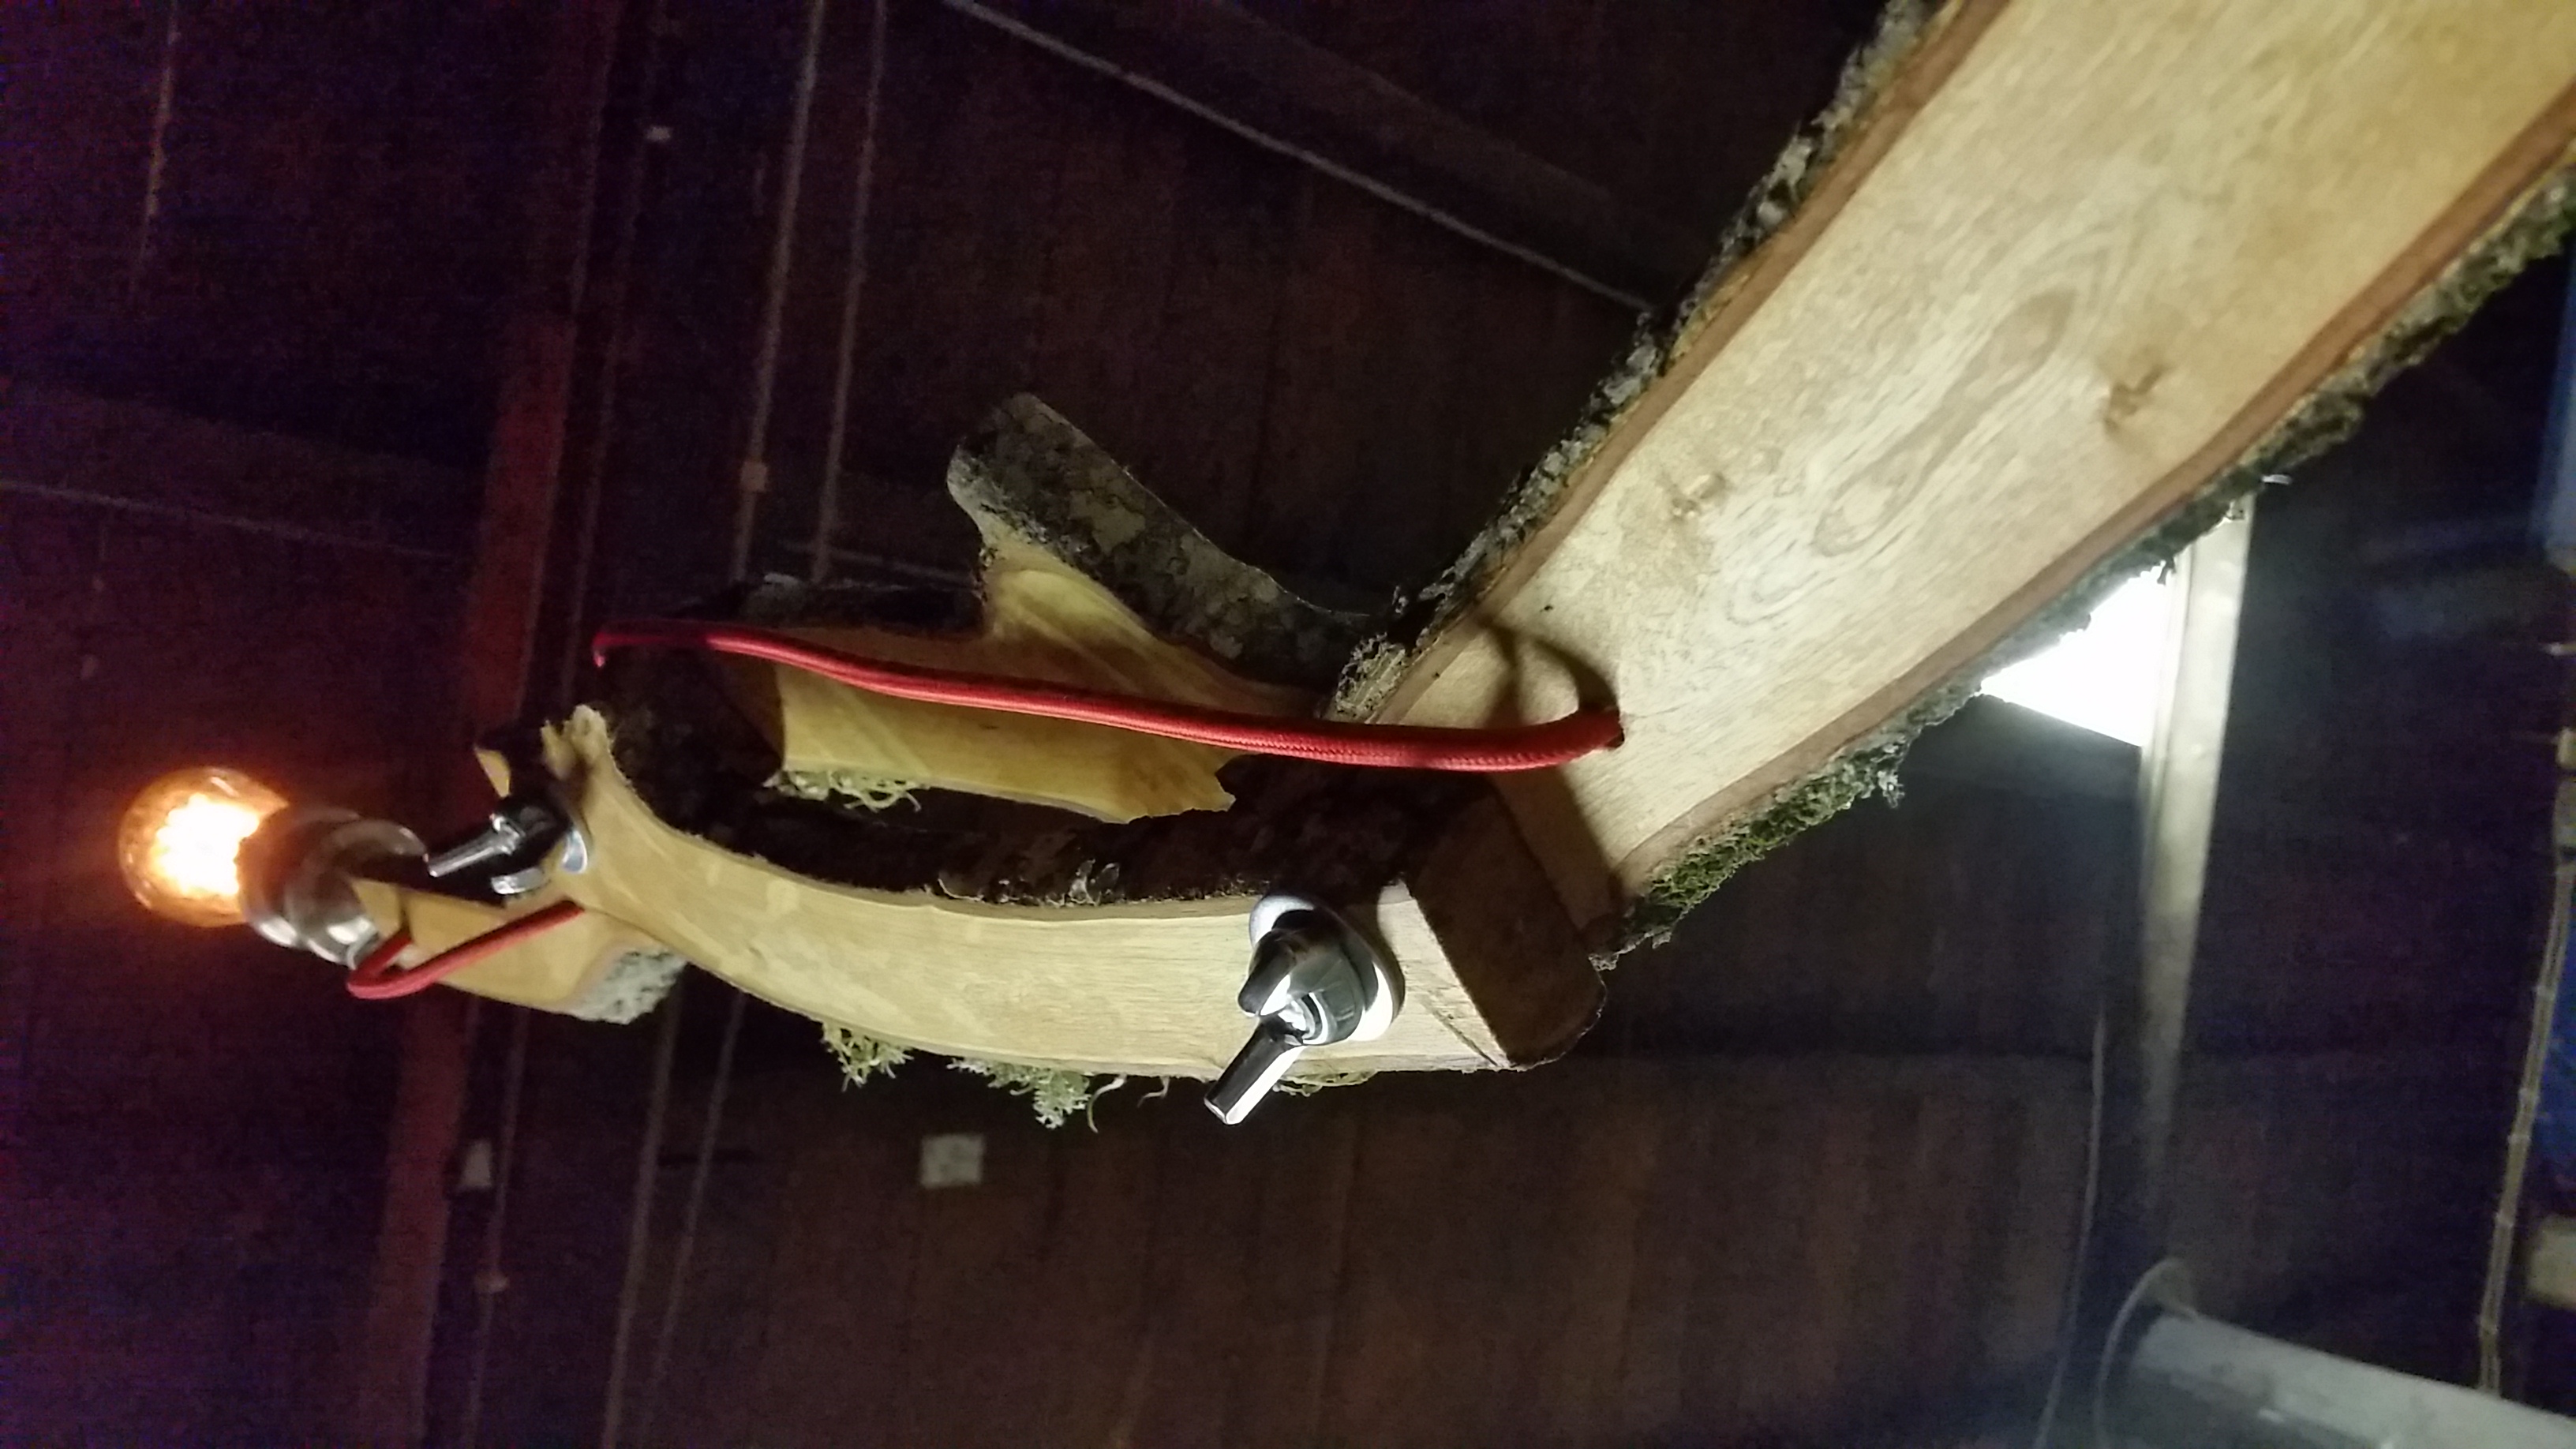
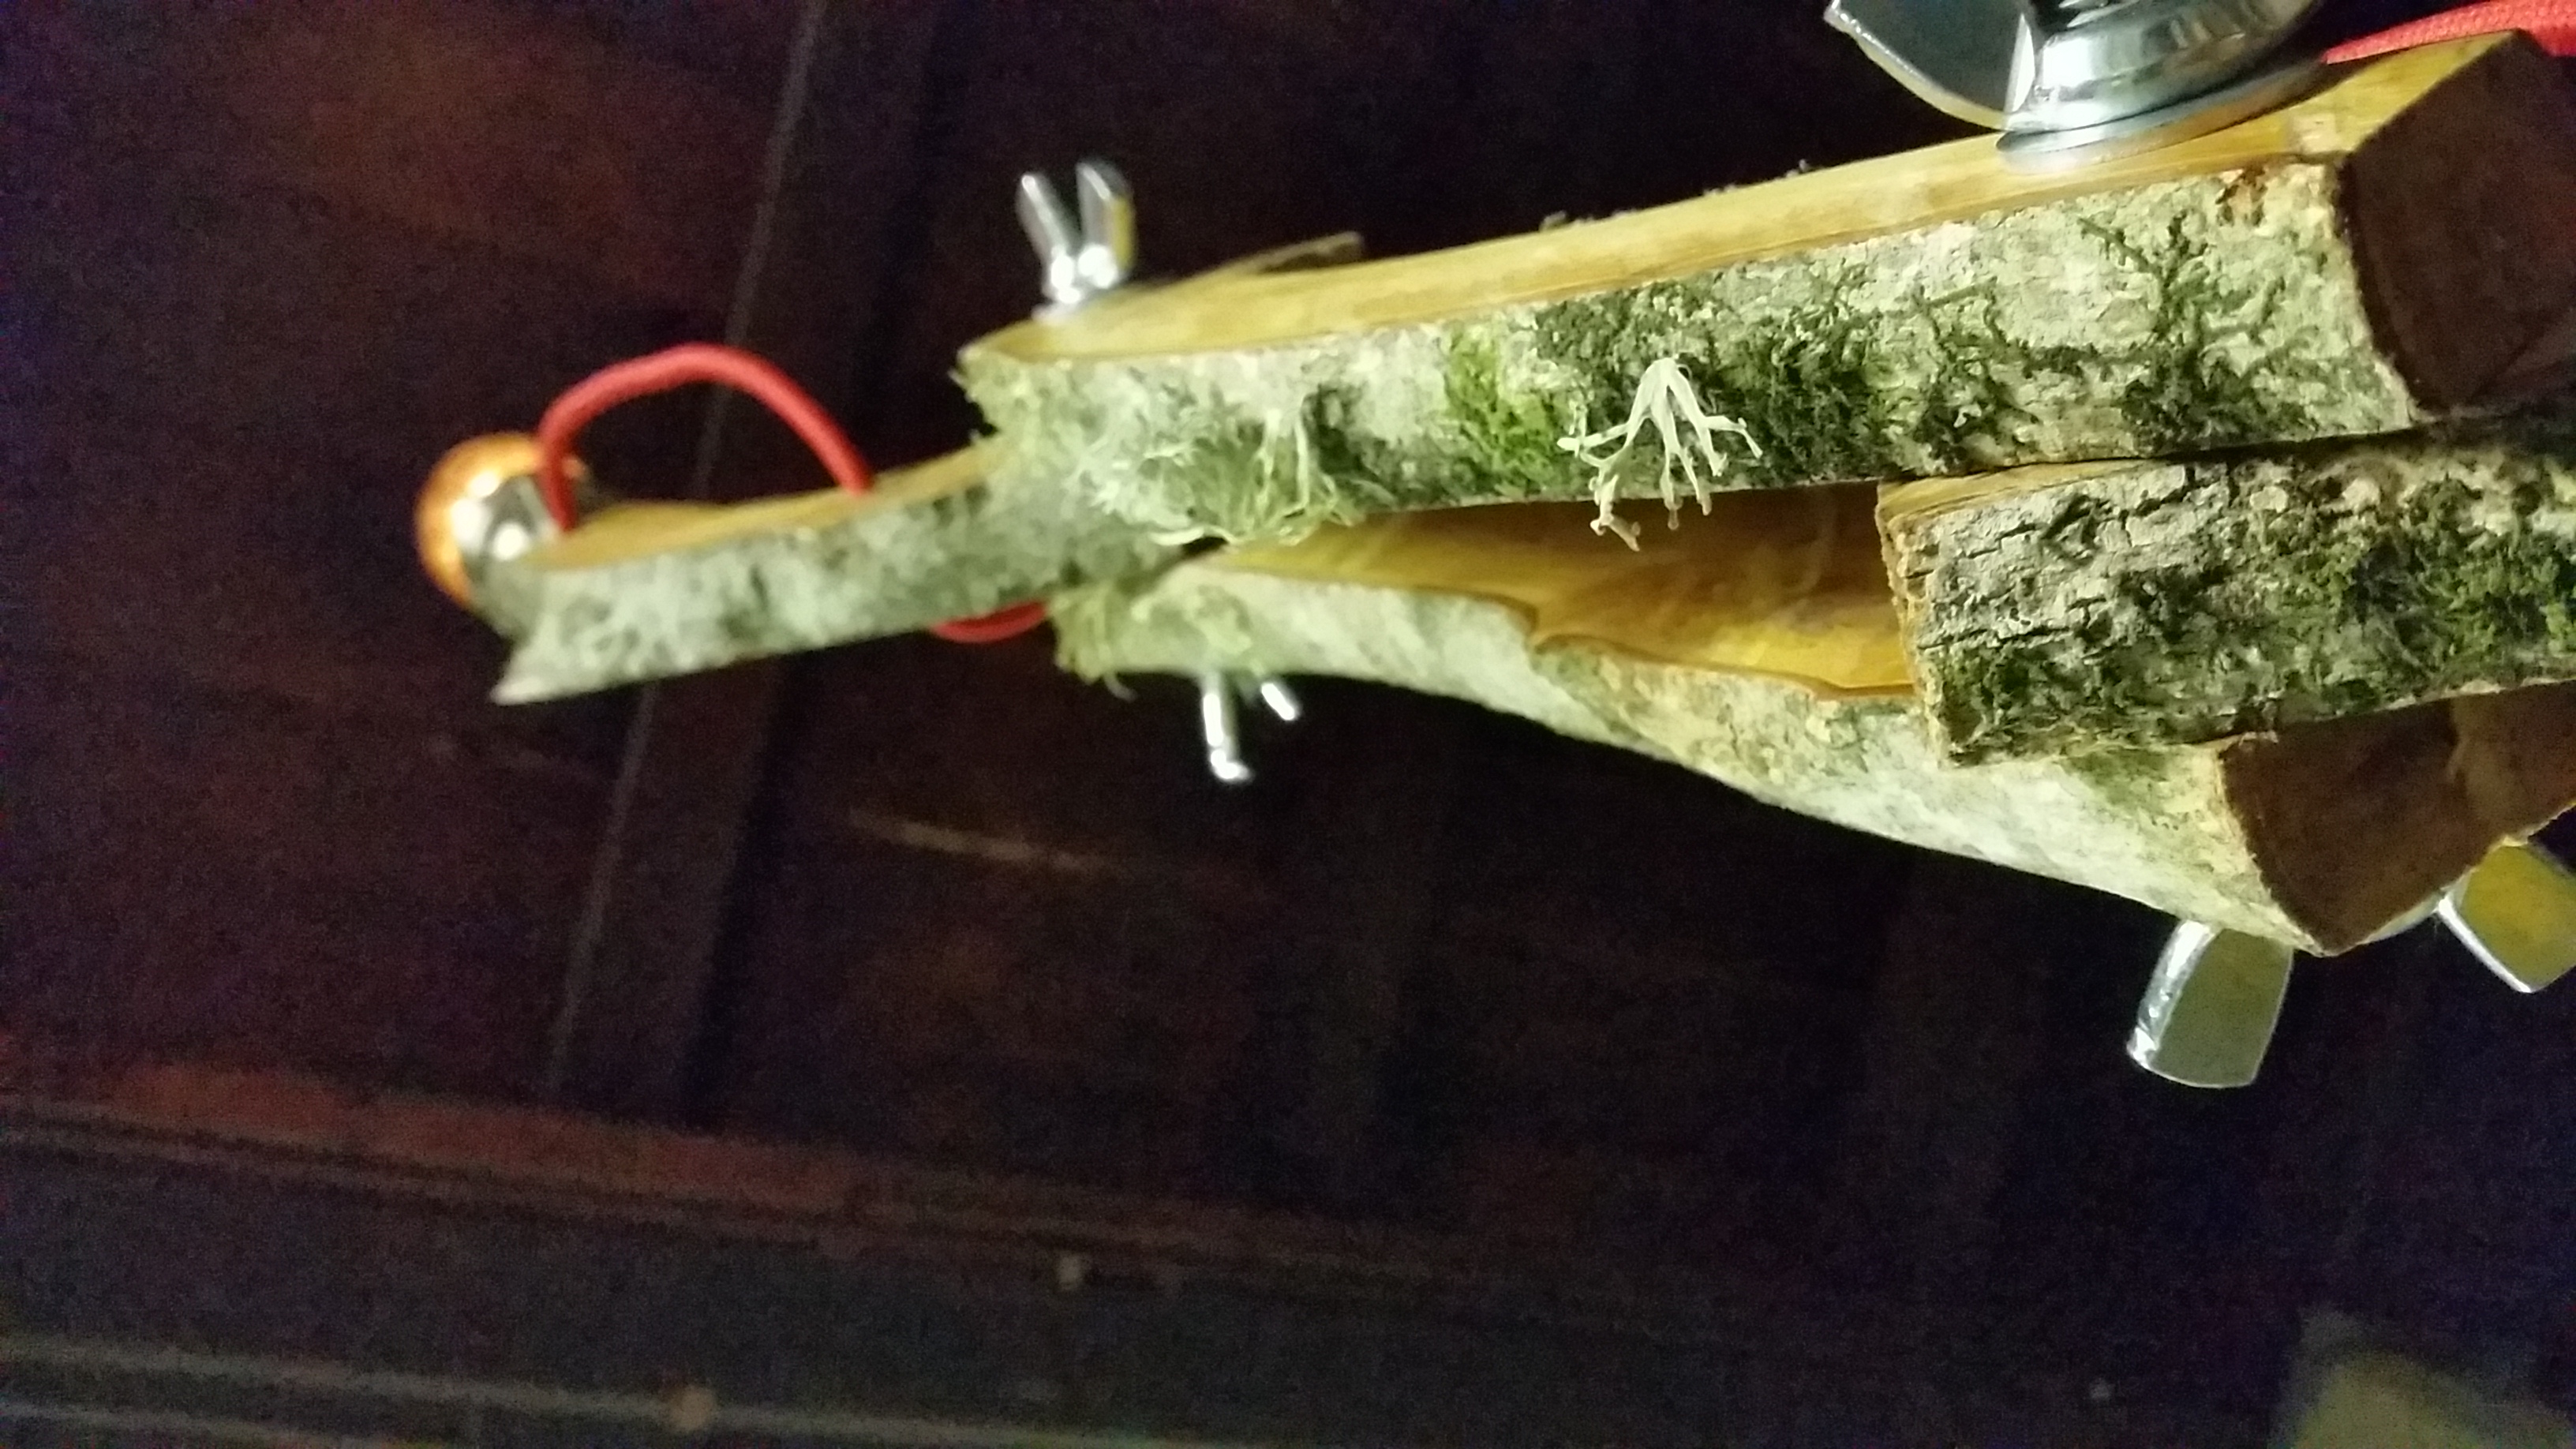
If you have ever found yourself on Pintrest, Etsy, or in a hipster cafe you may have spotted some amazing lighting fixtures.
Inspired by a pile of rough cut timber I decided to give a timber lamp design. This is my first time making furniture and I also have the added pressure of it being a present.
I sketched a few designs and landed on this. There are plenty easier and probably better looking designs but this is the kind of look I thought would suit the new owner.
I grabbed a few lengths and started the trial and error process. With a great deal of luck there was mostly success.
Fortunately @rut4ger and other awesome humans have been putting in some huge hours and a lot of effort making the woodworking room at HSBNE usable. Tool modifications and maintenance is always ongoing. Every time I go in there we have something new or improved to play with.
For this project I used the following
HSBNE tools
- Dropsaw
- Table Saw
- Drill Press
- Orbital Sander
- Router
- Angle Grinder
Materials
- Fire Wood - not yet burnt

- Dimmer Switch - This is perfect for <200W bulbs and LED’s Push button and trailing and leading edge dimming
- Power Cord - 3pin if you have metal fixtures
- Lamp Pendant - or however you want to finish the light on the end
- Wing Nuts - few places around but these guys were really nice and helpful unlike some located northside
- 12mm Gal Threaded Rod
- Edison Bulb
- Epoxi - for cracks and fixtures
- Grapeseed Oil
Choosing your timber can be tricky. Be sure to use timber that is dry (has been sitting for a while) the moisture will make things split and warp over time as it dries. I chose quite wet timber to achieve the mouldy look without artificially creating it on dry timber, this would have taken much longer but would have been worth it.
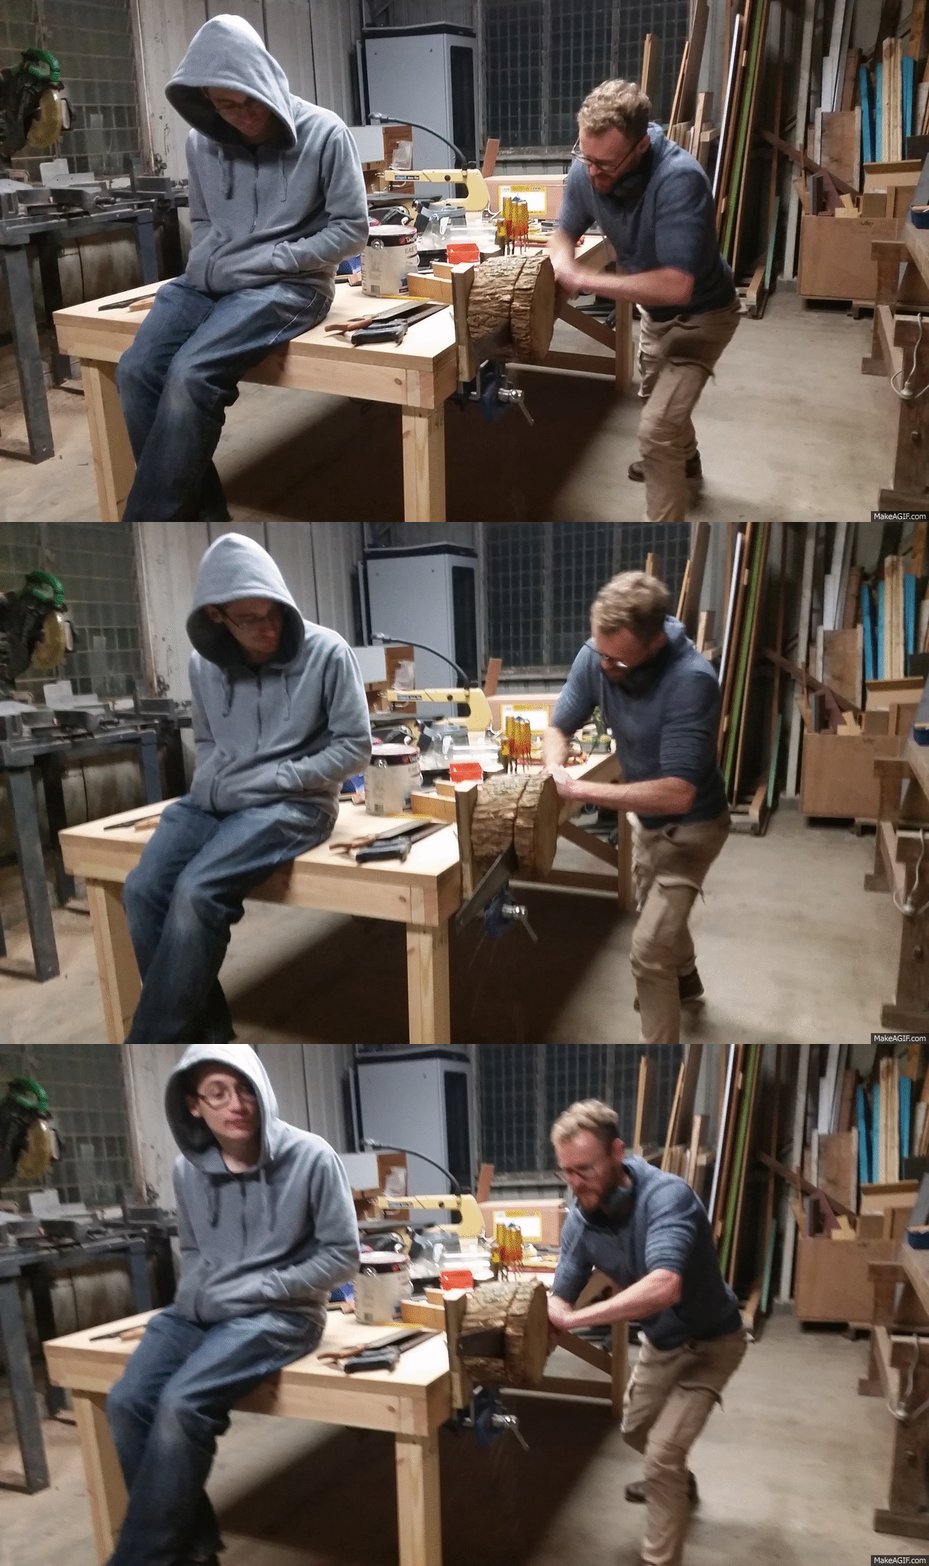
The size of your pieces and fragility of the bark will contribute significantly to the difficulty of the build. A lot of my pieces were hand sawn due to their size and shape.
“@theban inertial table stabilisation”
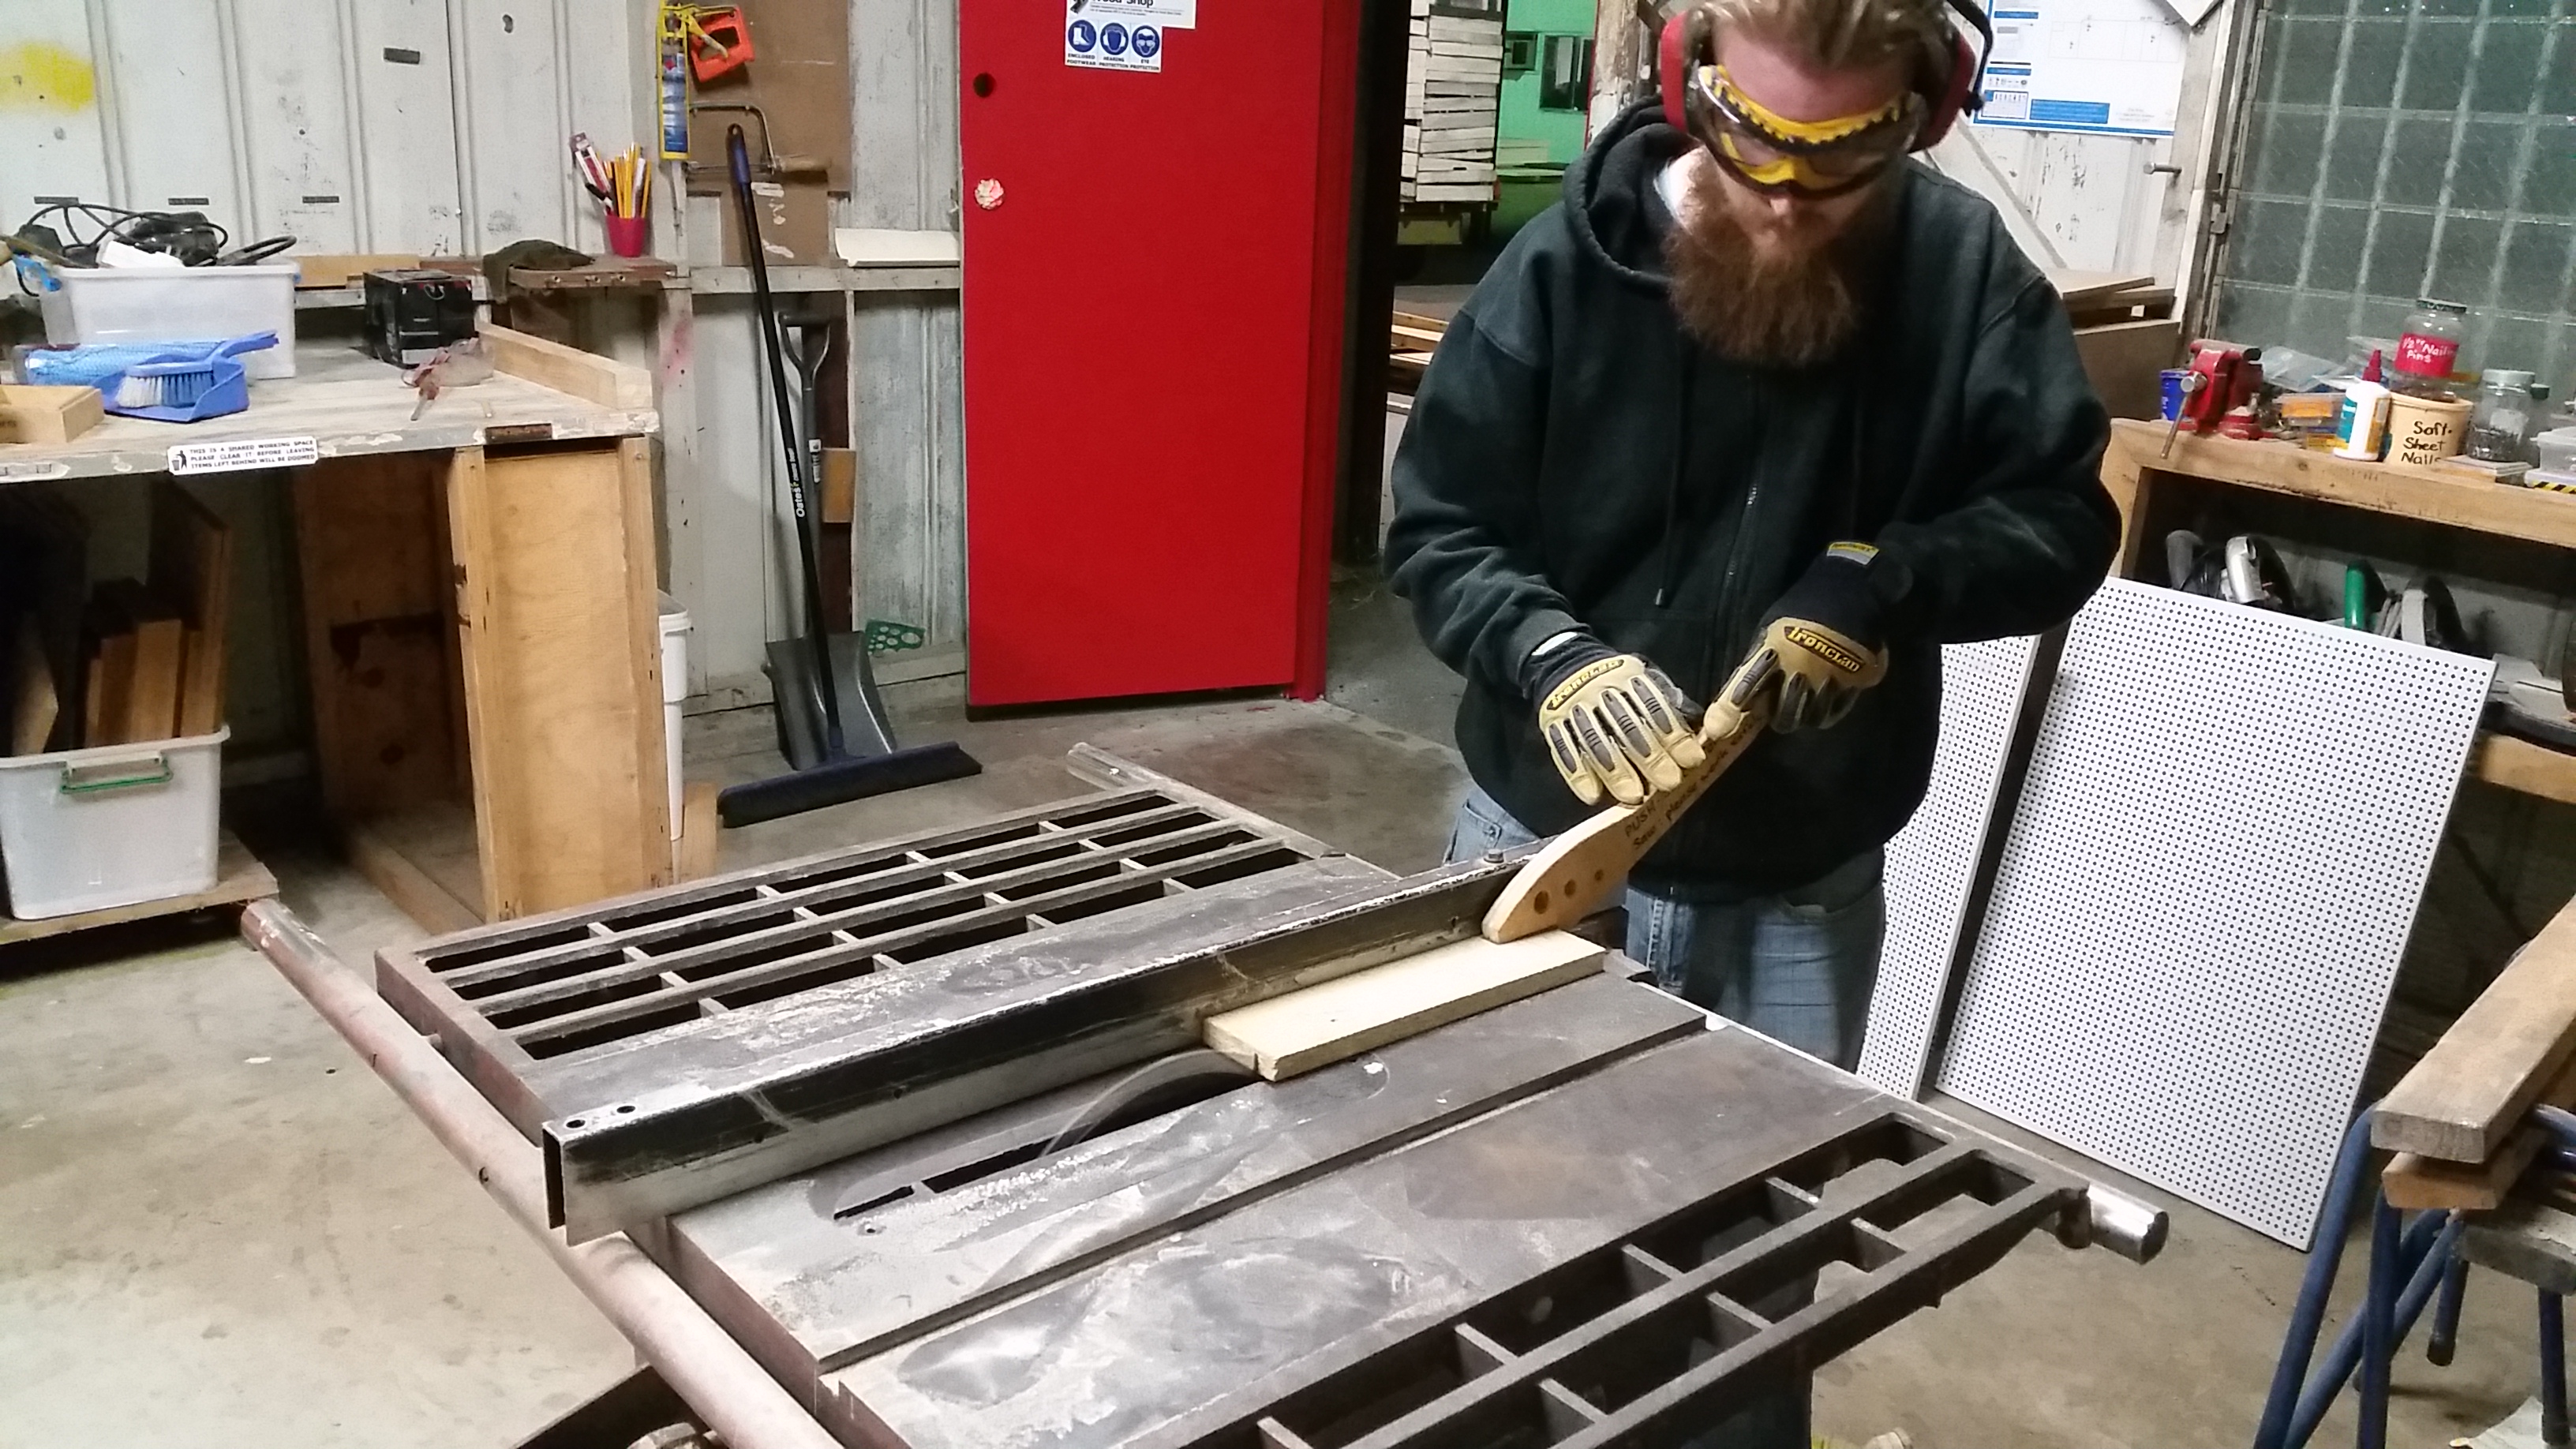
Choose long pieces you can trim down later, this will let you attach handles and working/bracing timber when you put them trough machines like the table saw. Things can get a little hairy cutting round things.
*@devians table saw making his tape despensorator"
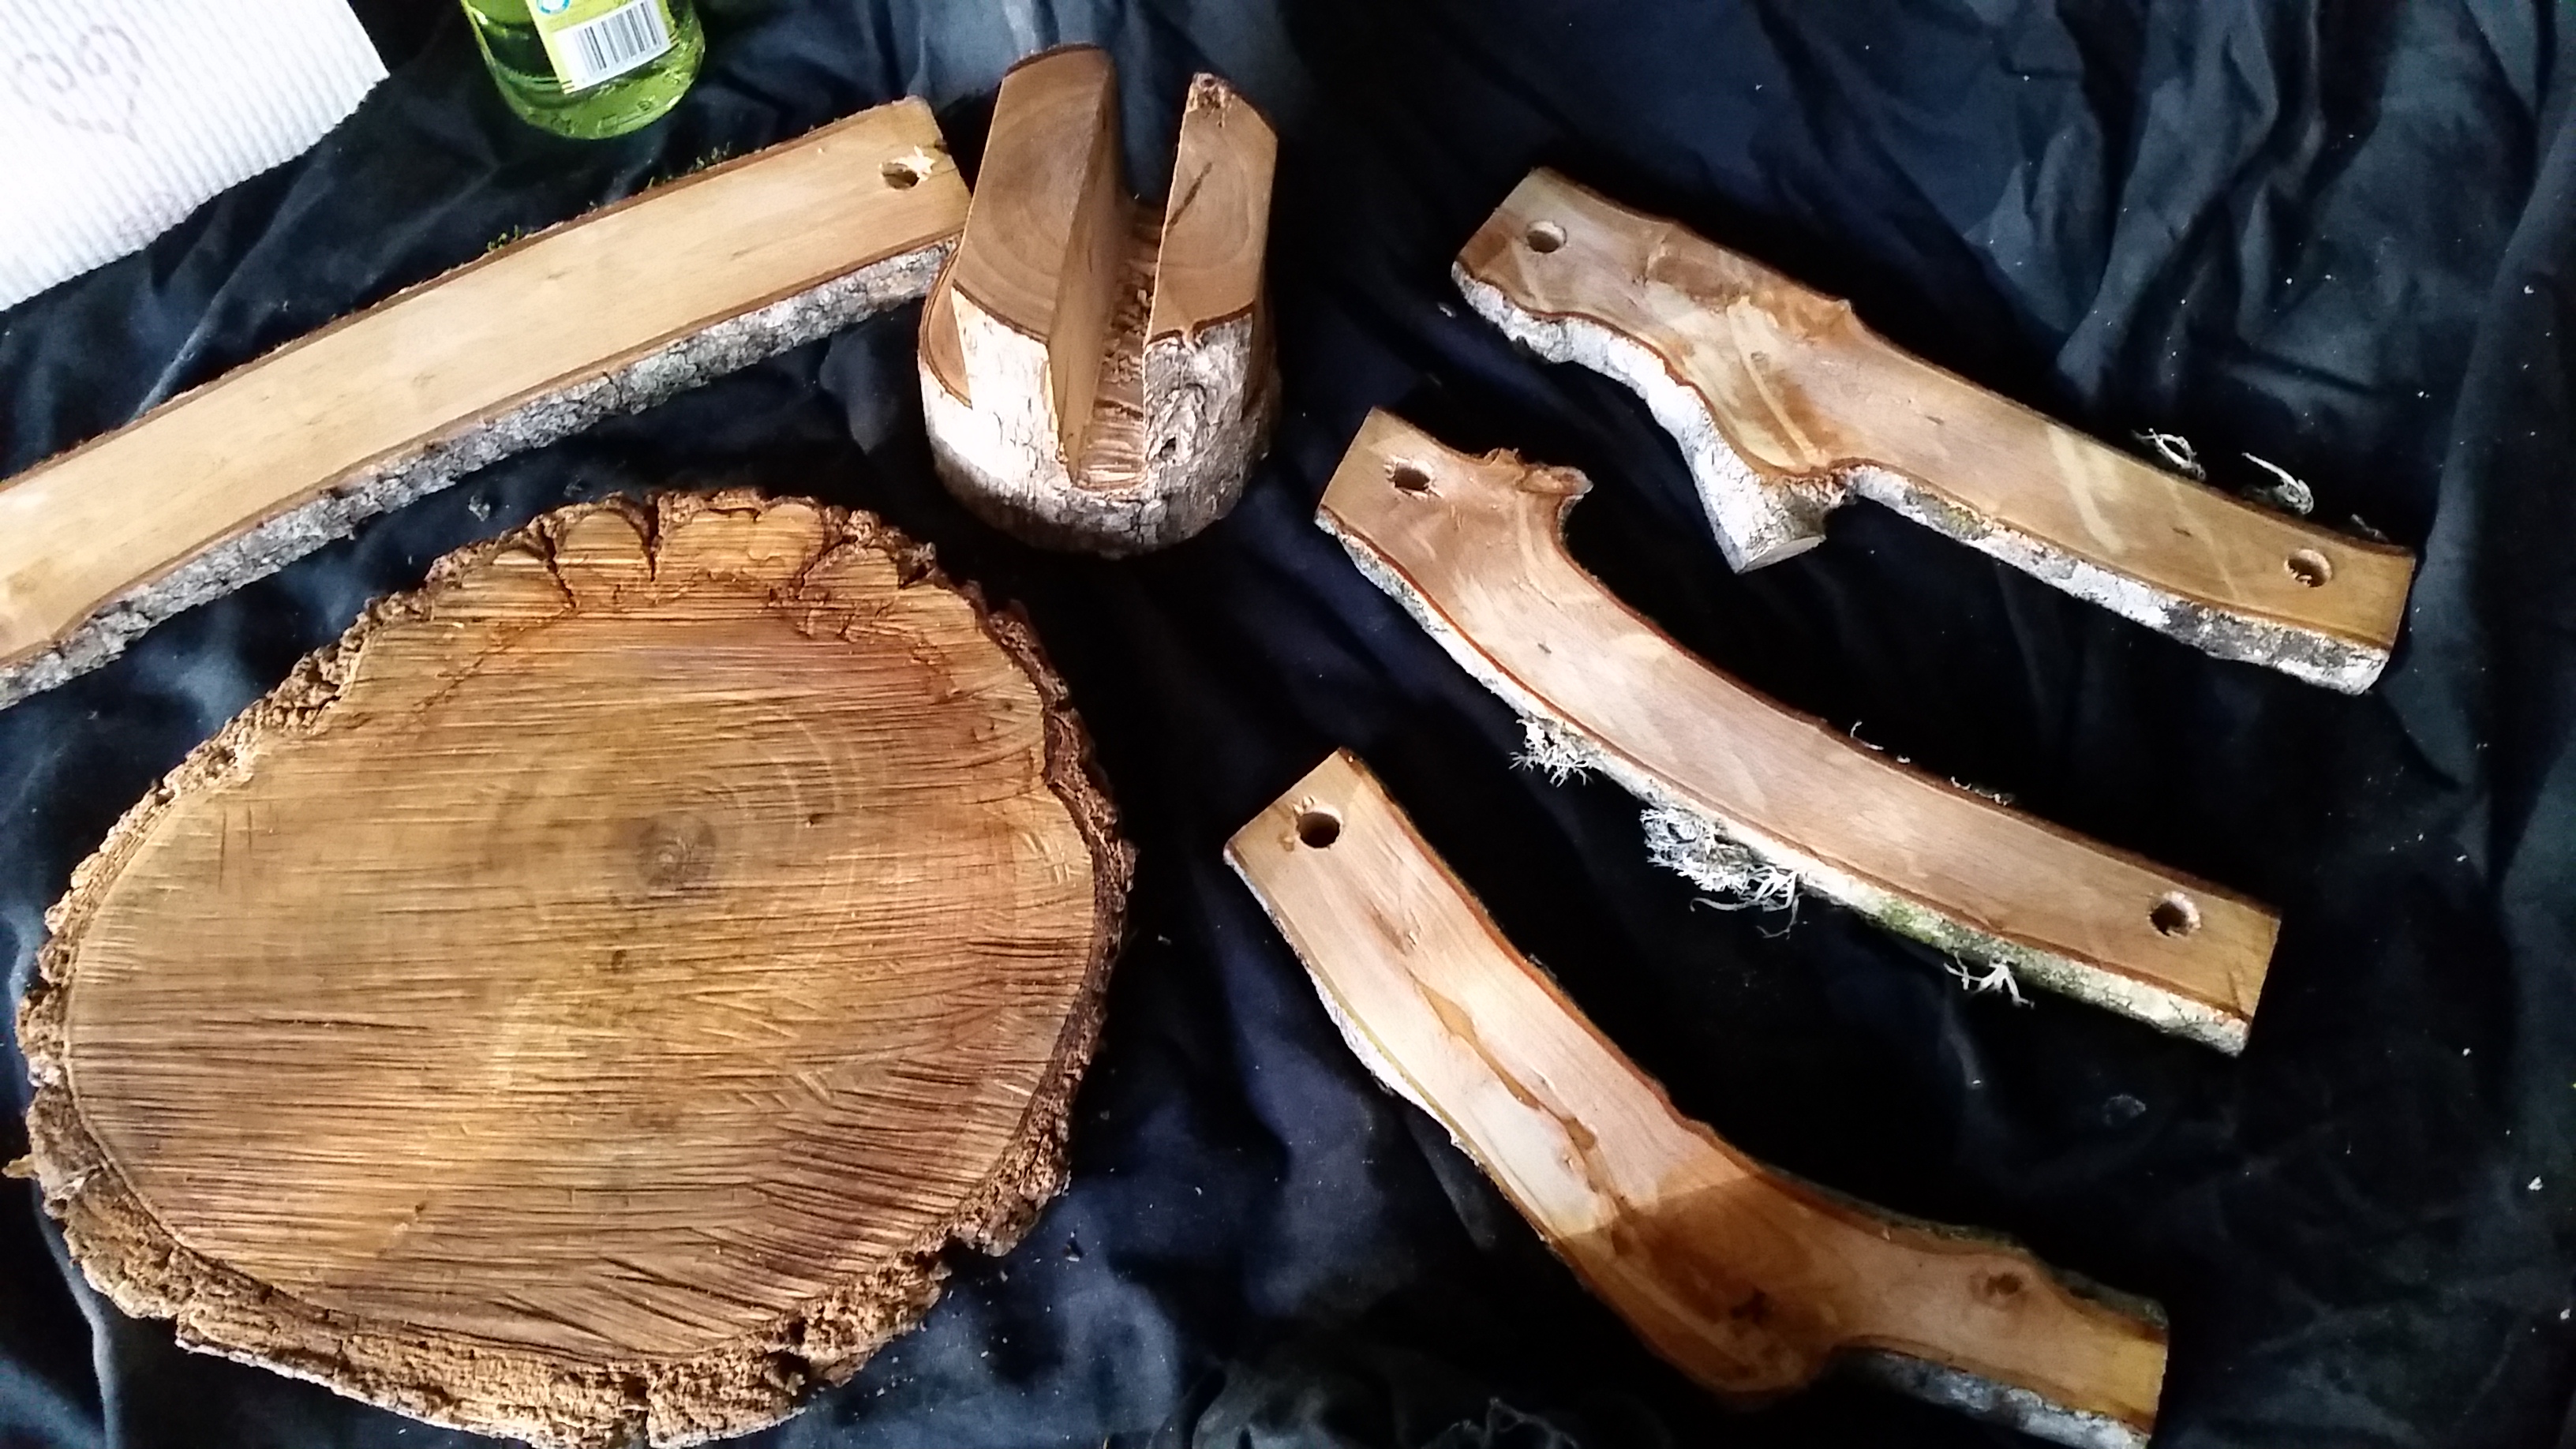
After a night of faffing about I had everything cut.
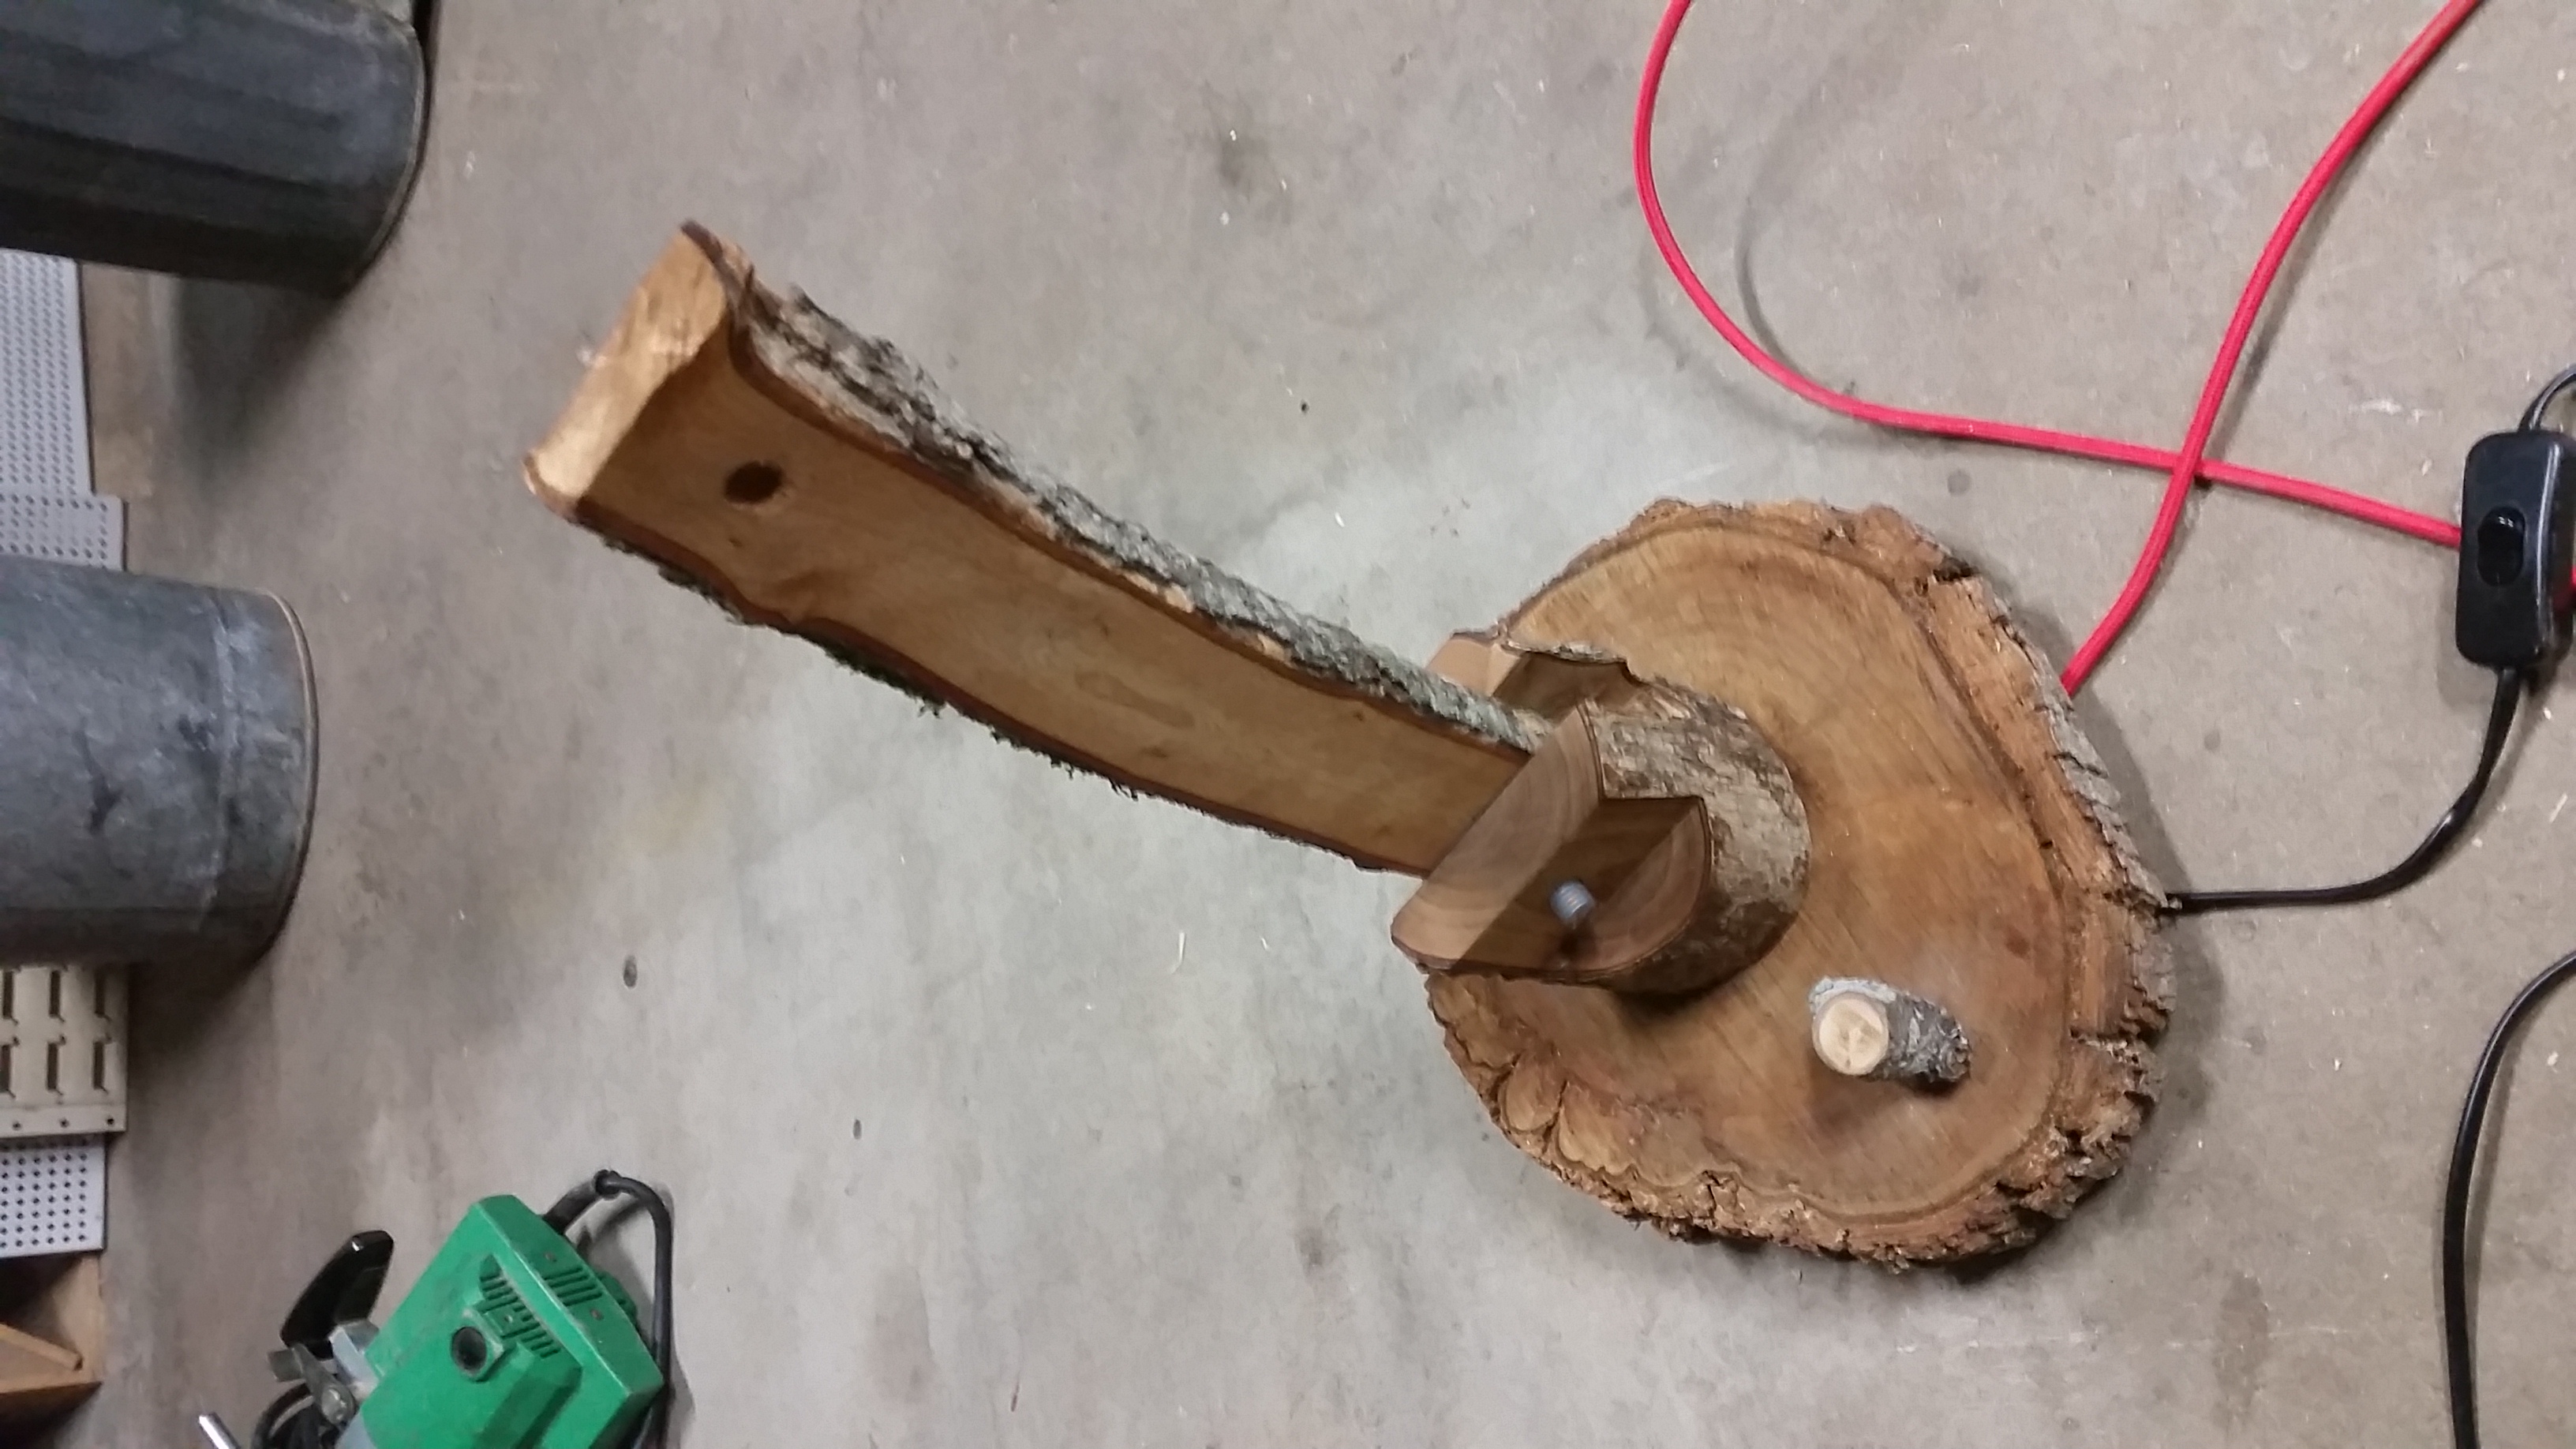
Took another night to rout the underside of the base for the dimmer switch and cut rod to assemble.
All oiled up and nowhere to go. I am pretty happy with the result.
Once the epoxy holding the light fitting in the end dries i will take some ‘action’ photos.
