This is the build log for the SEFF M1 3Axis CNC Mill. This is a build for my shop as I look to replace my machinery with full CNC capabilities. I have the following requirements for this build ( which may or may not change as I go):
I have a budget of $15K for this build.
I have a build height limit of 2.6 meters.
I don’t want to have to crawl behind the machine to fix or do do maintenance. All Electrical and mechanical should be front accessible.
I have about a thousands holes to drill and lots to tap. The easiest way to do this is making a jig for my manual mill. This is a simple MDF with some stainless pins that are accurately placed so that I just slide the parts in, drill and move on. Here I’m just using the mill as a big drill press. The MDF is “accurate enough”.
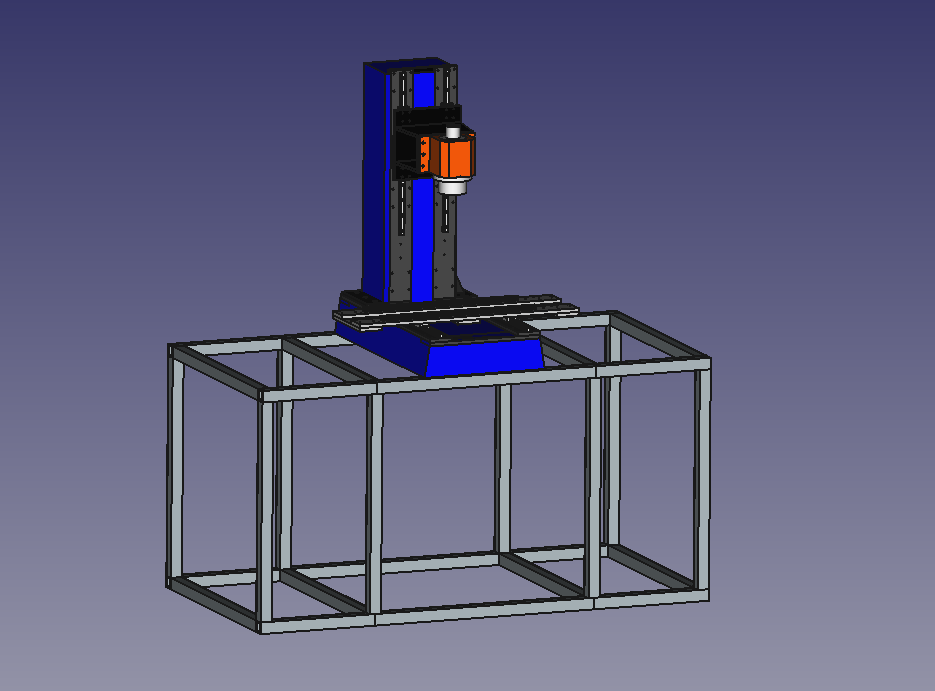
it been a while. Most of you that know mw know that I always have to put my own projects aside to focus on paid work, But one three week holiday in the US and a dance with Covid, I’m back on the CNC mill. Here you can see that all of my structure for the Y axis are ready for the epoxy pour. Threaded rods has been added for reinforcement with zinc nuts. the screw holes for the linear rails have been taped and sealed. Thanks to Ale for helping with the melamine work on the elephant.
With the machine base cured, It has been lifted and placed on the stand. There is a sheet of 2mm aluminium that has been riveted down to the stand. This becomes the chip tray and will be pulled downward in the center to both the left and right to provide proper drain paths for coolant.
I got 10mm granite gravel from Rock&Soil near Capalaba. Filled the mould to the top with gravel and just poured in enough epoxy to top up the mould and cover the gravel.
If you are in a pinch, you can use the hydrocarbons from the oxy torch. Just ignite the acetylene and use the soot that comes off of the flame to line the mold. Just be mindful not to catch your mold on fire.
Thanks Dave,
My first project is to make up some threaded mounts for my farmbot project using resin and basalt chopped fiber. Basalt is spos to be stronger than carbon fiber though i haven’t tested it yet. I get most of my supplies from AA composites over the bridge but will test the spray mold release this time around. Thanks for the advice
Lots have happened since the last posting. I managed to get the X axis base cast and installed. For those of you who have been around the space, you’ll know that I had a bit of a mishap with the casting where the mold release didn’t work… at all. I spent able a week chiseling the melamine off of the casting. Here are the photos of the process…
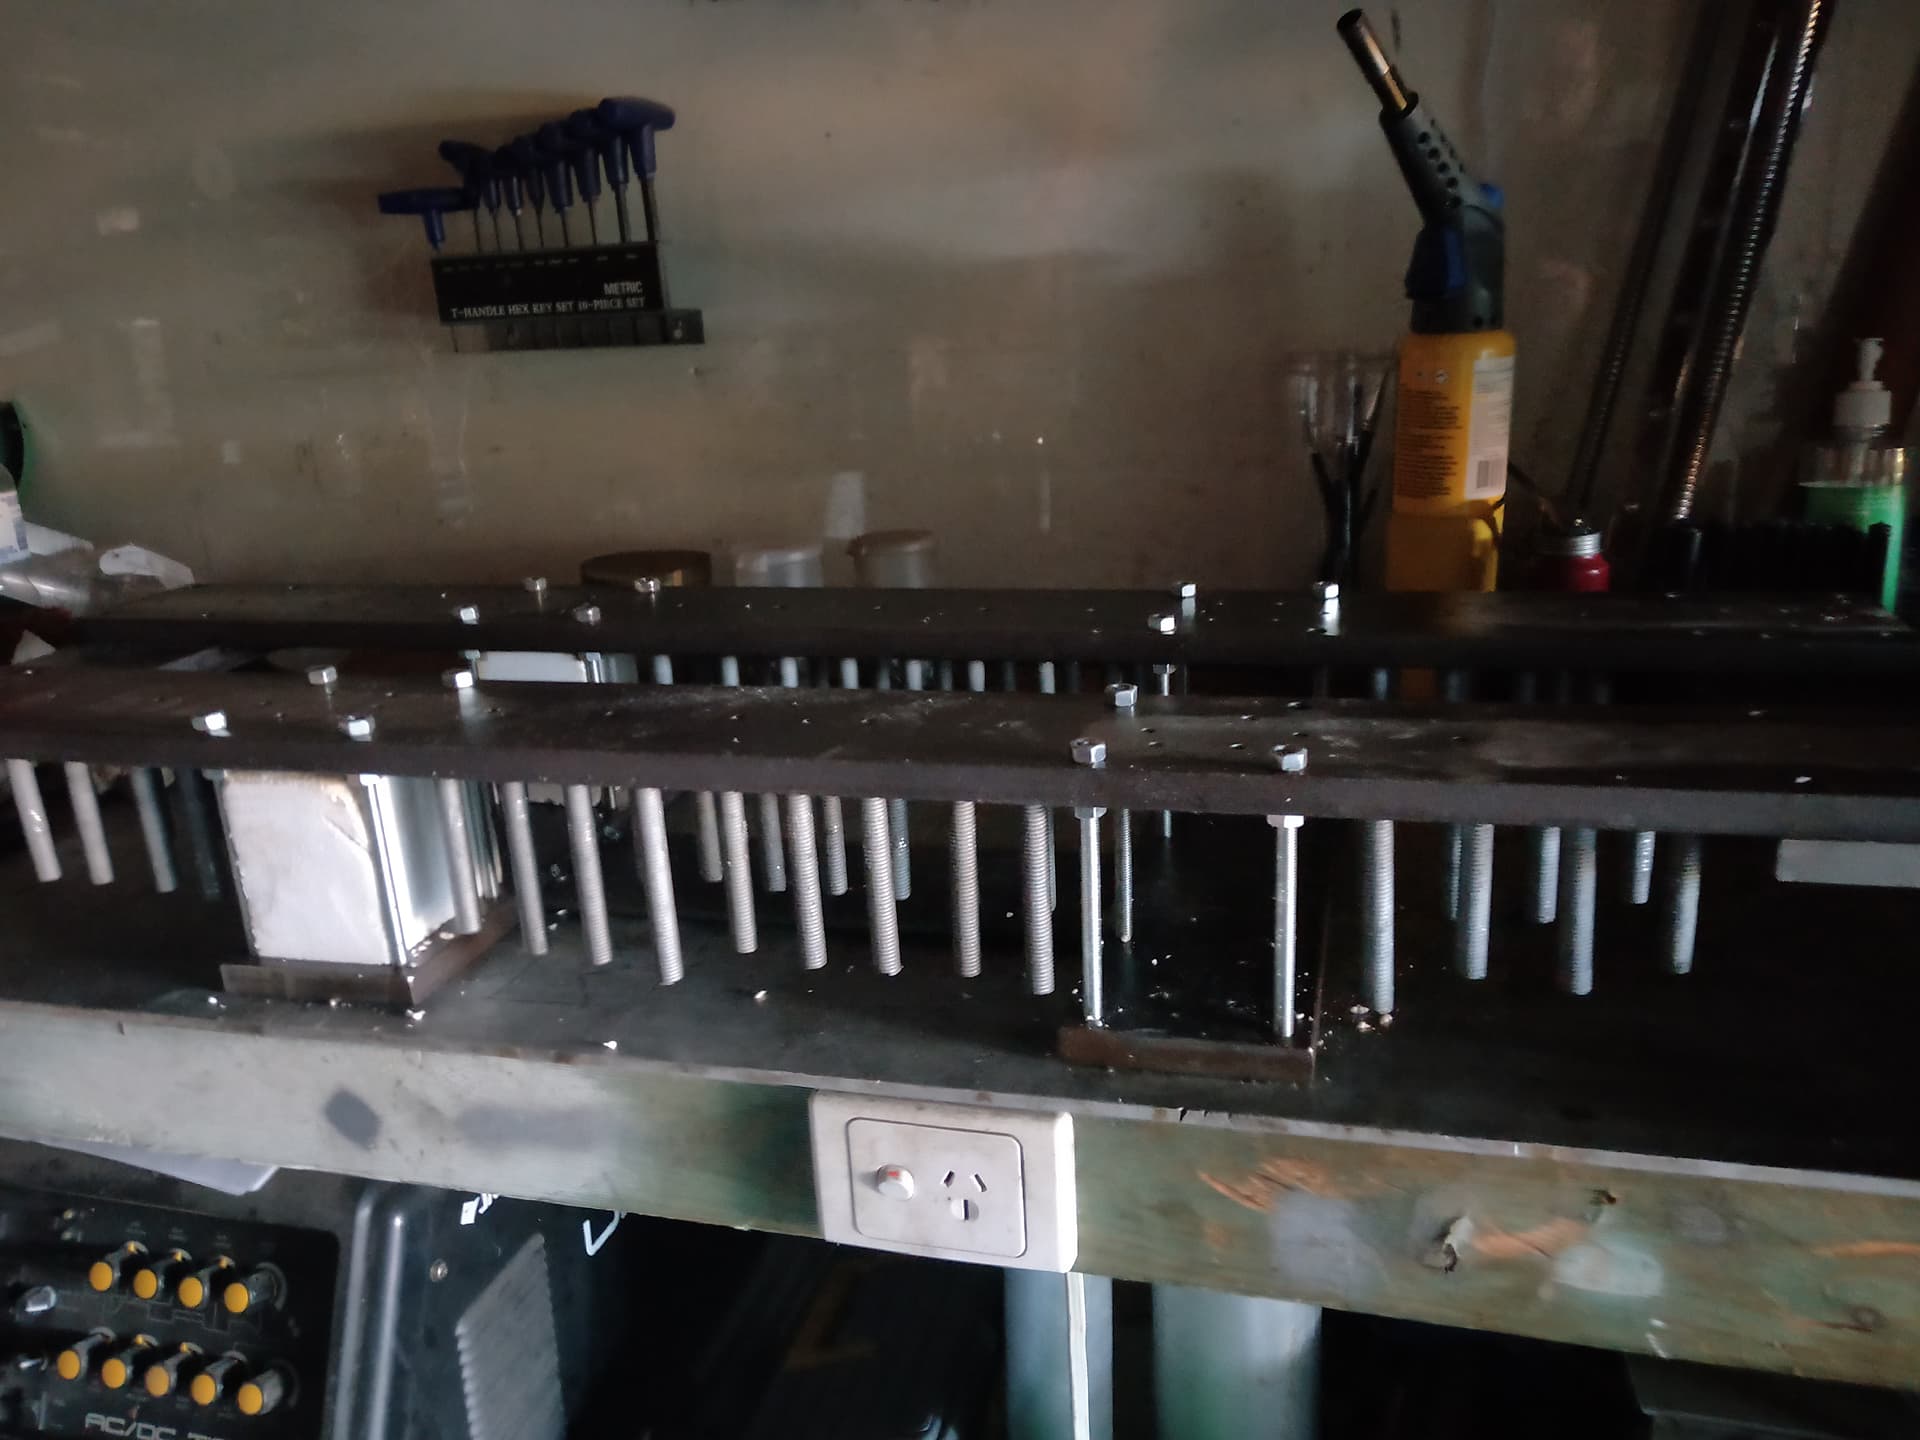
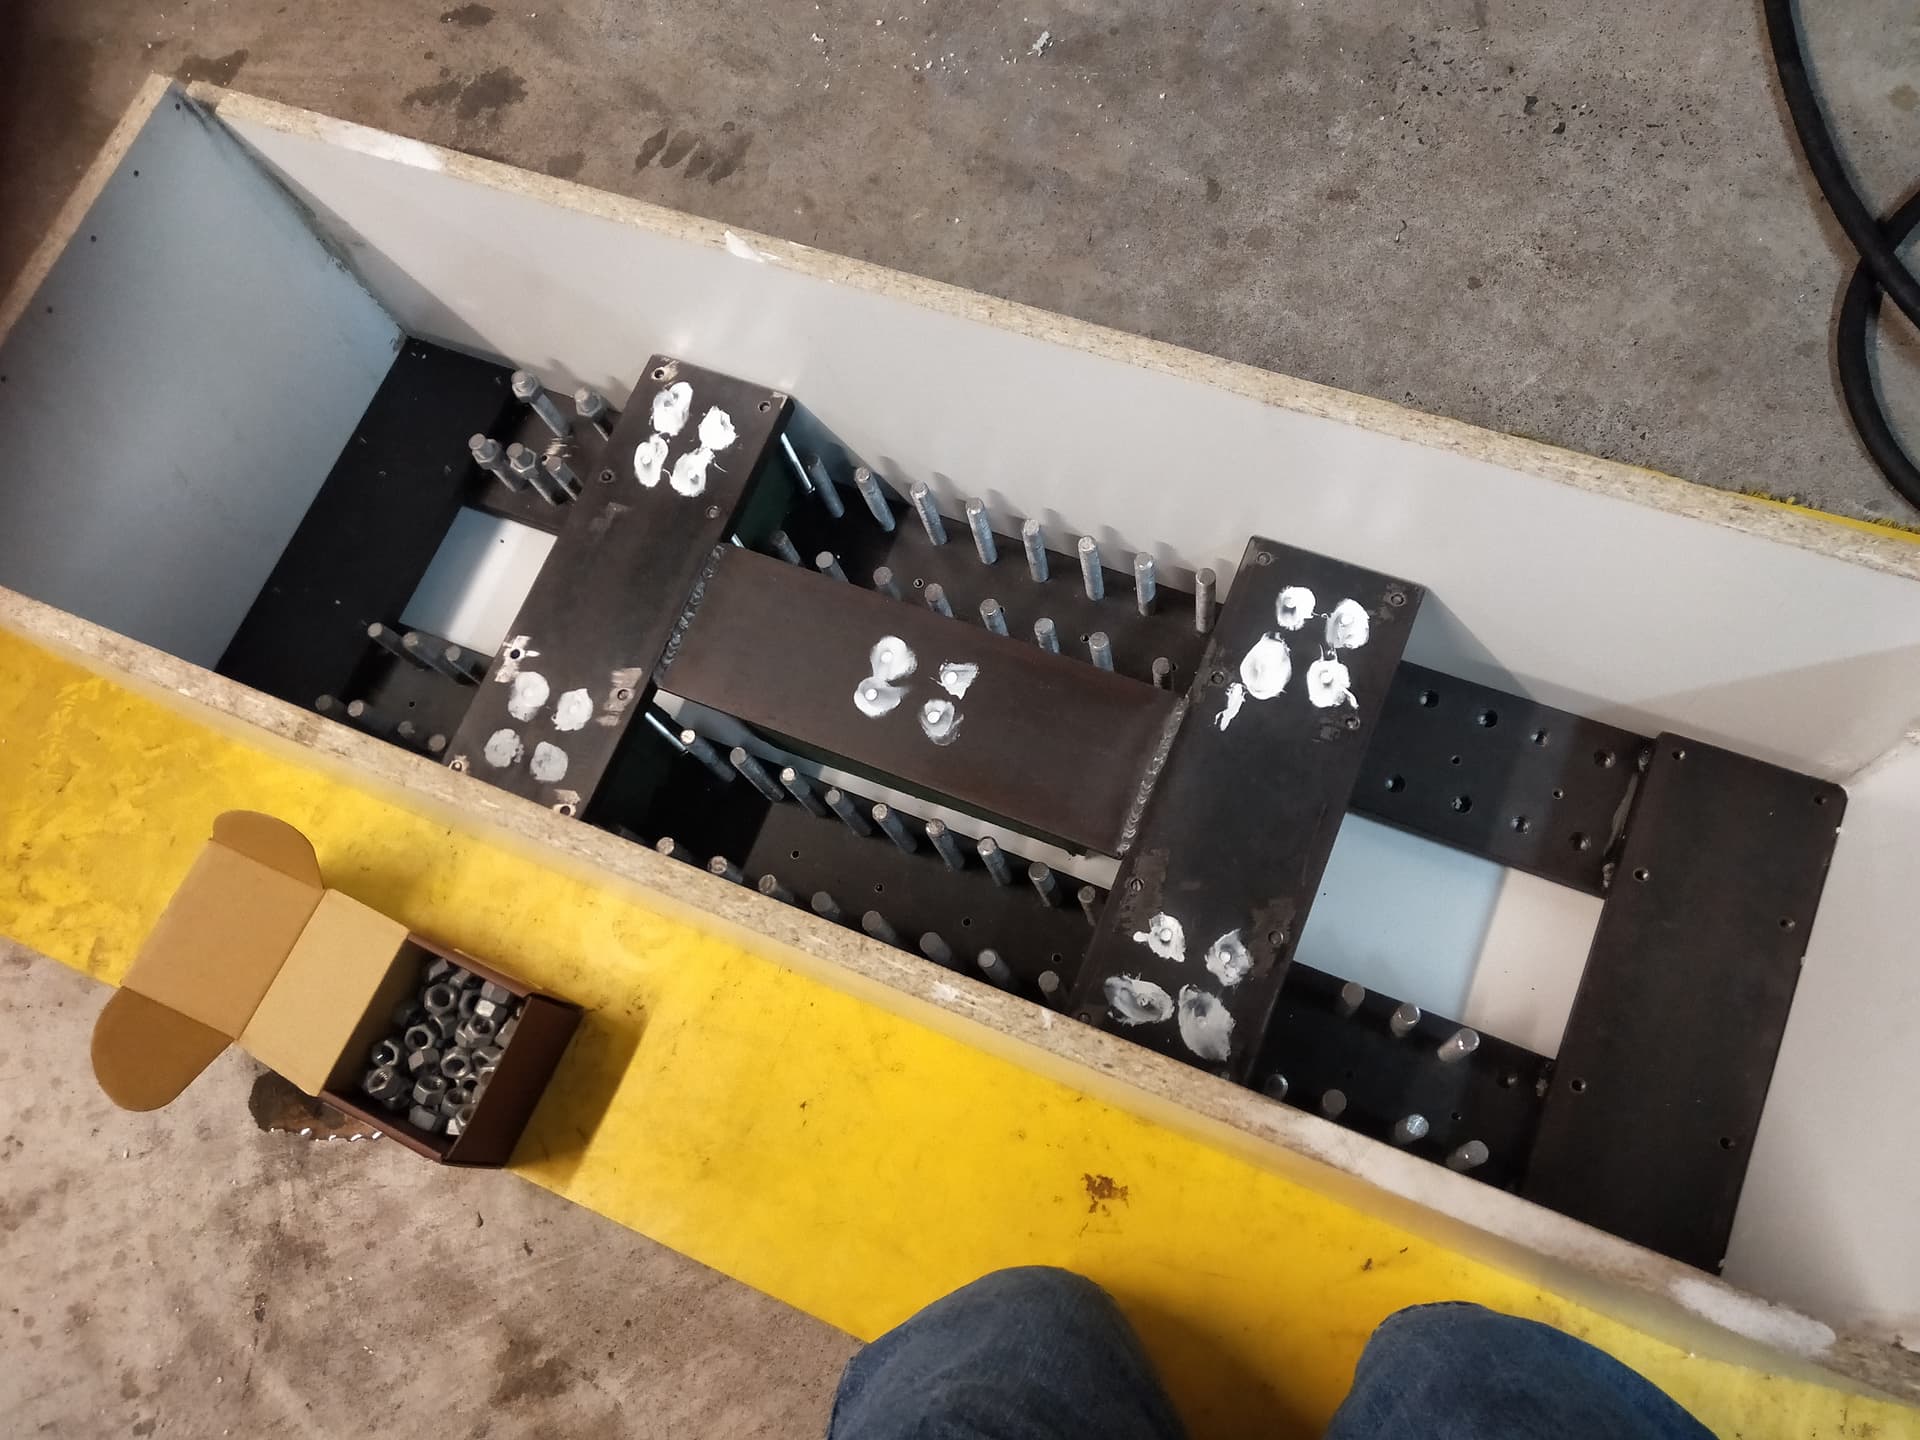
This is the structural steel for the X-axis base. Same as last timme I used 12mm threaded rod with nuts for reinforcement. I need to be able to access the linear rail mounting bolts to a cavity is required in the quadrants above the rail trucks. Styrofoam was used for this.
The granite gravel was added with care taken not to go above the steel frame. The white holes in the steel are the mounting holes for the Linear rail trucks to be mounted later.